12 Enjoying through External Equipment
56
En
Setting up for controlling a D-VHS recorder
You can operate the connected D-VHS recorder from the
Plasma Display that shows the control panel screen. After
making the connections, use the menu to specify the model of
the D-VHS recorder to be operated. You can operate only a
single D-VHS recorder from the Plasma Display.
1
Press HOME MENU.
2
Select “Tuner Setup”. ( / then ENTER)
3
Select “Recorder Setup”. ( / then ENTER)
4
Select “i.LINK Setup”. ( / then ENTER)
5
Select “i.LINK List”. ( / then ENTER)
6
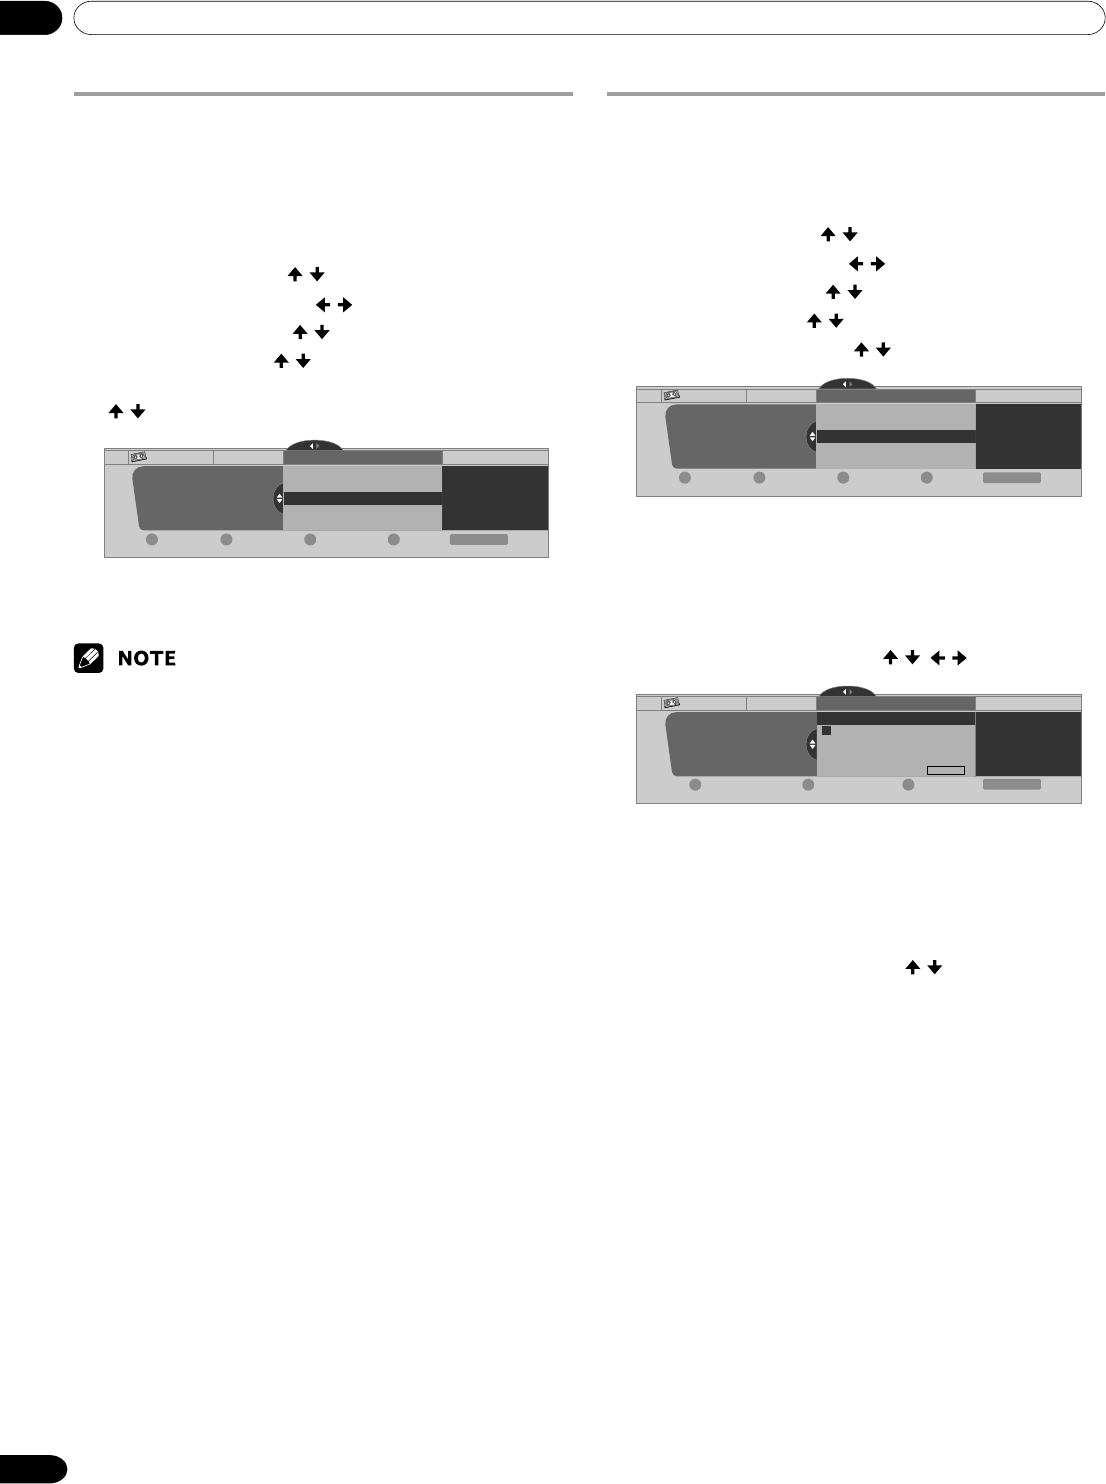
Select the D-VHS recorder model to be operated.
(
/ then ENTER)
Recorder Setup i.LINK Setup
i.LINK List
i.LINK Setup i.LINK List D-VHS XXXX XXXX Control
---
---
xxxxxxxxxxxxxxxxxxxxx
xxxxxxxxxxxxxxxxxxxxx
xxxxxxxxxxxxxxxxxxxxx
Move DeleteRenameConnect
Exit
Home Menu
DCBA
7
Press A to select “Connect”.
8
Press HOME MENU to exit the menu.
• The following information appears at the right end of the i.LINK list to
indicate the connection status of the D-VHS recorders:
Control: Data connection with the D-VHS recorder has been
established and the recorder is ready for control.
Link: The D-VHS recorder has been physically con-
nected, and can be controlled if it is selected for
control.
—: Currently not physically connected
• When connected to any device other than a D-VHS, the device is not
listed in the i.LINK List.
Editing the i.LINK list
The i.LINK list shows all devices connected through i.LINK
interfaces. In this list, you can change the name or order of
devices or delete device information.
1
Press HOME MENU.
2
Select “Tuner Setup”. ( / then ENTER)
3
Select “Recorder Setup”. ( / then ENTER)
4
Select “i.LINK Setup”. ( / then ENTER)
5
Select “i.LINK List”. ( / then ENTER)
6
Select the desired device. ( / )
Recorder Setup i.LINK Setup
i.LINK List
i.LINK Setup i.LINK List
xxxxxxxxxxxxxxxxxxxxx
xxxxxxxxxxxxxxxxxxxxx
xxxxxxxxxxxxxxxxxxxxx
Exit
Home Menu
Move DeleteRenameConnect
DCBA
D-VHS XXXX XXXX Control
---
---
The following procedure differs depending on what you want to
perform.
To change the name of a device:
7
Press B to select “Rename”.
8
Enter up to 7 characters using / , / , and ENTER.
Recorder Setup i.LINK Setup
i.LINK List
Cancel
A BCDEFGHI J
KLMNOPQRST
UVWXYZ1234
56
78
90.@/
(
),–_:'&
SPACE
New Name: D-VHS
i.LINK Setup i.LINK List
xxxxxxxxxxxxxxxxxxxxx
xxxxxxxxxxxxxxxxxxxxx
xxxxxxxxxxxxxxxxxxxxx
ClearAccept
Exit
Home Menu
DBA
9
Press A.
10
Press HOME MENU to exit the menu.
To change the order of devices:
7
Press C to select “Move”.
8
Select the new desired position. ( / then ENTER)
• The selected device is moved to the selected position.
9
Press HOME MENU to exit the menu.
To delete information about a device:
7
Press D to select “Delete”.
•A confirmation message appears.
•A warning message appears if the selected device has
been preset for recording with the timer or if its power
is on. If this is the case, you cannot delete the device
that you have selected.
8
Press A to execute the deletion.
9
Press HOME MENU to exit the menu.
