System Setup
15
GENERAL SETTINGS, CONTINUED
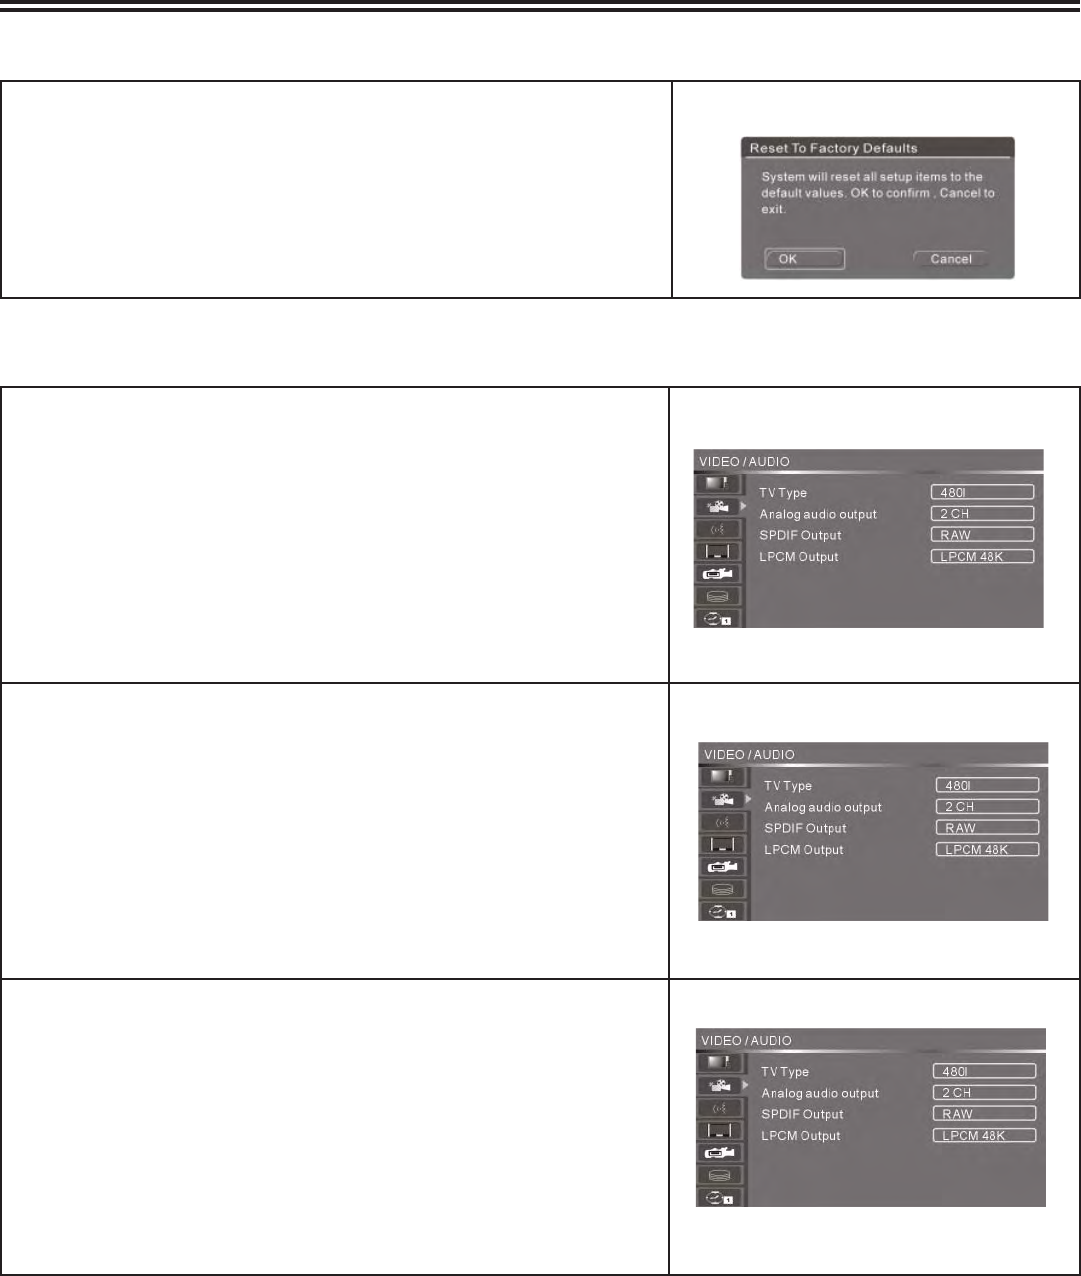
RESET TO FACTORY DEFAULTS:
Press SETUP.
Press right arrow key and then down arrow to highlight Reset to
Factory Defaults. This will clear all changes you have made to
the DVD recorder settings.
Press ENTER. A dialog box will appear.
Press “ok” to reset factory defaults, “cancel” to go back.
To exit setup, press SETUP.
1.
2.
3.
4.
5.
AUDIO/VIDEO:
TV TYPE:
Press SETUP.
Press down arrow to select the Video/Audio menu.
Press right arrow to highlight TV Type.
Press ENTER. This will change the DVD recorder picture
resolution.
Use the down arrow to select the desired picture resolution and
ENTER to select.
480P = better resolution
480I = good resolution
To exit setup, press SETUP.
1.
2.
3.
4.
5.
a.
b.
6.
A
NALOG AUDIO OUTPUT:
Press SETUP.
Press down arrow to select the Video/Audio menu.
Press right arrow key and then down arrow to highlight Analog
Audio Output.
Press ENTER. This will change the audio output to your TV.
Use the down arrow to select the desired audio output and
ENTER to select.
2 CH = good audio, standard red and white cables
5.1 CH = better audio, specifi cally for home theatre
To exit setup, press SETUP.
1.
2.
3.
4.
5.
a.
b.
6.
SPDIF O
UTPUT (SONY PHILLIPS DIGITAL INTERFACE FORMAT):
Press SETUP.
Press down arrow to select the Video/Audio menu.
Press right arrow key and then down arrow to highlight SPDIF
Output.
Press ENTER.
Use the down arrow to select the desired SPDIF output and
ENTER to select.
RAW = for 2 CH analog audio
LPCM = for 5.1 CH analog audio
To exit setup, press SETUP.
1.
2.
3.
4.
5.
a.
b.
6.
