6 Chapter 1
Getting Started
Graphics contained within this publication are for representation only.
Start-up
The steps below get your TV connected and ready to watch.
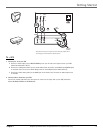
Put Batteries in the Remote
1. Pull off the cover of the battery compartment.
2. Place the two AAA batteries into the remote, matching the + and – end of each battery in the compartment.
3. Replace the cover.
Turn on the TV
Press POWER on the TV or remote.
Place All Available Channels Into Memory
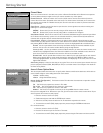
1. Press MENU on the remote control, then select Channel, then Auto Channel Search.
2. Select which channel list you’d like to find channels for (List A is the default).
Note: Inputs (VID, SVID, etc.) must be added to the active channel list separately before they can be accessed. Refer to pages at the
end of this chapter for more information on the Channel menu and List & Labels.
Set the Time
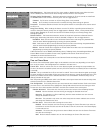
To set the time, select automatic setting of the time, or to prevent viewers from accessing the Current Time and
Schedule options, go to page 9.
If the control panel is not set to the current time, use the arrow and digit buttons on the remote control to
make changes. You can also enter numbers by using the up and down arrows on the remote.
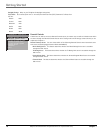
The ClonePRO™
If several TVs need to be programmed with the same menu settings, an optional ClonePRO remote can be used to
copy all of the menu settings from one TV into another TV to reduce installation time. Information can be both
downloaded to and uploaded from the ClonePRO using the DSCI port on the TV’s back panel or using the IR
sensor. A ClonePRO can be obtained from your RCA commercial distributor. To use the ClonePRO now, go to
page 22 for information. If you want to set other menu options before using the ClonePRO go to the next pages
of this chapter. Note you can use the ClonePRO at any time.
Note: Model J25400 can be cloned in IR mode from an RCA commercial model with DSCI port. Information cannot be copied from
the J25400 to other TVs.
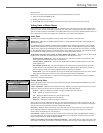
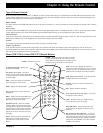
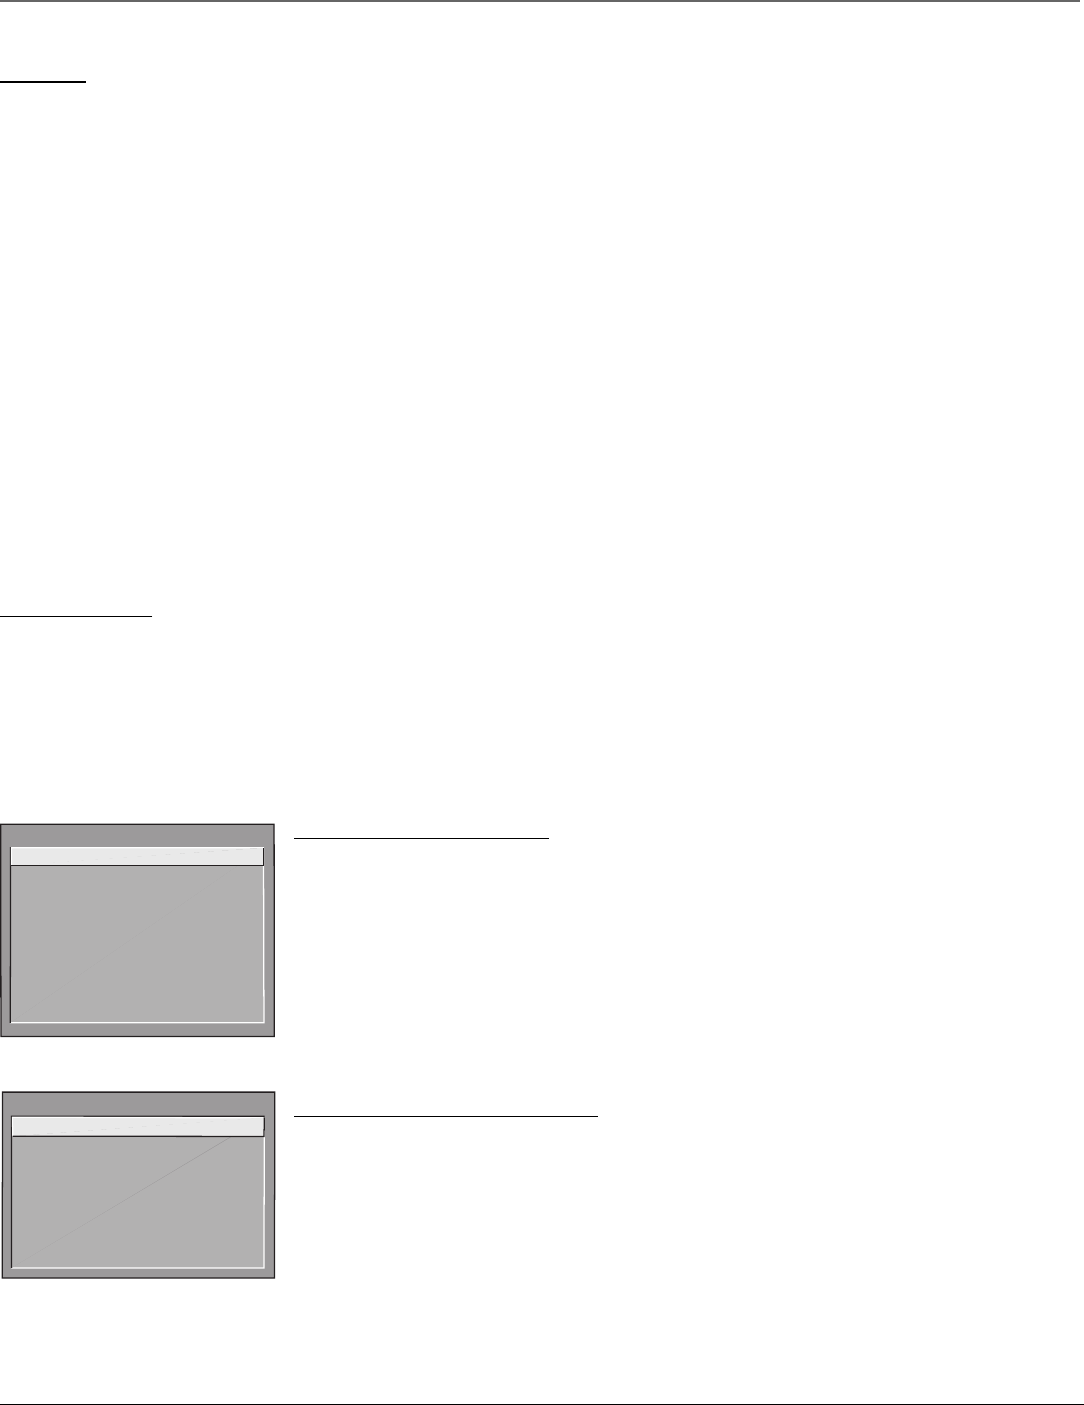
MAIN MENU
1 Audio
2 Picture Quality
3 Channel
4 Access & Power Options
5 Closed Captioning
6 Time and Timers
7 Parental Controls
8 Menu Language/Idioma/Langue
0 Exit
MAIN MENU
1 Channel Guide
2 Menu Language/Idioma/Langue
3 Closed Captioning
4 Time and Timers
5 Picture Presets
6 Audio Processor
7 Parental Controls
0 Exit
The master Main menu.
The basic Main menu. The choices
available in this menu change
according to limits set by the master
user.
Understanding the Menus
This television displays two levels of menus: master and basic.
The master menus are accessible by pressing MENU on the master remote (CRK17TD1). The master Main
menu will always display eight choices.
The basic menus are accessible by pressing MENU on a basic remote (CRK17TC1 or other remote) or the front
panel. The choices available on the basic menus and control panels will vary depending on limits set by the
master user and the input selected. You can turn off the basic menu completely through the Access & Power
Options menu. For more information on the effects of master user choices on the basic menu and basic user
functionality, go to the next pages of this chapter.
Note: Options set in the master menu are stored in nonvolatile memory. If any options are changed in the basic menu, and
then the TV is turned off, the TV defaults to the master menu settings once it’s turned back on.
Using Master and Basic Menus
Menus and choice lists use the point and select rule to navigate, but control panels use a variety of methods
to adjust features on your TV. The following pages detail how to use these controls to customize the
functions of your TV.
The first menu is called the Main menu. Press MENU on the remote (master remote for master menu; basic or
universal remote for basic menu) or on the front panel (basic menu) to bring up the Main menu.
Menu choices take you to another menu or a control panel. There are two ways to select a menu item:
•Point with the arrows and then select with MENU or OK.
•Press a digit button on the remote. For example, in the master Main menu, press 3 to go straight to the
Channel menu.


