ENG-10
A/V Receiver Connections
To take full advantage of the movie theater experience
that DVD offers, you may want to connect your DVD-
VCR to a complete Surround Sound system, including
an A/V Receiver and six Surround Sound speakers.
Before You Begin...
• If your A/V receiver is equipped with a Dolby
Digital Decoder, you have the option to bypass the
DVD-VCR’s built-in Dolby Digital Decoder. Use the
Digital Audio Out connection below.
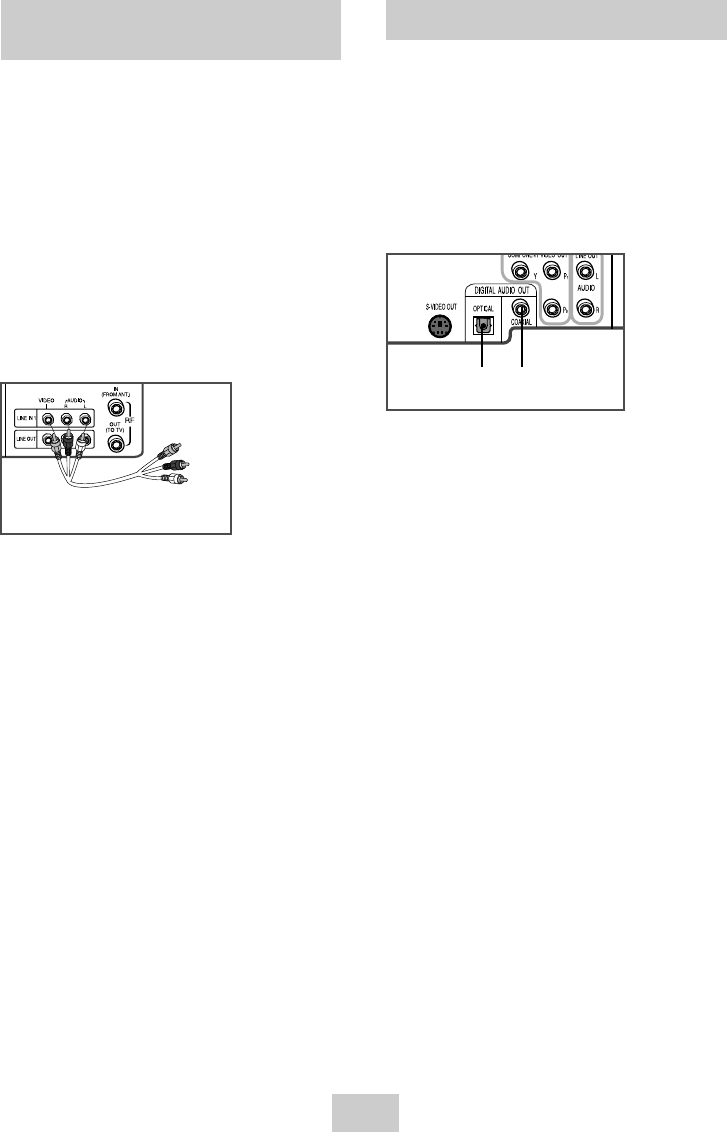
1 Digital Audio Out
Connect a digital coaxial cable or an optical cable
from the Digital Audio Out jack on the rear panel of
the DVD-VCR to the corresponding Digital Audio
Input jack on your A/V Receiver:
• Optical
• Coaxial
• Use whichever connection is available on your
A/V Receiver.
To Digital Audio Input of an A/V
Receiver with a Dolby Digital Decoder
or
2 Play Device
Play your external device, then press the INPUT
SEL. button until the playback from Line1 (rear panel
inputs) or Line2 (front panel inputs) appears on your
TV screen.
3 Record Device
Press Record on the Front panel and Remote
Control.
4 Timer Record From Device
Select Line1 (L1) or Line2 (L2) as your record source
in the Timer Record menu. (See page 32)
All other Timer Record settings should be set in the
usual manner.
Connecting Other Video
Equipment
You can connect a wide variety of audio/video
equipment to your DVD-VCR, including:
• An additional VCR
• Laser Disc Player
• DVD Player
• Camcorder
• Satellite Receiver
• Video Game
Since all of these devices use essentially the same
connections, they will be described together.
1 Connect Device to DVD-VCR
Connect RCA cables from the Audio and Video Line
Outputs of your external device to the Line1(rear
panel inputs) or Line2 (front panel inputs)
From Audio/Video Outputs
of External Device


