-E12-
Y
RL
P
B
P
R
AUDIO OUT
VIDEO OUT
COMPONENT VIDEO OUT
OPT.
DIGITAL
OUT
VIDEO OUT
SELECT
S
COMPONENT
S-VIDEO OUT
Y
RL
P
B
P
R
AUDIO OUT
VIDEO OUT
COMPONENT VIDEO OUT
OPT.
DIGITAL
OUT
VIDEO OUT
SELECT
S
COMPONENT
S-VIDEO OUT
Notes:
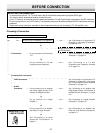
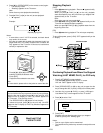
• For VIDEO connection, please refer to “BASIC CONNECTIONS”.
• Please refer to the instruction manual of your amplifier.
• When you connect the DVD video player to your amplifier, be sure to turn off the power and disconnect both units from the wall
outlet until all the connections have been made.
Before connecting, remove the
protective cap from the jack. Replace
the cover when the jack is not in use.
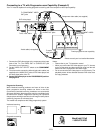
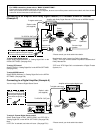
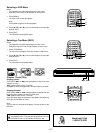
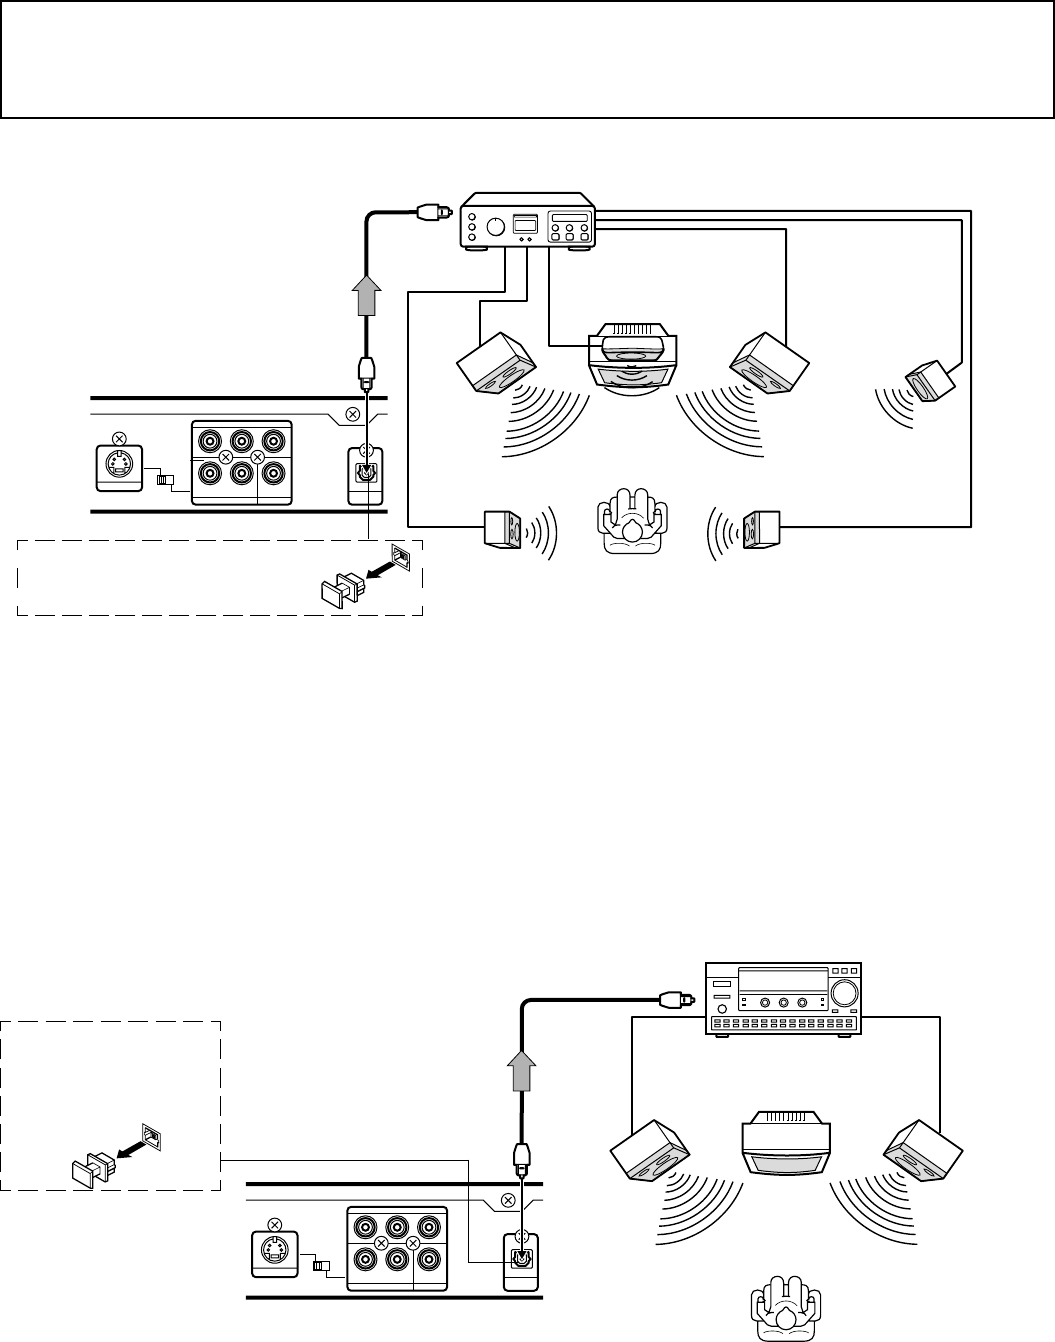
Connecting to an Amplifier with Dolby Digital Decoder, DTS Decoder or MPEG2 Decoder
(Example 4)
Manufactured under license from Dolby Laboratories.
“Dolby”, “Pro Logic” and the double-D symbol are trademarks of
Dolby Laboratories.
“DTS” and “DTS Digital Out” are trademarks of Digital Theater
Systems, Inc.
To DIGITAL OUT jack
*Optical cable
(not supplied)
To digital audio input
Amplifier with Dolby Digital Decoder, DTS Decoder or MPEG2 Decoder
*Please consult your local audio/video dealer.
Front right
speaker
Center
speaker
Subwoofer
Front left
speaker
Surround left
speaker
Surround right
speaker
To enjoy Dolby Digital sound
Select “Dolby Digital BitStream” in “Setting Digital Out” on the
INITIAL SETTINGS. (See page E33.)
To enjoy DTS sound
Select “DTS On” in “Setting Digital Out” on the INITIAL SETTINGS.
(See page E33.)
To enjoy MPEG2 sound
Select “MPEG BitStream” in “Setting Digital Out” on the INITIAL
SETTINGS. (See page E33.)
Before connecting,
remove the protective cap
from the jack. Replace the
cover when the jack is not
in use.
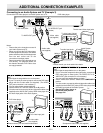
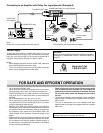
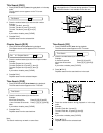
Connecting to a Digital Amplifier (Example 5)
*Please consult your local audio/video dealer.
*Optical cable
(not supplied)
To DIGITAL OUT jack
To digital audio input
Amplifier with an optical digital input
Front right
speaker
Front left
speaker
To enjoy 2 Channel Digital Stereo sound
Select “Dolby Digital LPCM”, “MPEG LPCM”, and “DTS Off” in
“Setting Digital Out” on the INITIAL SETTINGS. (See page E33.)
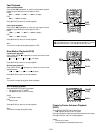
Note:
If “DTS On” is selected, loud noise will occur. (See page E33.)
You can enjoy 2 Channel Digital Stereo Sound.


