19
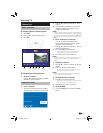
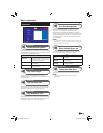
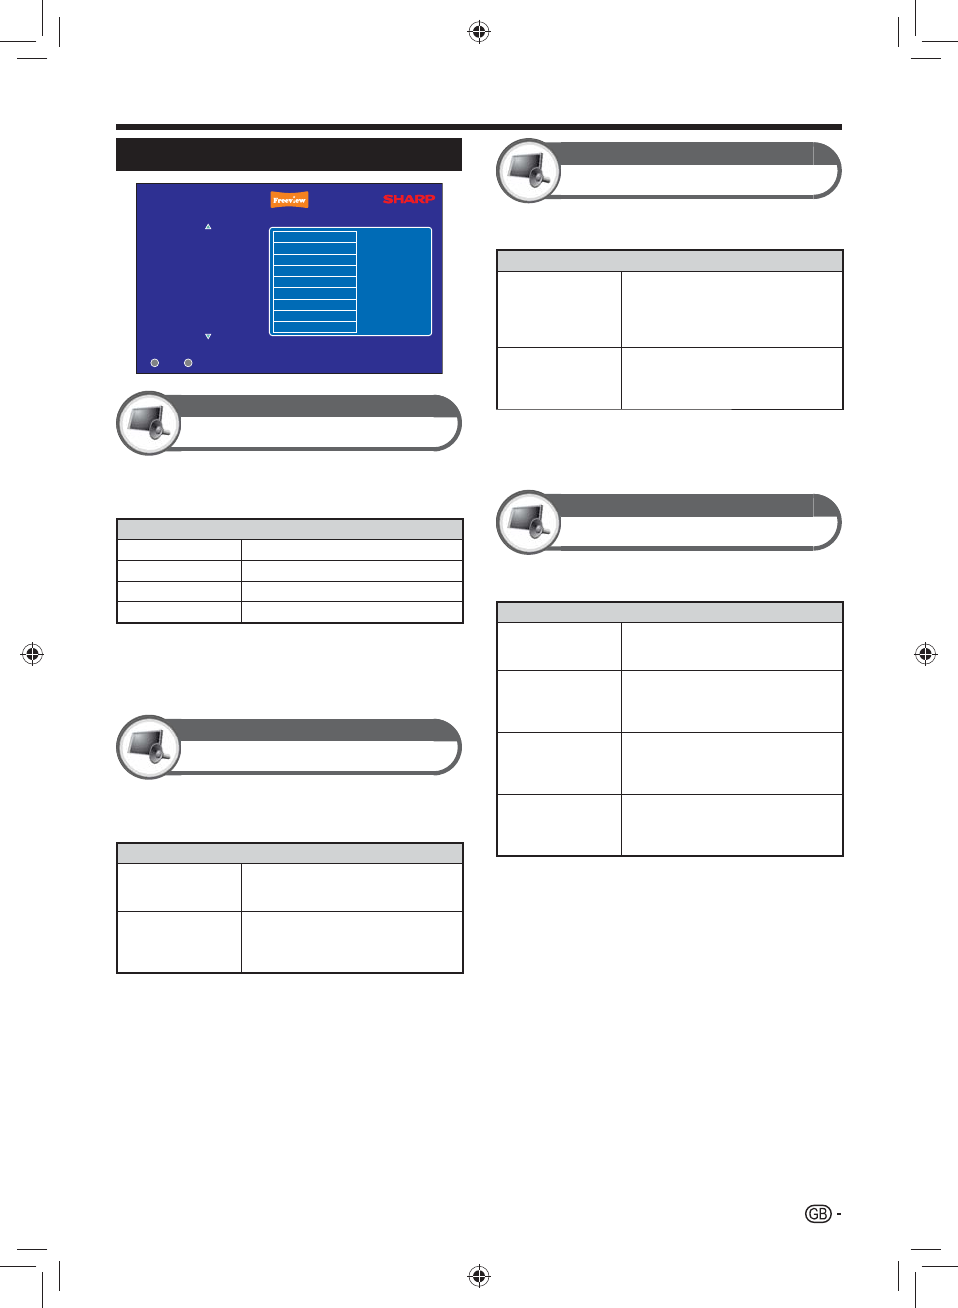
AV Settings
Settings
Default Recording Mode
Add to Start of Recording
Add to End of Recording
Exit Menu
Select
OK
Exit
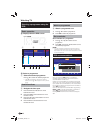
AV Settings
Languages
Parental Control
Freeview +
General
Live Pause Length
Skip Forwards Time
Skip Backwards Time
Auto Disk Management
Show Available SpaceAs
Format Hard Disk Drive
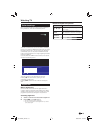
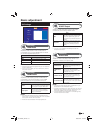
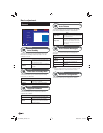
AV Settings
HDMI Video
Adjusts the video resolution when the Recorder is
connected to your TV using a HDMI cable. This allows
you to watch High Definition (HD) TV.
Item
576p
Sets the video resolution to 576p.
720p
Sets the video resolution to 720p.
1080i
Sets the video resolution to 1080i.
1080p
Sets the video resolution to 1080p.
NOTE
Consult the documentation supplied with your TV to select the •
correct TV resolution.
If your TV is not HD Ready but has a HDMI socket, select the •
576p video resolution.
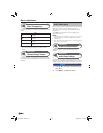
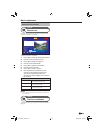
AV Settings
HDMI Audio
Adjusts the audio output type when the Recorder is
connected to surround sound system using a HDMI
cable. This allows you to enjoy realistic live sound.
Item
Stereo
The Recorder will output Stereo sound
when connected to a standard surround
sound system using the HDMI cable.
Dolby Digital
The Recorder will output Dolby Digital
surround sound when connected to
a compatible surround sound system
using the HDMI cable.
NOTE
Only select Dolby Digital if you have a compatible surround •
sound system. If you choose this setting with a non-compatible
sound system the audio will not be heard.
Not all channels are broadcast with Dolby Digital sound.•
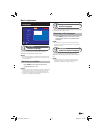
AV Settings
SCART Output
Adjusts the video signal type when the Recorder is
connected to your TV using a SCART cable.
Item
RGB
This selects an RGB video signal type.
The video signal will be splits the video
output into separate red, green and
blue signals to provide the best picture
quality.
Composite
This selects a composite video signal.
Produces a single composite video
signal which provides poor picture
quality.
NOTE
If your TV is not compatible with RGB signals, select the •
Composite video output.
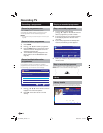
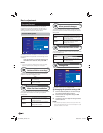
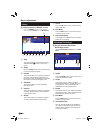
AV Settings
Screen Size
Adjusts the screen size (aspect ratio) between 16:9
widescreen and various 4:3 picture sizes.
Item
16:9 Widescreen
Displays a 16:9 widescreen picture.
This ensures the best aspect ratio for
widescreen TVs.
4:3 Widescreen
(16:9)
In this mode, the picture is stretched
towards each side of the screen.
This displays a picture similar to 16:9
widescreen on 4:3 TVs.
4:3 Centre Cut Out
Displays a 4:3 picture in the centre of
the screen. With some programmes,
bars may appear on the left and right
hand side of the screen.
4:3 Letterbox (16:9)
Displays a 16:9 picture in the centre of
the screen. With some programmes,
bars may appear on the top and bottom
of the screen.
NOTE
If you have connected the Recorder to a Widescreen TV, you •
should select the 16:9 Widescreen setting.
The wide mode feature lets you adjust the screen size using the •
WIDE button on the remote control unit. Press WIDE to cycle
through the available screen sizes while watching TV.
If you have selected 16:9 widescreen in the AV settings menu, •
the wide mode will have no effect.
Basic adjustment
TU-T2HR32_GB.indd 19TU-T2HR32_GB.indd 19 29/06/2010 15:16:2629/06/2010 15:16:26


