- 12 -
10.3.3 Adjusting the video-output using the buttons of the remote
control
You can also directly adjust the video-output for RGB format, Progressive-
Scan format and HDMI format using the buttons on the remote control. The
buttons are marked as follows:
HDMI HDMI format
YUV Progressive-Scan format
RGB RGB format
Attention!
In the event that you set an incorrect Video output, for example "P-Scan", alt-
hough your television is not capable of Progressive Scan, then the television
screen will suddenly become black.
This is not a defect of the television or the DVD player!
In this case press the
STOP button on the front panel of the DVD player or on
the remote control.
Then press the
VIDEO button on the remote control continuously until an image
appears again on the television screen.
Brightness: Here, with the control buttons , you set the brightness
value (1-16) of the DVD player.
Sharpness: Here, with the control buttons , you set the contrast
value (1-16) of the DVD player.
HD-Resolution: Here you can select from several resolutions for the HDMI
output. Check, using the playback device's instruction manu-
al, which resolutions
(480p/576p/720p/1080i/1080p/Auto) are supported.
In the setting Auto, the resolution supported by the television
set is utilised.
HD-JPEG mode: Here you can select from several resolutions for the image
display via the HDMI Output.
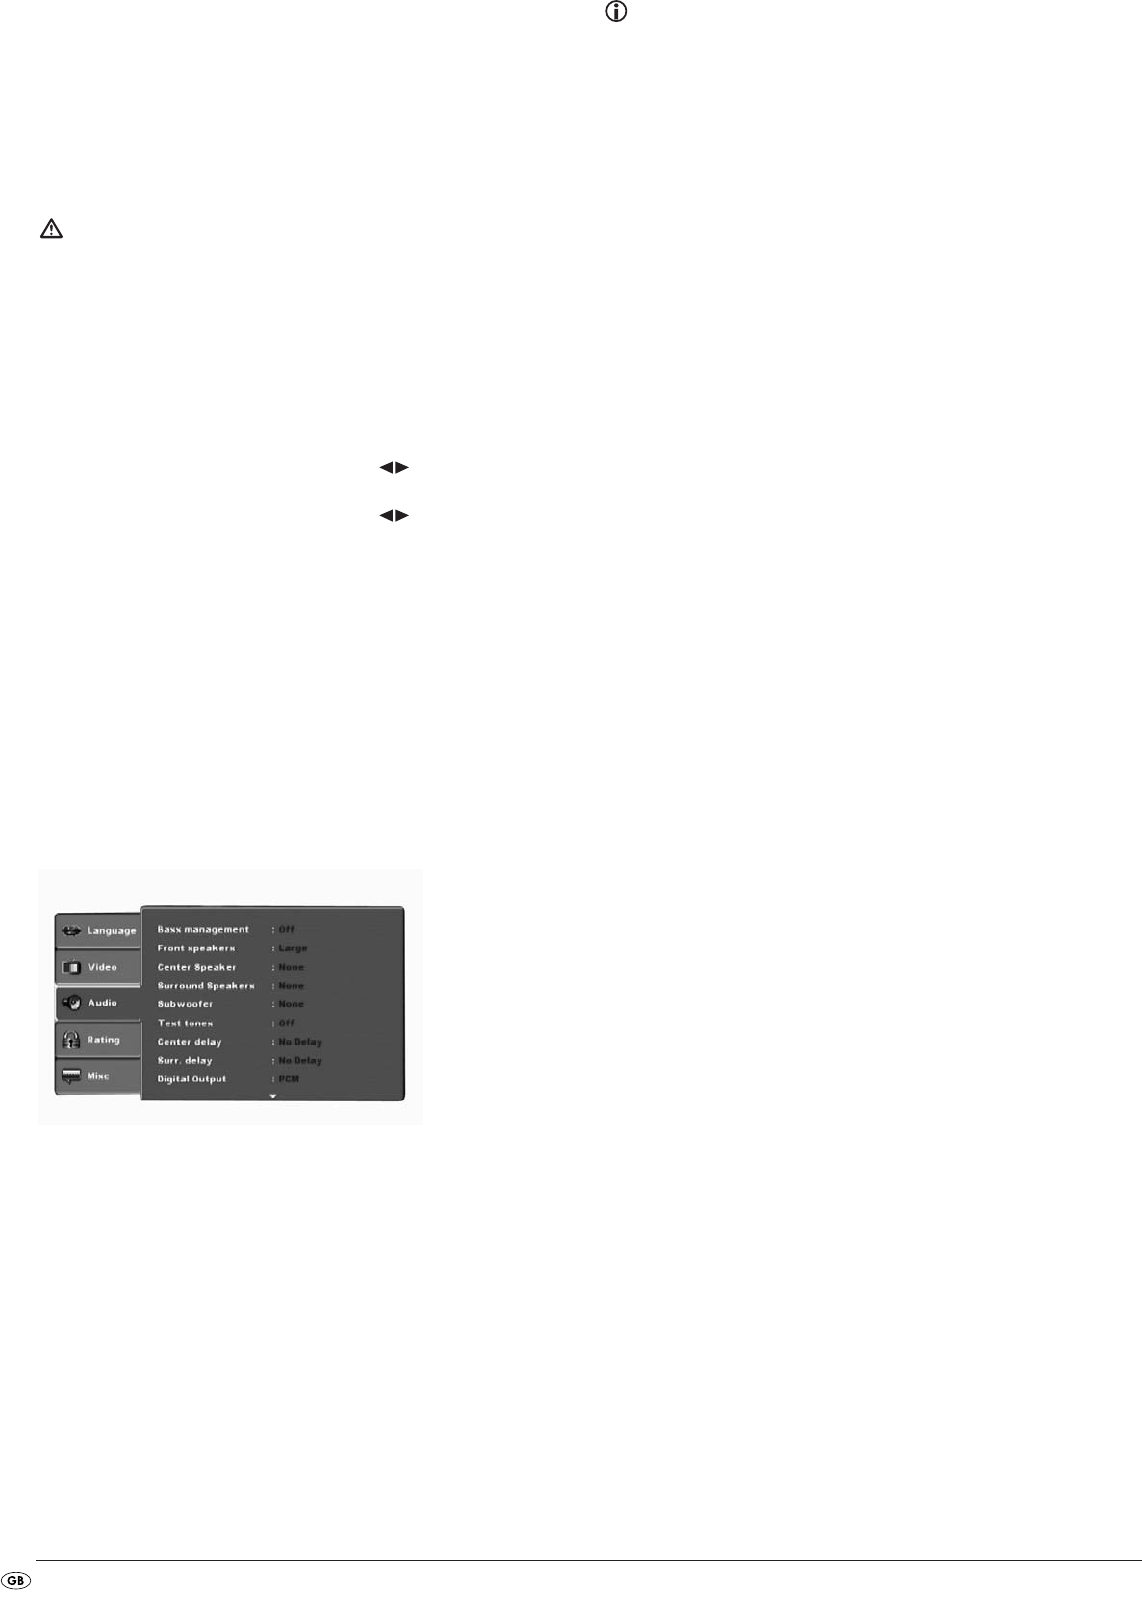
10.4 Audio settings
In this OSD menu you can administer the settings for Bass Management, the
Speaker size of individual loud speakers, Test sound, Delays, Digital audio
outputs , Night mode and ProLogic.
Bass
management: Here you can Activate/Deactivate the Bass-Management.
Activation (On) is necessary if you are not using a 5.1 am-
plifier with its own speaker management but rather want
the sound output transmitted via a particular amplifier. In
this case the DVD player must be informed which kind of
speaker (Small/Large) is to be run from the respective
sound output. In this way the sound and the separation of
Highs, Middles and Basses can be optimally conformed.
Front LS,
Center LS,
Surround LS: Here you can Activate/Deactivate the particular speaker
type and set the size.
Large
: Activate sound output for large speakers.
Small
: Activate sound output for small speakers.
(only with the activation of Bass-Management)
None
: Deactivate sound output for these types of speakers
Note:
The input Front Speakers can not be deactivated since sound output for the
front speakers is always switched on.
Subwoofer: Set this entry to Present when a subwoofer is connected
and is to be activated.
In order to deactivate this sound output set the entry to
None.
Test tones: Here you can switch on a test sound for each particular
audio output in order to check your 5.1 Surround settings.
Surround
Center,
delay: Here you set the delay for the centre and rear surround loud-
speakers. Each increase of the distance setting corresponds
to a delay of one millisecond. With optimal settings the
sound reaches your ears simultaneously from all directions.
Center
: No delay, 0.3, 0.6, 1, 1.4, 1.7 m
Surround
: No delay, 1, 2, 3, 4 or 5.1 m
Digital Output: here you set the DVD players digital output signal.
Off
: No digital audio component connected
PCM
: Two channel digital audio component connected
via coaxial cable or optical cable.
RAW
: Multi channel digital audio component, i.e. DTS
receiver, connected via coaxial cable or optical
cable.
Night Mode: Here you activate/deactivate the night mode. This setting
facilitates an optimal sound playback with reduced volu-
me. The loud passages are suppressed and the quieter
passages are played back a little louder. This function is
only possible when using a digital audio component.
Pro Logic: Here you set the Dolby ProLogic compatibility.
Off
: No Dolby Prologic compatible audio component
is connected to the analogue stereo output (L/R).
On
: A Dolby Prologic compatible audio component is
connected to the analogue stereo output (L/R) of
the DVD player.
IB_KH6519_20_LB6 04.12.2008 14:41 Uhr Seite 12
