


27
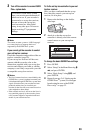
Hookups and Settings
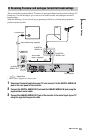
Step 5: Connecting the
Mains Lead
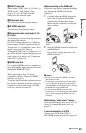
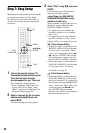
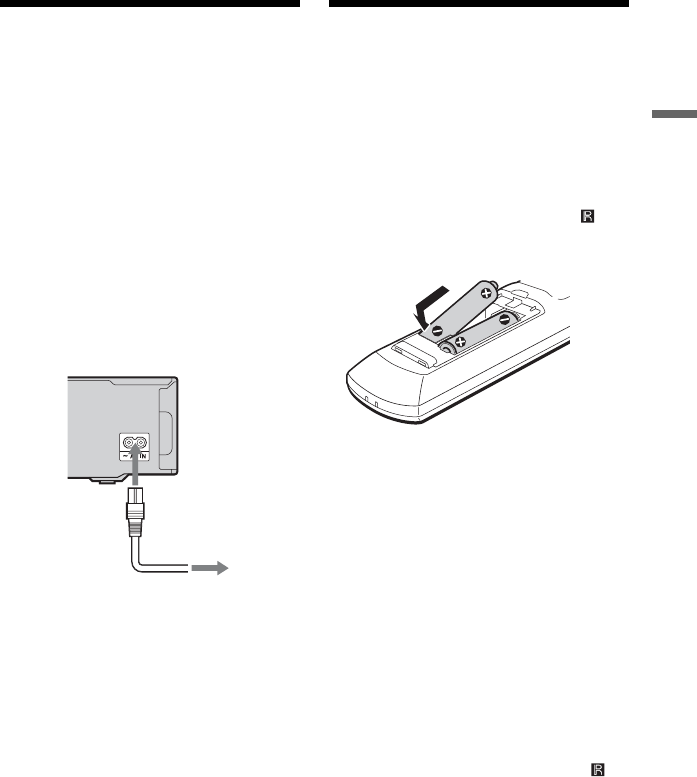
Connect the supplied mains lead to the AC
IN terminal of the recorder. Then plug the
recorder and TV mains leads (AC power
cords) into the mains. After you connect the
mains lead, you must wait for a short
while before operating the recorder.
You can operate the recorder once the front
panel display lights up and the recorder
enters standby mode.
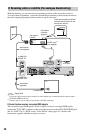
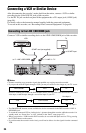
If you connect additional equipment to this
recorder (page 34), be sure to connect the
mains lead after all connections are
complete.
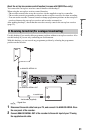
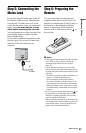
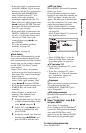
Step 6: Preparing the
Remote
You can control the recorder using the
supplied remote. Insert two R6 (size AA)
batteries by matching the 3 and # ends on
the batteries to the markings inside the
battery compartment. When using the
remote, point it at the remote sensor on
the recorder.
b Notes
• If the supplied remote interferes with your other
Sony DVD recorder or player, change the
command mode number for this recorder
(page 29).
• Use the batteries correctly to avoid possible
leakage and corrosion. Should leakage occur, do
not touch the liquid with bare hands. Observe the
following:
– Do not use a new battery with an old battery, or
batteries of different manufacturers.
– Do not attempt to recharge the batteries.
– If you do not intend to use the remote for an
extended period of time, remove the batteries.
– If battery leakage occurs, wipe out any liquid
inside the battery compartment, and insert new
batteries.
• Do not expose the remote sensor (marked on
the front panel) to strong light, such as direct
sunlight or a lighting apparatus. The recorder
may not respond to the remote.
• When you replace the batteries of the remote, the
code number and Command Mode may be reset
to the default setting. Set the appropriate code
number and Command Mode again.
to mains
to AC IN
1
2
,continued