


71
Recording (For analogue broadcasting)
Checking/Changing/
Cancelling Timer
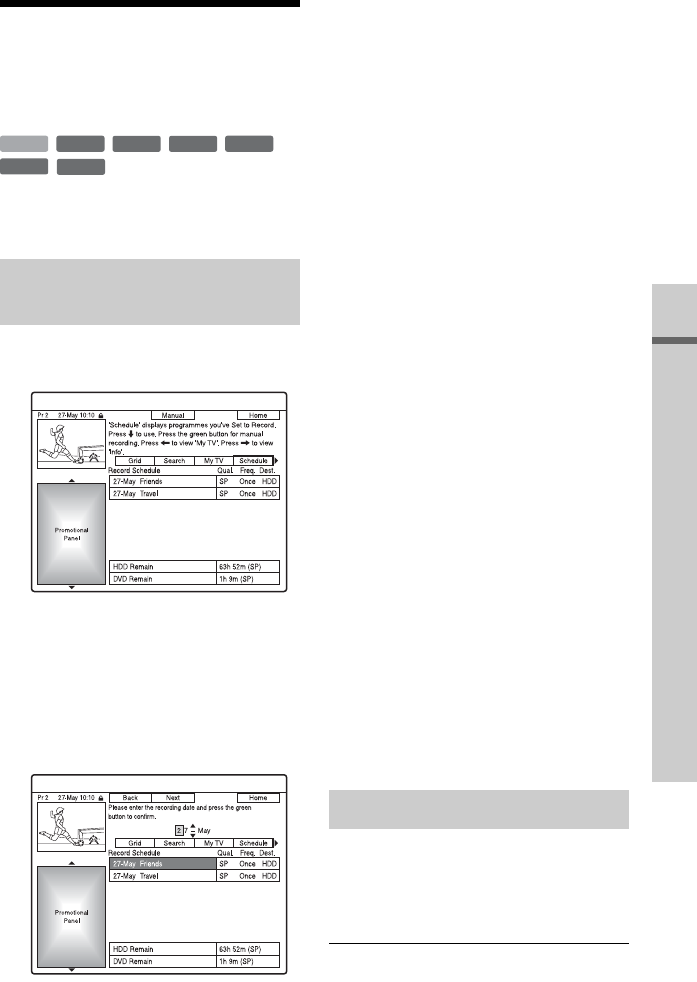
Settings (Schedule)
You can change or cancel timer settings
using the schedule list.
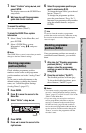
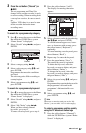
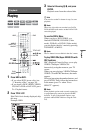
1 Press TIMER.
The schedule list appears.
2 Select the timer setting you want to
change using m.
You can check the selected timer setting
highlighted in pink.
To change the setting, go to step 3.
If not changing the setting, go to step 6.
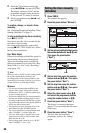
3 Press the green button (“Edit”).
4 In the left column, select an item
using the red button (“Back”) or the
green button (“Next”), and adjust
using the number buttons or </M/m/
,.
5 Press the corresponding colour
button repeatedly to change settings.
• To change the recording destination,
press the yellow button
(“Destination”). If there is not enough
available DVD disc space for the
recording, the recorder automatically
records the programme to the HDD
even if you select “DVD” (Recovery
Recording). When you set a daily or
weekly timer, “HDDr” allows you to
replace the previous timer recording
with the new one automatically (HDD
only).
• To set the recording pattern, press the
green button (“Frequency”).
• To change the recording mode, press
the red button (“Quality”) (page 154).
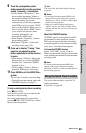
6 Press , to display “Timing.”
7 Press the green button (“Timing”)
repeatedly to change the duration
time or to set the VPS/PDC function.
See “About the VPS/PDC function” on
page 69.
• If you want to record to a particular
HDD genre, press the yellow button
(“Genre”) repeatedly.
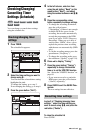
8 Press GUIDE to exit the GUIDE Plus+
system.
The new settings become effective.
In step 2 of “Checking/changing timer
settings,” select the timer setting you
want to cancel using M/m, and press the
red button (“Delete”).
To close the schedule list
Press GUIDE.
Checking/changing timer
settings
+
RW
-
RWVR
-
RW
Video
-
RVR
+
R
HDD
-
R
Video
Cancelling timer settings
,continued