34 (GB)
Setting up the Multi Display
Setting up the Multi
Display
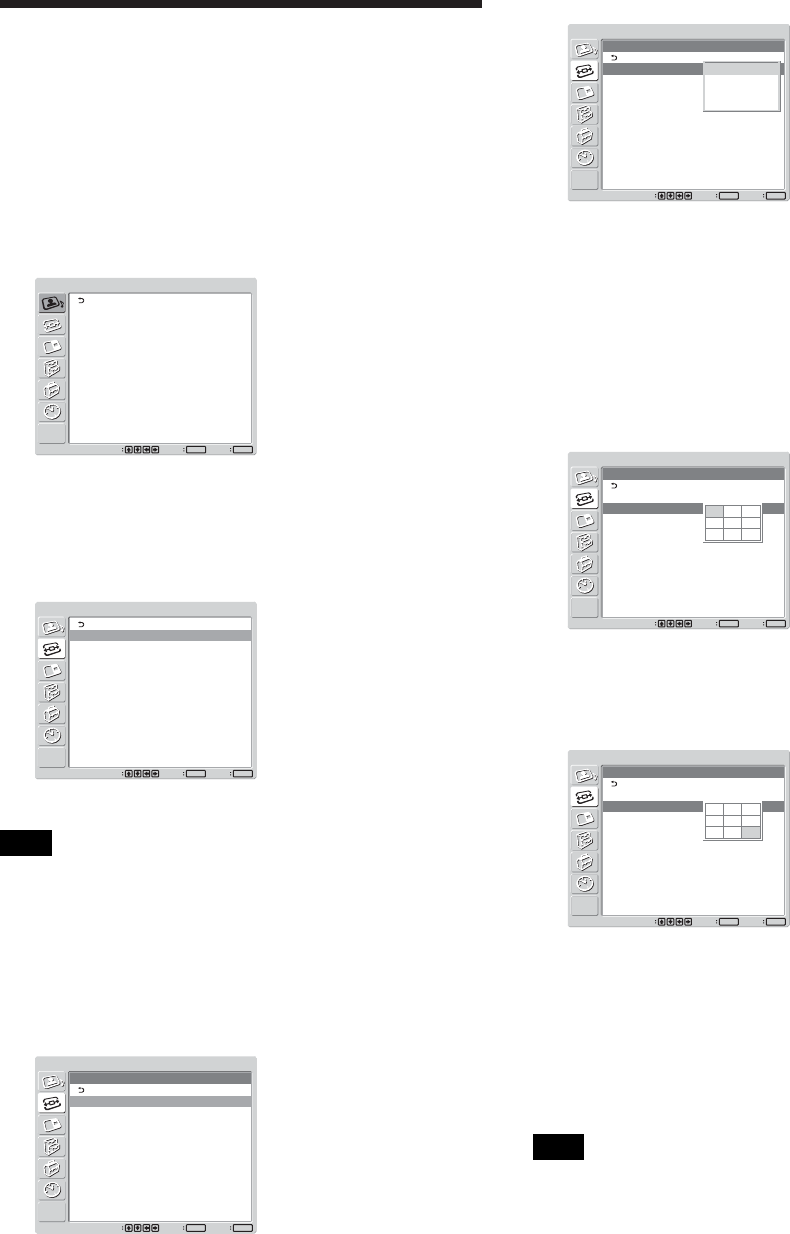
You can make settings for connecting multiple display
units to form a video wall.
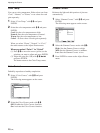
1 Press MENU.
The main menu appears on the screen.
PICTURE/SOUND CONTROL
Picture Mode:
Adjust Picture
Adjust Sound
Standard
Set
ENTER
Exit
MENU
Select
2 Select “SCREEN CONTROL” with M/m and
press ENTER.
The SCREEN CONTROL menu appears on the
screen.
SCREEN CONTROL
Multi Display Setup
Wide Setup
Wide Mode:
Adjust Screen
Full
Set
ENTER
Exit
MENU
Select
Note
You can enlarge the picture using the Multi Display
only when “Aspect” is set to“Full.”
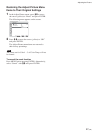
3 Select “Multi Display Setup” with M/m and press
ENTER.
The Multi Display Setup menu appears on the
screen.
SCREEN CONTROL
Multi Display Setup
Multi Display:
Position
Off
Set
ENTER
Exit
MENU
Select
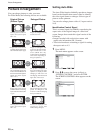
4 Select “Multi Display” with M/m and press
ENTER.
The following menu appears on the screen.
SCREEN CONTROL
Multi Display Setup
Multi Display:
Position
Off
Set
ENTER
Exit
MENU
Select
Off
2x2
3x3
4x4
5 Select the mode corresponding to the arrangement
of the video wall you want to setup with M/m.
Off: Uses a single screen.
2 × 2 – 4 × 4: Selects the arrangement to be used
to construct the video wall.
6 Press ENTER to return to the Multi Display Setup
menu and select “Position” with M/m.
SCREEN CONTROL
Multi Display Setup
Multi Display:
Position
3x3
Set
ENTER
Exit
MENU
Select
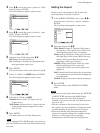
7 Select the position of this particular display unit in
the arrangement of the video wall with M/m/</
,.
SCREEN CONTROL
Multi Display Setup
Multi Display:
Position
3x3
Set
ENTER
Exit
MENU
Select
For example, to select the position at the right
bottom in a 3 × 3 arrangement
8 Press ENTER to set the position.
The menu returns to the Multi Display Setup
menu.
Note
You can set the Multi Display only when the
“PICTURE AND PICTURE” function is disabled.


