45
Playback
Playing DivX/Music/
Photo Files
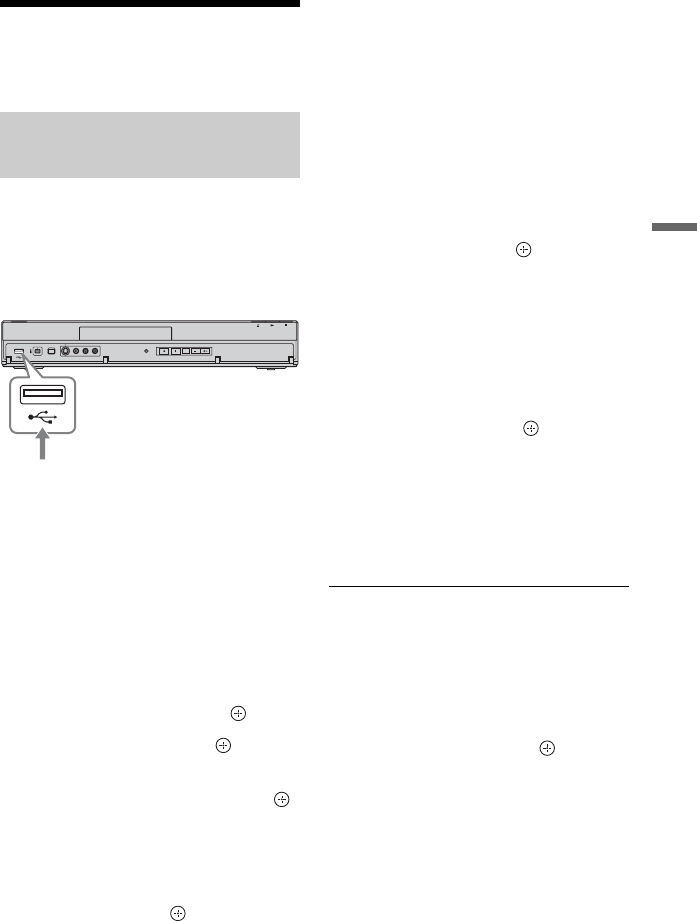
1 Connect the USB device to the USB
jack on the recorder.
Refer to the operating instructions
supplied with the USB device before
connecting.
b
• Some USB devices may not work with this
recorder.
• The recorder can recognise Mass Storage
Class (MSC) devices that are FAT-
compatible.
2 Press HDD.
3 Press SYSTEM MENU.
The System Menu appears.
4 Select “Media,” and press .
5 Select “USB,” and press .
6 Select a file type (“Video (DivX),”
“Photo,” or “Music”), and press .
Select a USB partition, if necessary.
The DivX List, Photo List, or Music List
appears.
7 Press the red button (“Edit”) to select
“Copy,” and press .
The Copy List appears.
When copying photo files from a USB
device, the display asks whether to
categorise the data by date. Select “Yes”
or “No.”
8 Select a folder or file/track to copy,
and press MARKER.
A check mark appears by the selected
item.
• To clear the check mark, press
MARKER again.
• To select/unselect all items, press the
yellow button (“Selection”)
repeatedly.
• To change the item order, press the
green button (“Sort”) to select
“Name,” “Size,” or “Date” (for photo
files only), and press .
9 Repeat step 8 to select all the folders
or files/tracks you want to copy.
When you do not select a destination
folder, skip steps 10 and 11.
10
Press ,.
11
Select a copy destination (a folder)
using M/m, and press .
To create a new folder, press the green
button (“New Folder”).
To change the folder name, press the
yellow button (“Rename”) (page 55).
12
Press the red button (“Start Copy”).
The items are copied to the HDD.
To copy DivX/music/photo files to the
HDD (DISC t HDD)
1 Press DVD, and insert a disc.
2 Press SYSTEM MENU.
The system menu appears.
3 Select “Media,” and press .
4 Follow steps 6 to 12 of “Copying DivX/
music/photo files to the HDD” on page
45.
Copying DivX/music/photo
files to the HDD
USB device
DVD recorder
to USB jack
,continued


