


50
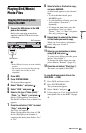
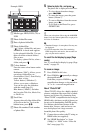
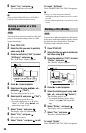
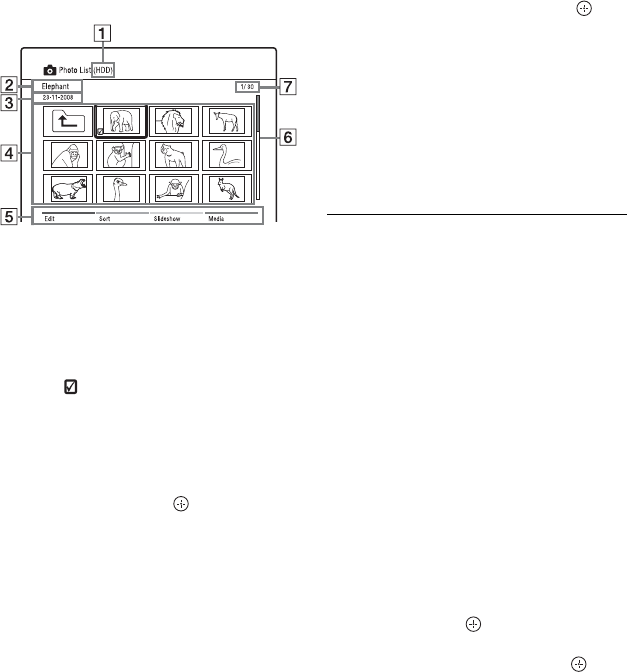
Example: HDD
A Media type: HDD, DVD, CD, or
USB
B Photo folder/file name
C Date of photo folder/file
D Photo folders/files
“ ”: Select a folder/file, and press
MARKER. A check mark appears
by the selected folder/file. You can
then edit all the selected folders/
files at once.
To display a photo file list, select a
folder, and press .
E Colour buttons:
Press the same colour button on the
remote.
Red button (“Edit”): Allows you to
erase/copy folders/files, etc.
Green button (“Sort”): Sorts files by
name, date, or size.
Yellow button (“Slideshow”):
Allows you to start a slideshow.
You can also play the slideshow
with the sound (page 51).
Blue button (“Media”): Switches
the list to the Title List, Music List,
or DivX List.
F Scroll bar:
Appears when all of the folders/files
do not fit on the list. To view the
hidden items, press M/m.
G Photo file number/Total number
of photo files
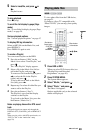
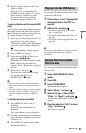
5 Select a photo file, and press .
The photo file is displayed in full view.
• To view the previous/next image,
press ./>.
• To rotate the image, press the green
button (“Rotate”).
• To start a slideshow from the current
image, press N.
• To go back to the Photo List, press
O RETURN.
z
When you select photo files using the MARKER
button, only the selected photo files are played in
full view or slideshow.
b
• Thumbnail images of some photo files may not
be displayed.
• For DVD camcorder video files containing
JPEG image files and movies, the recorder can
play only the movie sections.
To scroll the list display by page (Page
mode)
See “To scroll the list display by page (Page
mode)” on page 29.
To zoom an image
1 Press ZOOM in full view.
2 Press ZOOM or repeatedly to change
the magnification.
Each time you press ZOOM or , the
magnification changes as shown below.
2× t 4× t normal magnification
About “PhotoTV HD”
“PhotoTV HD” allows for a highly-detailed
pictures, and photo-like expression of subtle
textures and colours. By connecting Sony
“PhotoTV HD” compatible devices using an
HDMI cable, whole new world of photos can
be enjoyed in breathtaking Full HD quality.
For instance, the delicate texture of the
human skin, flowers, sand and waves can
now be displayed on a large screen in
beautiful photo-like quality.
1 Connect the recorder to the TV using an
HDMI cable (not supplied).
2 Set “HDMI Resolution” to “Auto
(1080p)” or “1080i” in the “Video In/
Out” setup (page 76).