HBD-E370/E470/E570/E870/T57
26
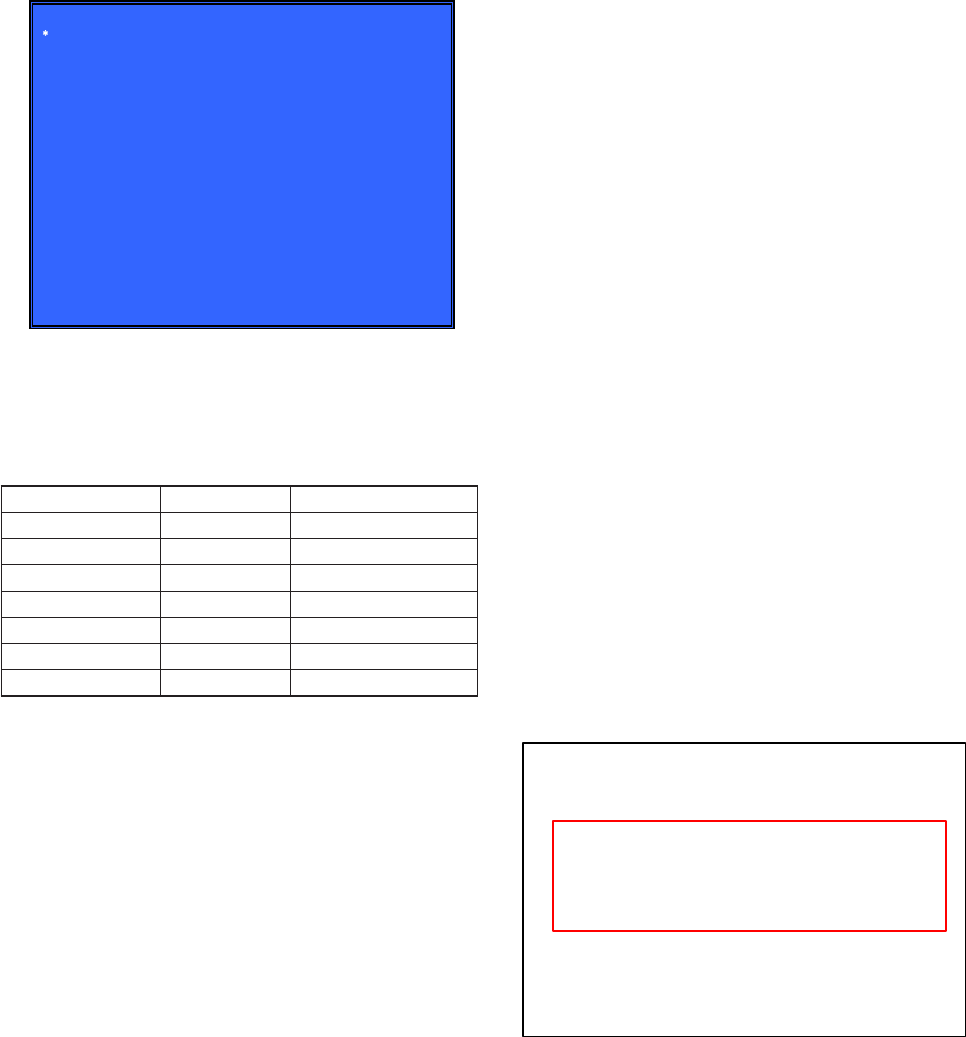
Screen 12: *FA Mode Test (Not Used)
(Screen 12)
FA Mode Test
[1] Enter Repeat FA mode
Repeat number: 0000
[2] Save FE log to USB
Not used for the servicing.
Press the [RETURN] button if having entered this mode.
CONFIRMATION ITEM
1. Playback Operation Confi rmation
1-1. Test Disc
Part No. Description Layer
J-6090-199-A BLX-104 Single Layer
J-6090-200-A BLX-204 Dual Layer
J-2501-307-A CD (HLX-A1)
J-2501-305-A HLX-513 Single Layer (NTSC)
J-2501-306-A HLX-514 Dual Layer (NTSC)
J-6090-077-A HLX-506 Single Layer (PAL)
J-6090-078-A HLX-507 Dual Layer (PAL)
Note: Refer to the service manual of BDP-BX1/S350 (Part No. 9-883-
989-1[]) (page 1-3 to 1-14E) for the use of BLX-104/204.
Operation and Display:
1. BLX-104
Procedure:
1. Select 23.976Hz/1080p.
2. Play “4.Motion picture”.
3. Check whether player can play back or not.
4. Check each outputs.
Video:
Composite/S Video/component/HDMI.
Audio:
Speaker out.
* When 1080/24p monitor is nothing, 1080i (59.94Hz or 50Hz)
can use instead of 1080/24p.
However this is temporary correspondence.
* When the output of HDMI is 1080p, the signal of Composite/S
Video/Component are not output.
It is necessary to lower the output of HDMI to 1080i or less.
2. BLX-204
Procedure:
1. Select 1080i (59.94Hz or 50Hz).
2. Play “4.Motion picture”.
3. Check whether player can play back or not.
(Check the picture and sound output)
3. CD (HLX-A1)
Procedure:
Check whether player can play back or not.
(Check the sound output)
4. HLX-513/514 (NTSC), HLX-506/507 (PAL)
Procedure:
1. After displayed Main Menu, select “1.Video Signal”.
2. Play “1.Color bar 100%”.
(Check the picture and sound output)
3. Return to Menu.
4. Play “Demonstration 4:3” or “Demonstration 16:9”.
(Check the picture and sound output)
1-2. Playback operation confi rmation
Confi rm operation in each signal/output mode of test disc (BLX-
104/204) according to the content of the repair.
Note: “AV Sync.” doesn’t operate.
2. Networking Confi rmation
Confi rm it according to the following procedure when you confi rm
the connection of the network.
Note: Do not execute “Network Connection Diagnostics” of “Network
Settings” of the home menu with only the router connected.
Procedure:
1. Connect the router with the set with LAN cable.
2. Turn on the power of the set and the router.
3. Press the [HOME] button on the remote commander, and the
home menu is displayed.
4. Select “Setup” → “Network Settings” → “Internet Settings”,
and press the [3] button on the remote commander.
5. Select “View Networks Status” and press the [3] button on the
remote commander.
6. Confi rm IP address are displayed in “IP Address”, “Subnet
Mask” and “Default Gateway”.
IP Address Setting: XXXX
Internet Access: XXXX
Physical Connection: XXXX
IP Address: XXX.XXX.XXX.XXX
DNS Settings: XXXX
MAC Address: XXX.XXX.XXX.XXX
Primary DNS: XXX.XXX.XXX.XXX
Secondary DNS: XXX.XXX.XXX.XXX
Subnet Mask: XXX.XXX.XXX.XXX
Default Gateway: XXX.XXX.XXX.XXX


