44 Chapter 2 Playback and Recording
Chapter 2 Playback and Recording
Notes
• If you connect the output connectors of the unit to the
input connectors of the player, a humming noise may
be generated or the image may be distorted. If these
phenomena occur, set INPUT SELECT switch to a
position where a signal is not currently being input,
or disconnect the cables.
•Distorted signals (i.e., when played back at a speed
other than normal) may not be recorded or may be
distorted.
•When you connect only AUDIO IN jacks when HDV
indicator is lit, no audio is input. You must connect
VIDEO IN jack at the same time or set [HDV/DV
SEL] in [IN/OUT REC] menu to [DV].
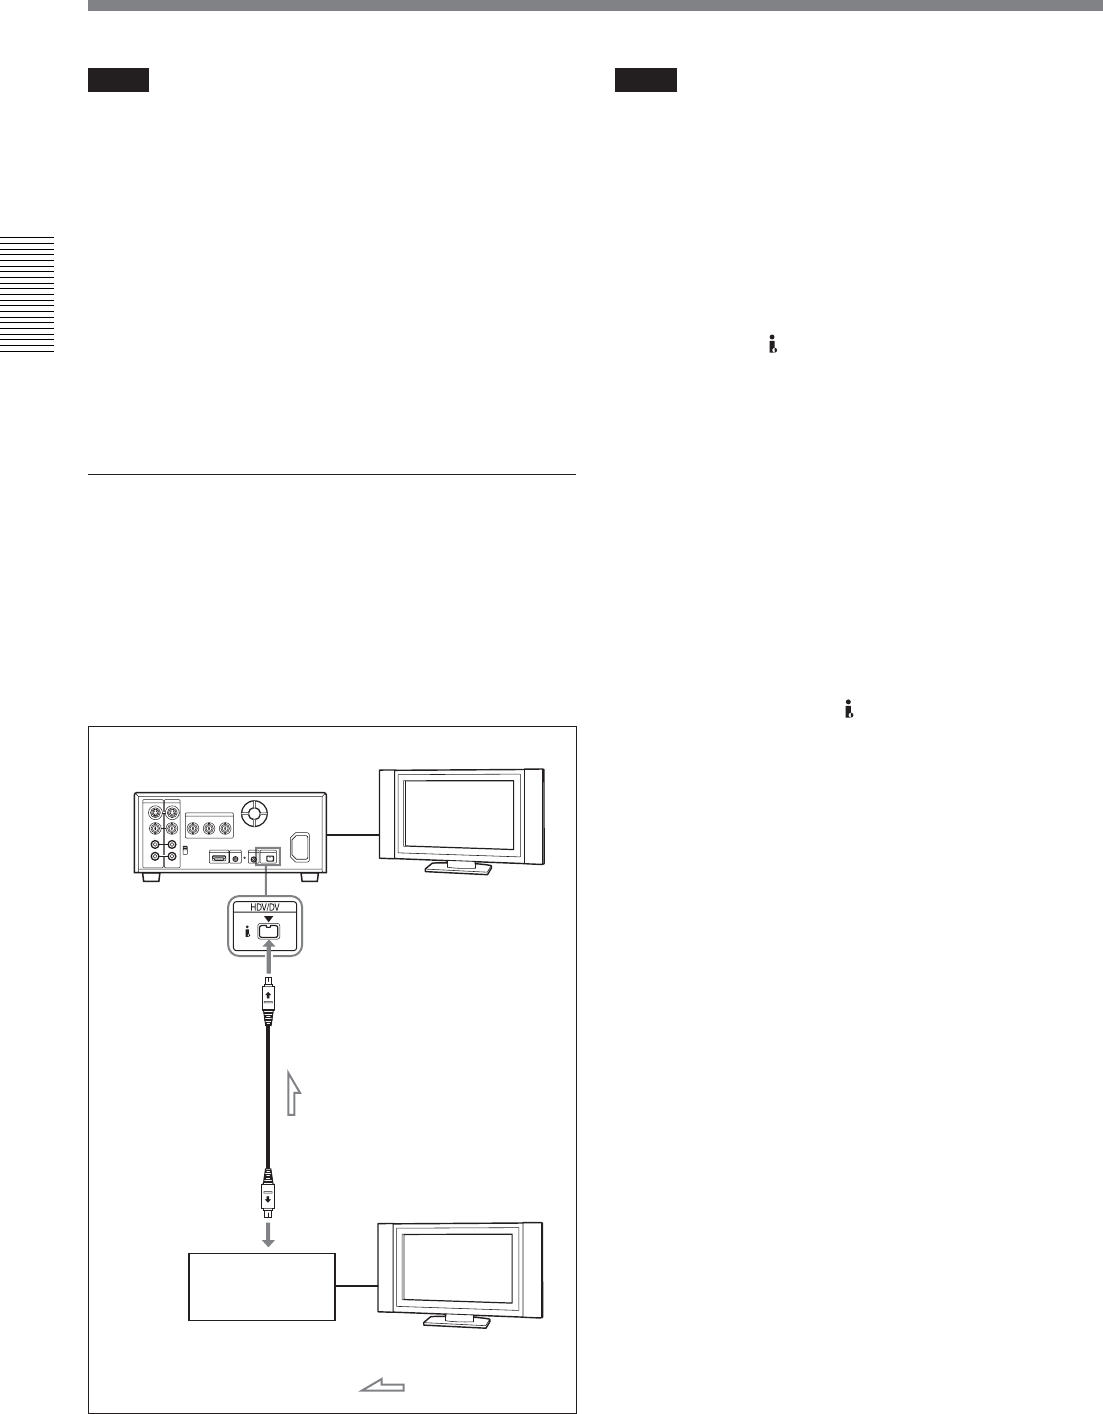
To digital video equipment with an i.LINK
jack
When you record i.LINK signal of HDV (1080/60i,
1080/50i), DVCAM, or DV format, the video and
audio signals are sent without any degradation in
quality, enabling high-quality recording. The signal
flow is automatically detected so you do not need to
make separate connections for input and output.
Notes
•When you record video from HDV-compatible
equipment, set [HDV/DV SEL] in [IN/OUT REC]
menu to [AUTO]. To record video from a DVCAM/
DV equipment, set [HDV/DV SEL] in [IN/OUT
REC] menu to [AUTO] or [DV] before connecting
the i.LINK cable (page 67). If you change the setting
after connecting i.LINK cable, the video equipment
may not recognize the video signals correctly.
•Copy-protected program such as digital broadcast can
not be input via
HDV/DV jack.
•With HDV/DV connection, the sound is recorded in
the same audio recording mode as that of the source
tape. To record in a different audio recording mode
from the source tape, connect as shown in “To video
equipment without an i.LINK jack” on page 43.
•With HDV/DV connection, data codes (recording
date/time, camera data) recorded on the source tape
are transmitted to the recorder (the unit). As a result,
when you play back a recorded tape on the unit and
press DATA CODE button on the Remote
Commander, the same data codes as those recorded
on the source tape are displayed on the monitor
screen.
• If no picture appears via
HDV/DV jack, disconnect
the i.LINK cable, then reconnect it.
• The unit cannot record video or audio separately.
• If you record a picture in DVCAM/DV in the
playback pause mode, the picture may be rough.
When set to HDV, the picture is not recorded.
•When connecting a device that has a 6-pin i.LINK
jack to the unit, first, connect the plug of the cable to
the 6-pin i.LINK jack.
• If the unit is connected to a device equipped with a
6-pin i.LINK jack, when you intend to disconnect or
reconnect the i.LINK cable, turn off the device and
pull out the plug of its power cord from the AC outlet
beforehand. If you connect or disconnect the i.LINK
cable while the device is connected to the AC outlet,
high-voltage current (8 to 40 V) is output from the
i.LINK jack of the device to the unit, which may
cause a malfunction.
• If you restart recording after a pause or stop, the
images recorded before and after restarting operation
will not be continuous.
• If you connect the output connectors of the unit to the
input connectors of a player or that of a monitor, a
humming noise may be generated or the image may
be distorted. If these phenomena occur, use INPUT
SELECT switch to select a signal that is not being
input or disconnect the cables.
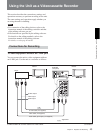
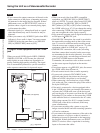
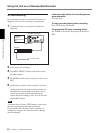
HVR-M25 (rear panel)
Monitor
i.LINK cable (not supplied)
i.LINK jack
Digital video equipment
with an i.LINK jack
Monitor
: Signal flow
Using the Unit as a Videocassette Recorder


