Chapter 3 Dubbing/Editing
50 Chapter 3 Setting the Time Code
To cancel the time code setting
Select [CANCEL] in step 7, then press EXEC button.
To reset the time code
Select [RESET] in step 4, then press EXEC button.
To set the value of the user bits
You can set the user bits as eight-digit hexadecimal
values (base 16) to have the date, time, scene number,
and other information inserted into the time code track.
Note
When HDV signals are input from HDV/DV jack,
the user bits of HDV signals are applied.
In the event of this, you do not have to follow the
procedures below.
When recording the internal color bars in HDV format,
user bits can still be set.
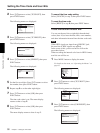
1 Press MENU button to display the menu.
For details on the menu, see “Operating the Menus” on
page 65.
TC/UB SET
TC PRESET
UB PRESET
HDV/DV IN TC
TC RUN
TC MAKE
TC FORMAT
[
MENU
]
: END
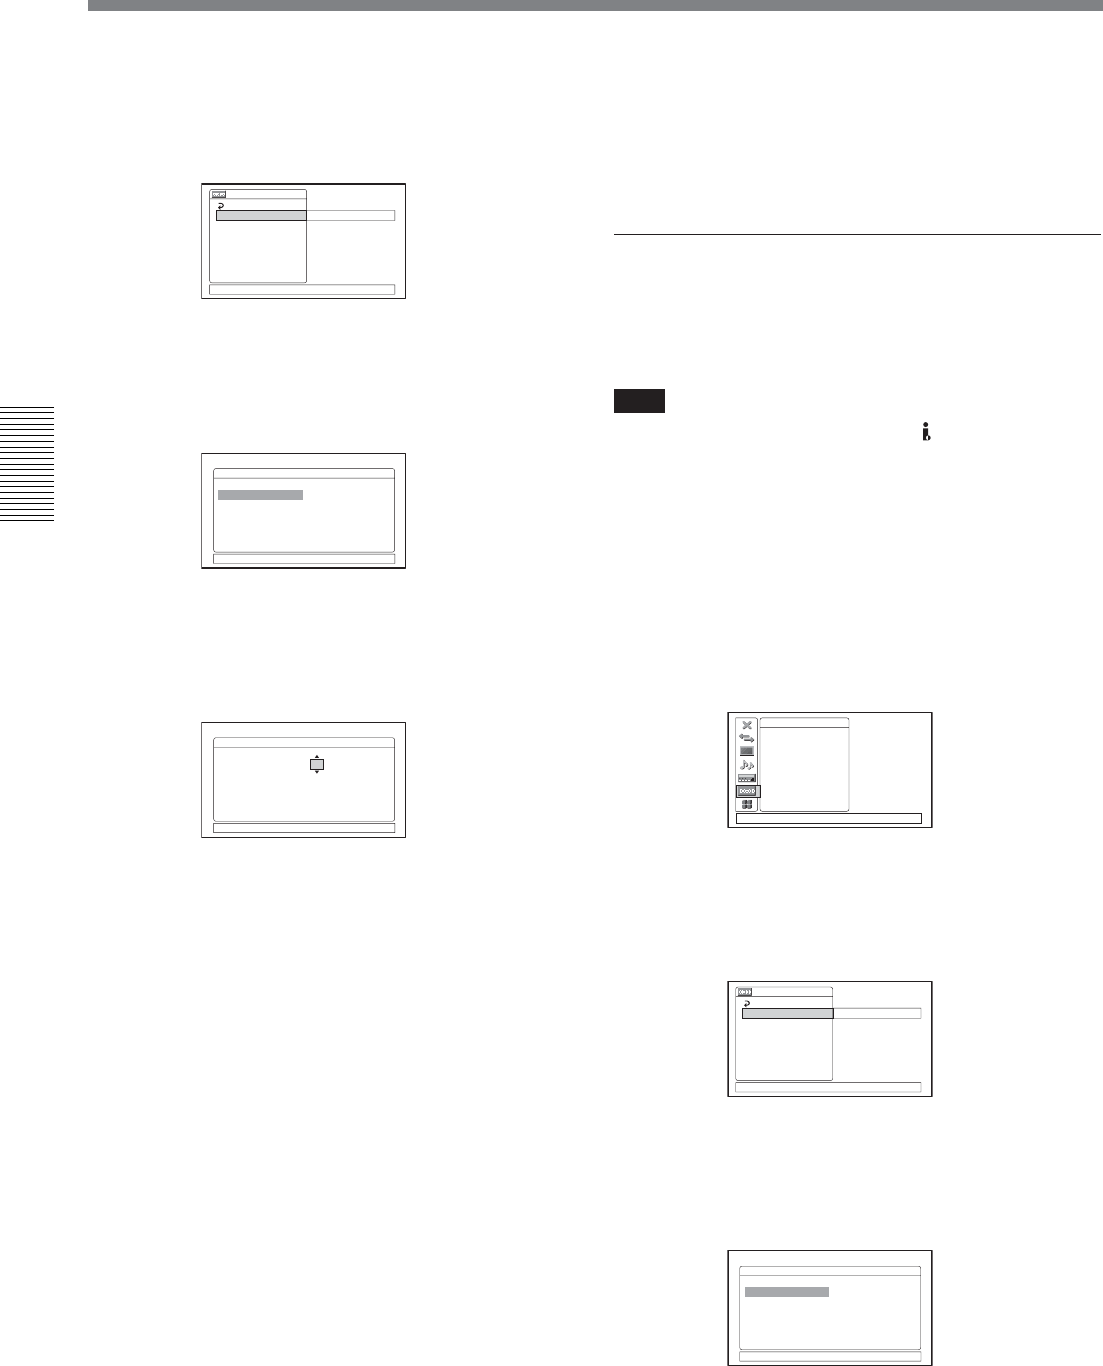
2 Press J/j buttons to select [TC/UB SET], then
press EXEC button.
The following menus are displayed.
TC/UB SET
[
MENU
]
: END
RETURN
TC PRESET
UB PRESET
HDV/DV IN TC
TC RUN
TC MAKE
TC FORMAT
00:00:00:00
3 Press J/j buttons to select [UB PRESET], then
press EXEC button.
The following menus are displayed.
UB PRESET
[
MENU
]
: END
OK
PRESET 00 00 00 00
RESET
2 Press J/j buttons to select [TC/UB SET], then
press EXEC button.
The following menus are displayed.
TC/UB SET
[
MENU
]
: END
RETURN
TC PRESET
UB PRESET
HDV/DV IN TC
TC RUN
TC MAKE
TC FORMAT
00:00:00:00
3 Press J/j buttons to select [TC PRESET], then
press EXEC button.
The following menus are displayed.
TC PRESET
[
MENU
]
: END
OK
PRESET 00:00:00:00
RESET
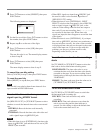
4 Press J/j buttons to select [PRESET], then press
EXEC button.
The following menus are displayed.
TC PRESET
00:00:00:00
[
MENU
]
: END
OK
PRESET
RESET
5 Set the first two digits. Press J/j buttons to select
the number, then press EXEC button.
6 Repeat step 5 to set the other eight digits.
7 Press J/j buttons to select [OK], then press
EXEC button.
The time code value is set. The menu display
returns to that of step 2.
8 Press J/j buttons to select [OK], then press
EXEC button.
The menu display returns to that of step 1.
Setting the Time Code and User Bits


