SFM1
Page 12 Installation Manual
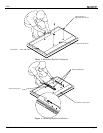
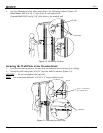
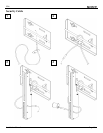
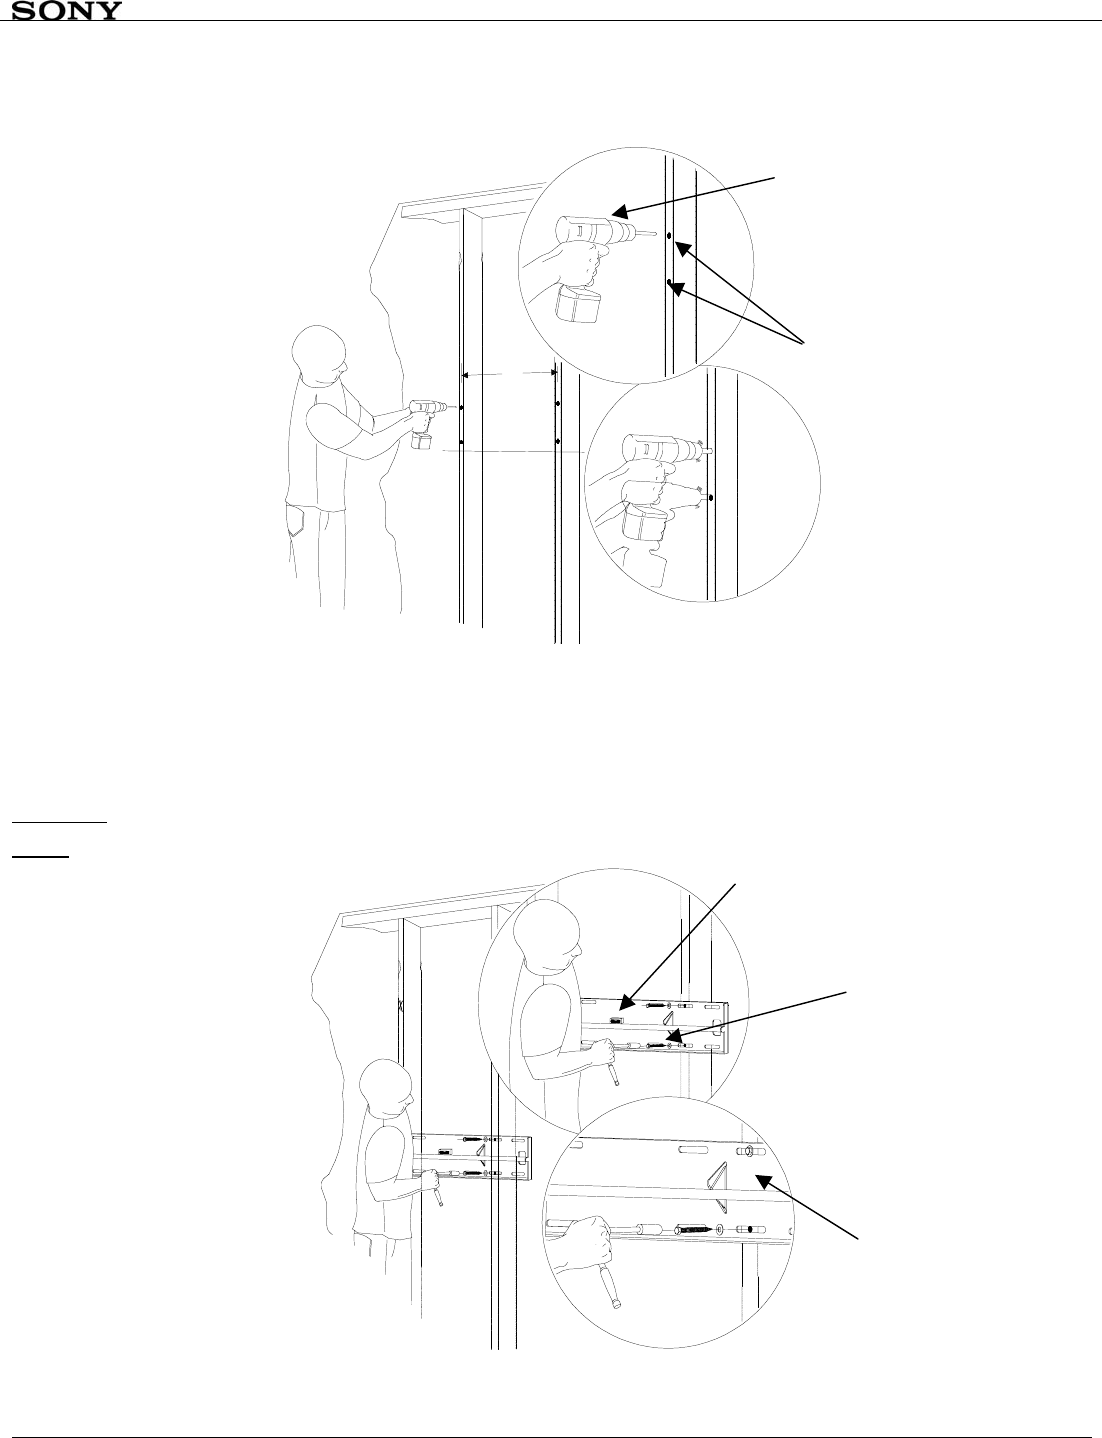
3. Use the information below when mounting to the following surfaces (Figure 12):
Wood Studs: Drill four (4) ¼” pilot holes to the marked wall.
Concrete Wall: Drill four (4) 3/8” pilot holes to the marked wall
16"
Figure 12. Mounting Surfaces
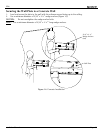
Securing the Wall Plate to the Wooden Studs
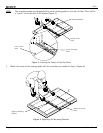
1. Level and secure the plate to the wall with the reference arrow facing up to ceiling.
2. Secure the plate using four (4) 5/16” lag bolts and flat washers (Figure 13).
CAUTION: Do not overtighten the lag bolts.
NOTE: Use a minimum diameter of 5/16” x 3” long wooden screws.
Figure 13. Securing the Wall Plate
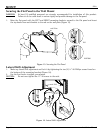
D
rill Gun
P
ilot Holes
Level
5/16” x 3” (4ea) and
flat washers (4ea)
W
all Plate


