


15
Handling a Video Cassette
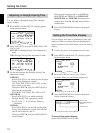
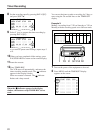
Protecting Your Cassette from
Being Erased
Remove the tab on the cassette with a screwdriver or a
similar tool as shown below. This protects your
cassette against an accidental recording.
If you want to record again on the cassette without its
safety tab, simply cover the safety tab hole with a
piece of plastic tape.
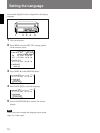
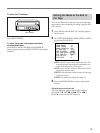
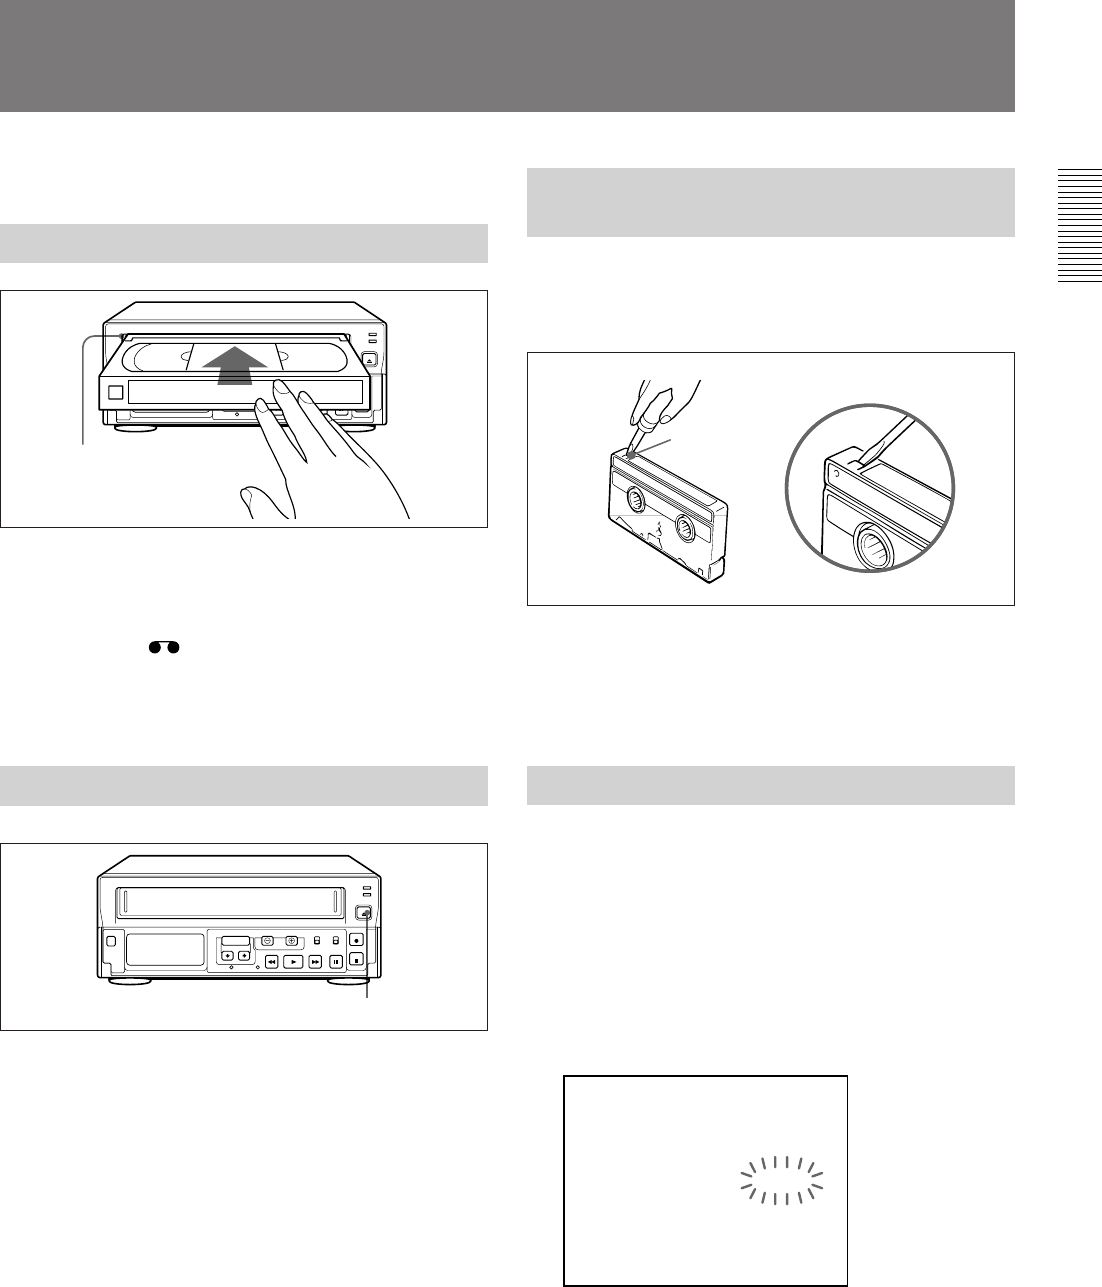
Setting the Operation Mode
You can set the mode for the VCR when a video
cassette is inserted on the SET UP 3 display.
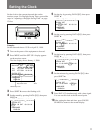
1 Press MENU until the SET UP 3 display appears
on the screen.
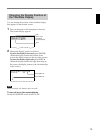
2 Press SHIFT
v
to move the flashing to TAPE IN
MODE and set to STOP or REC by pressing
DATA
‘/’.
STOP: the VCR enters stop mode when a video
cassette is inserted.
REC: the VCR enters recording mode when a
video cassette is inserted.
3 Press PAUSE/SEARCH to return to the normal
display.
This section shows you how to handle a video cassette.
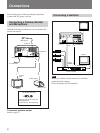
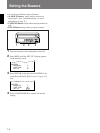
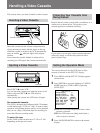
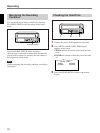
Inserting a Video Cassette
Insert the cassette into the cassette compartment by
slowly pressing its center with the arrow on the top.
When the cassette is inserted, the VCR automatically
turns on and the
indicator lights in the display
window.
If you insert the cassette without its safety tab for
recording, the VCR ejects the cassette automatically.
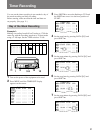
Ejecting a Video Cassette
Press EJECT 6 on the VCR.
You can eject the cassette even when the power is off.
When you press EJECT 6, the VCR turns on
automatically.
After ejecting the cassette, the VCR turns off again.
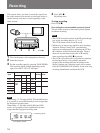
Recommended cassette
This VCR is designed and calibrated with 120-mimute
or 160-minute tape (T-120 or T-160). To ensure stable
operation and optimum picture quality, we recommend
that you use a Sony 120-minute tape for recording for
more than 40-hour recording mode.
To select the tape
Set the TAPE switch on the front to T-120 or T-160
depending on the tape to be used.
Cassette compartment
EJECT 6
Safety
tab
<SET UP 3>
ALARM MODE
ALARM SPEED
ALARM DURATION
EXT TIME ADJ.
TAPE IN MODE
TAPE END MODE
TAPE END OUT
CLOG DETECT.
SERIES REC
Y1
6H
20S
01:00
STOP
REW
-3M
Y
N