Using the menu system
10 Using the menu system O
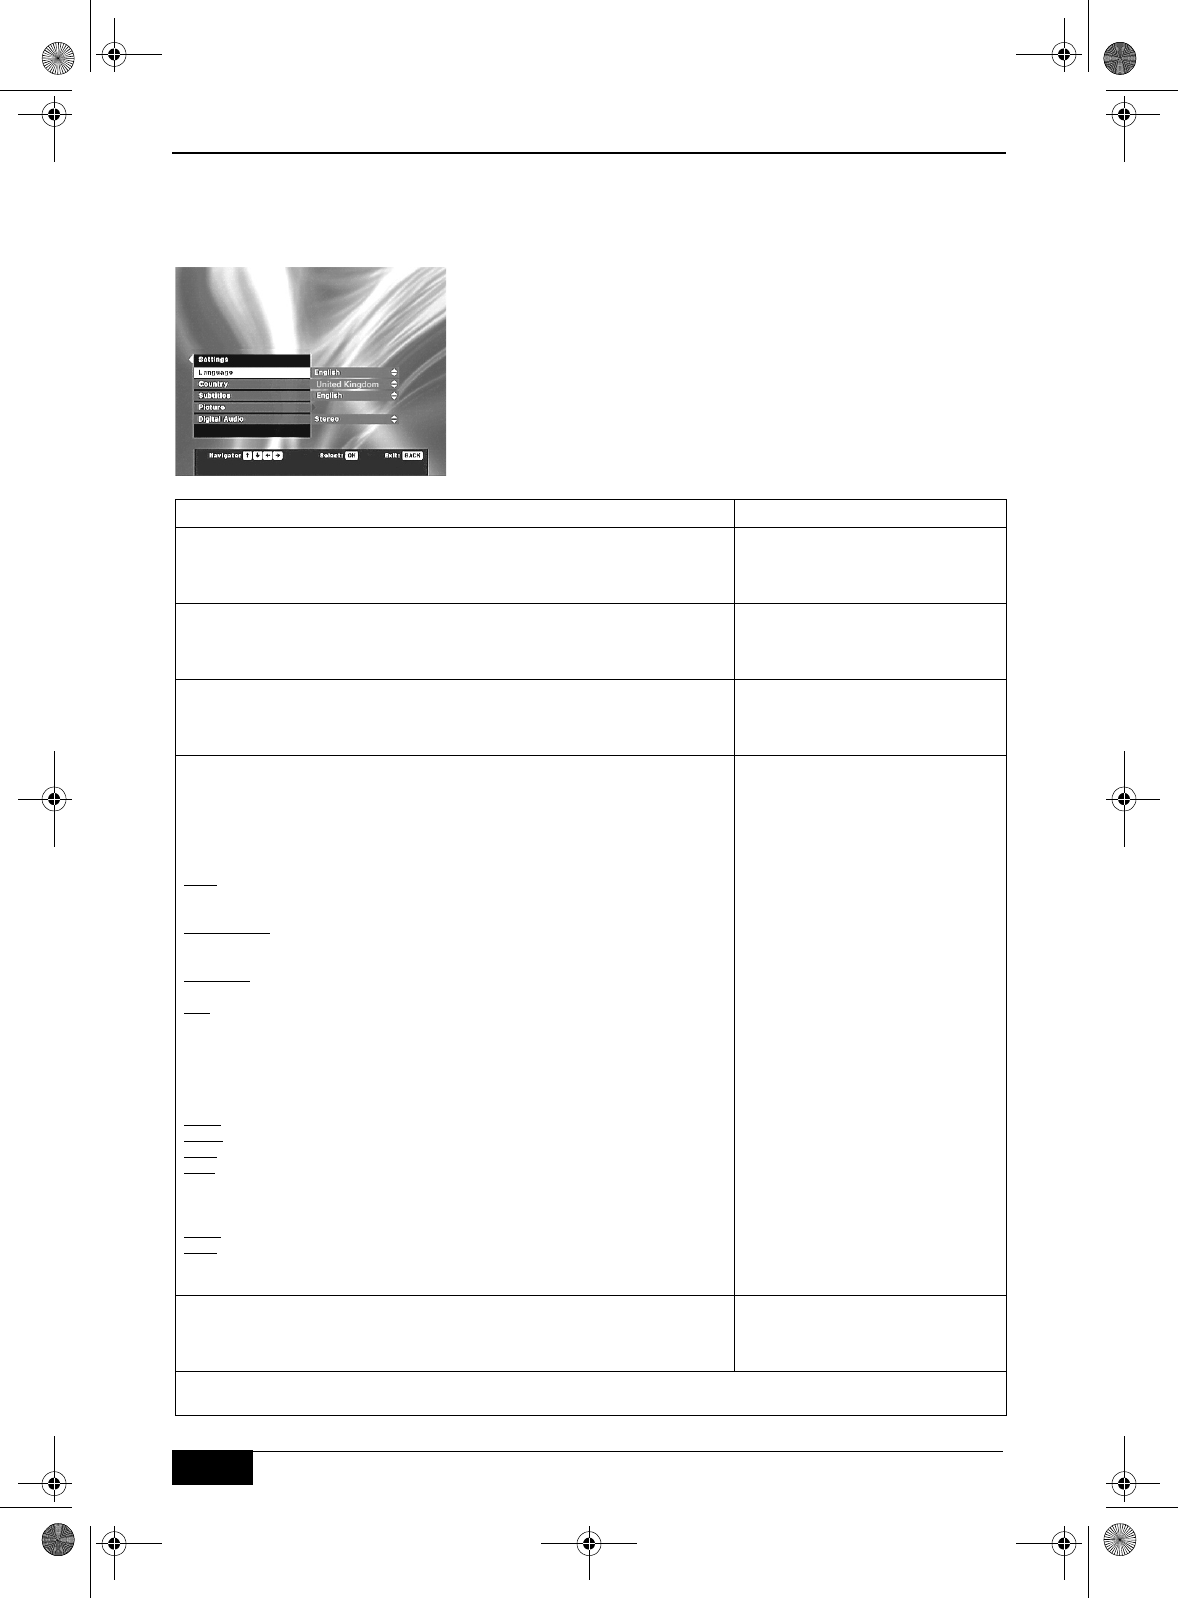
The settings menu allows you to customise the way the picture
is displayed and to select the language for subtitles etc.
Highlight ‘Settings’ in the main menu, then press the OK button
to display the Settings menu. Press the V or v button to
highlight the required option and press the OK button to select.
The following table explains each option and how to change
their settings. When you have completed your settings, press
the BACK button repeatedly to return to the main menu.
Settings
Option How to use
Language
This option allows you to set the language the menus appear in. Press the V or v button to highlight
the required language. Press OK to
confirm.
Country
This option allows you to set the receiver to the country you are in. This
setting determines the order that channels are stored during tuning.
Press the V or v button to highlight
the required country. Press OK to
confirm.
Subtitles
This option allows you to select which language any digital subtitles appear in
when they are available.
Press the V or v button to highlight
the required language. Press OK to
confirm.
Picture
When this option is selected, the following choices are available:-
Display Mode: Choose from 16:9 format or 4:3 format. Set to the size that
matches your TV.
Display Format: Choose between Normal or Letterbox format.
Note: When ‘Display Mode’ is set to 16:9, this option will be fixed to Normal.
Scart Control/WSS: Choose between On, SCART Off, WSS Off and Off.
On:
The picture from the receiver automatically appears on your TV. The
WSS (Wide Screen Switching) option will be ‘On’ in this mode. This sets the
TV screen format to follow the broadcasters transmitted setting.
SCART Off:
The picture from the receiver will not appear automatically on
your TV. To view the picture you will have to set the TV to the AV input to
which your receiver is connected. In this setting the WSS will remain ‘On’.
WSS Off:
The picture from the receiver automatically appears on your TV, but
the screen format will depend on the TV setting.
Off:
The picture from the receiver will not appear automatically on your TV,
and WSS will be ‘Off’. To view the picture, set the TV to the AV input to which
your receiver is connected.
TV Output: If SMARTLINK is set to ‘Off’, choose the type of output you wish
the receiver to send to your TV. Choose from RGB, PAL or Y/C.
If SMARTLINK is set to ‘On’, the receiver selects the best quality output
available on your SMARTLINK TV according to the output type selected.
Auto:
Allows SMARTLINK to select the best quality picture .
RGB:
Allows SMARTLINK to choose between RGB or PAL.
PAL:
Sets the output to PAL.
Y/C:
Allows SMARTLINK to choose between Y/C and PAL.
Video Output: With SMARTLINK ‘Off’, this will always be set to PAL.
If SMARTLINK is set to ‘On’, the receiver selects the best quality output
available on your SMARTLINK VCR according to the output type selected.
Auto:
Allows SMARTLINK to select the best quality picture.
PAL:
Sets the output to PAL.
SMARTLINK: Choose between On or Off. When set to ‘On’, the SMARTLINK
function is enabled. (refer to ‘TV Output’ and ‘Video Output’ settings).
Press the V or v button to highlight
your required choice. Press OK to
select.
Press the V or v button to change to
the desired setting. Press OK to
confirm.
Digital Audio
This option allows you to choose the type of audio output from the ‘Audio line
out’ socket on the rear of the receiver.
Press the V or v button to highlight
‘Dolby Digital’ or ‘Stereo’. Press OK
to confirm.
Note: If your receiver is connected to SMARTLINK equipment, and the SMARTLINK option is set to ‘On’ some of the
settings you have made may be overridden (refer to page 19).
Text.fm Page 10 Tuesday, April 27, 2004 8:21 AM


