


© 2001 Robinair, SPX Corporation
6
240
240
220
220
200
200
180
180
80
80
120
120
100
100
140
140
60
60
20
20
40
40
160
160
3
3
4
4
2
2
1
1
8
8
7
7
6
6
5
5
340
340
320
320
MLS
MLS
280
280
300
300
260
260
12
12
11
11
10
10
9
9
OUNCES
OUNCES
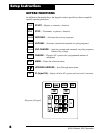
CLOSED
CLOSED
RECOVER
RECOVER
RECOVER
RECOVER
CLOSED
CLOSED
CLOSE
CLOSE
VACUUM
VACUUM
VACUUM
VACUUM
CHARGE
CHARGE
OIL INJECT
OIL INJECT
2
2
0
0
5
5
8
8
MENU
MENU
CLEAR
CLEAR
7
7
1
1
4
4
START
START
RECOVER
RECOVER
VACUUM
VACUUM
F1
F1
ENTER
ENTER
9
9
3
3
6
6
STOP
STOP
CHARGE
CHARGE
VAC-CHARGE
VAC-CHARGE
FLOW
FLOW
LOW
LOW
HIGH
HIGH
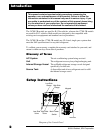
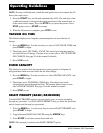
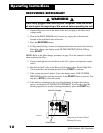
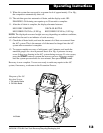
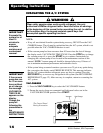
Setup Instructions
IMPORTANT!
The pump must
be running
when adding
oil.
IMPORTANT!
For maximum
performance,
change the
vacuum pump
oil frequently.
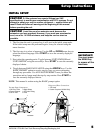
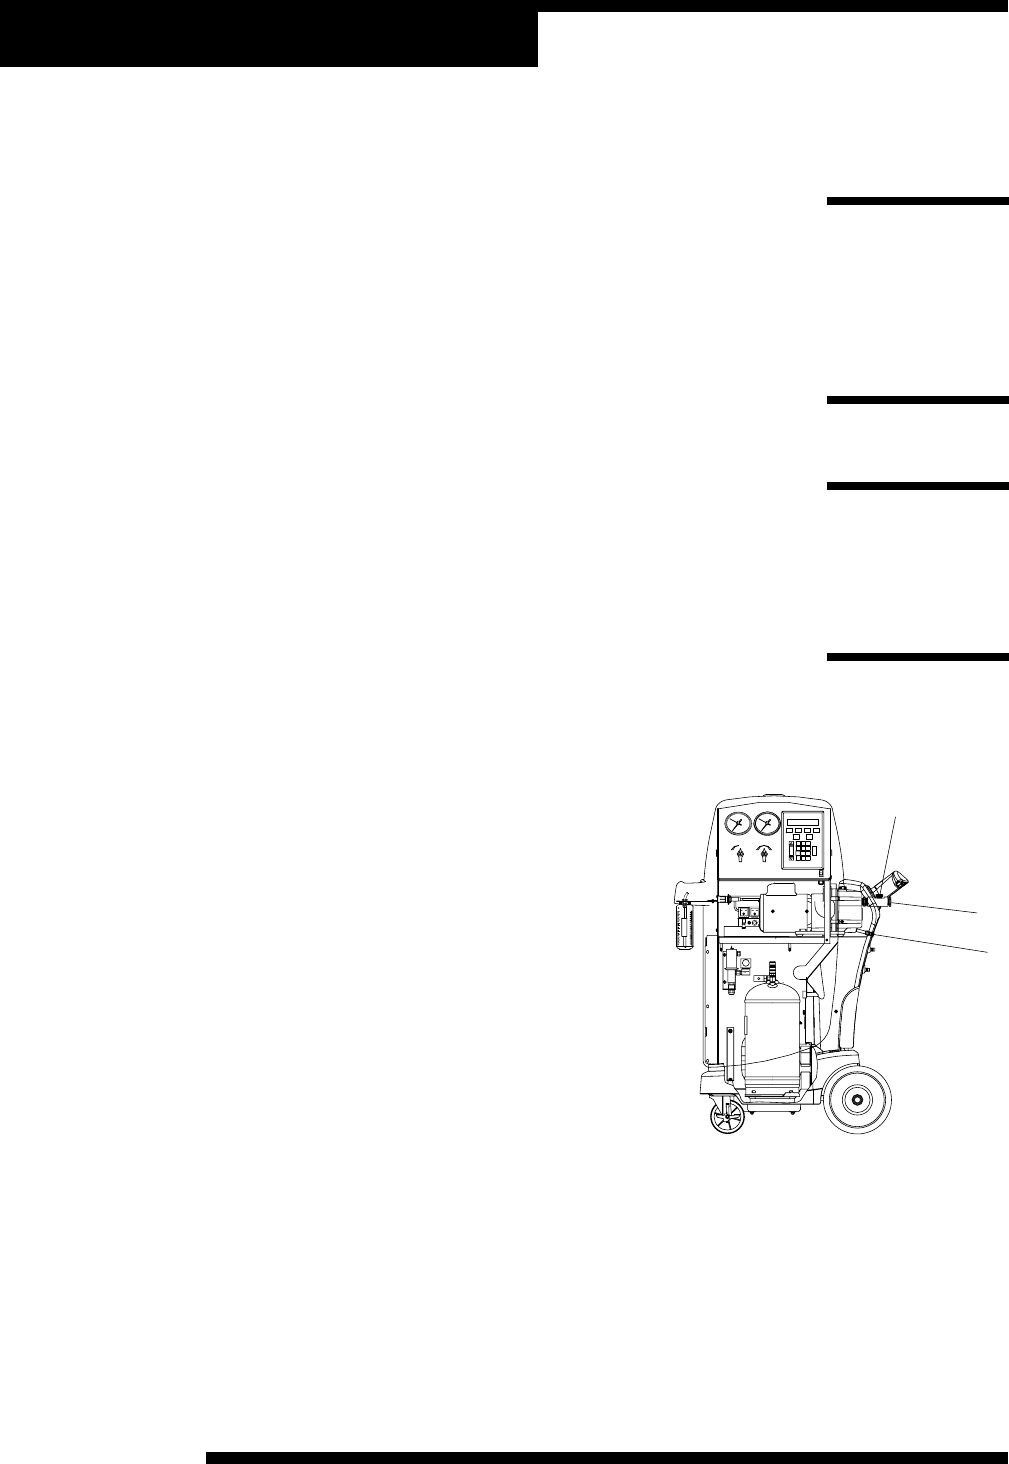
NOTE: The vacuum pump is shipped without oil in the reservoir. Before starting
the pump, oil must be added to the pump, or damage to the pump may occur.
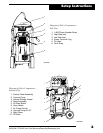
5. Press the START key to begin the oil fill process.
6. Attach the flexible tube and cap to the oil bottle, and pour eight ounces of
vacuum pump oil into the fill port.
7. Press the START key. While the vacuum pump is running, slowly add oil
until the level rises to the center of the reservoir's sight glass.
8. Press the STOP key, and replace the black plastic plug on the fill port.
9. Connect the service hoses, open both panel valves, and press START.
10. Connect the fill hose to a full source tank.
11. Open the tank valve. Invert the tank and install it on the back of the unit,
making sure to secure the tank strap.
NOTE: If using a refillable tank, install the tank upside down, and connect the fill
hose to the vapor valve.
INST0947
1
2
3
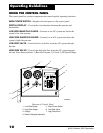
1. Oil Fill
2. Sight Glass
3. Oil Drain
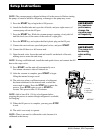
12. Press START, and the unit will automatically run a
five-minute vacuum to clear all internal air.
13. After the vacuum is complete, press START to begin
filling the internal storage vessel.
14. The unit stops when a sufficient amount of refrigerant
has been transferred to the internal tank, or when the
source tank is empty. Press the STOP key to pause the
process. Press STOP again to exit, or START to
resume. This process takes 15-20 minutes.
NOTE: Add at least 8 lb. (3.6 kg) of refrigerant before
stopping the process to ensure enough refrigerant is available
for charging.
15. When the fill process is complete, you may press STOP
to exit.
16. The unit is now ready to operate.
NOTE: There is no need to calibrate the scale, because it is
calibrated at the factory.