Digital Video Recorder User Manual
28
STEP1 Return to homepage after registering successfully.
STEP2 Click "Account Manager" on the right of homepage to login (referred Fig3.24 Login Page).
STEP3 Input the username and password with the information that you have registered.
STEP4 Click "Enter" key after filling in the textbox.
(3) Domain Setup
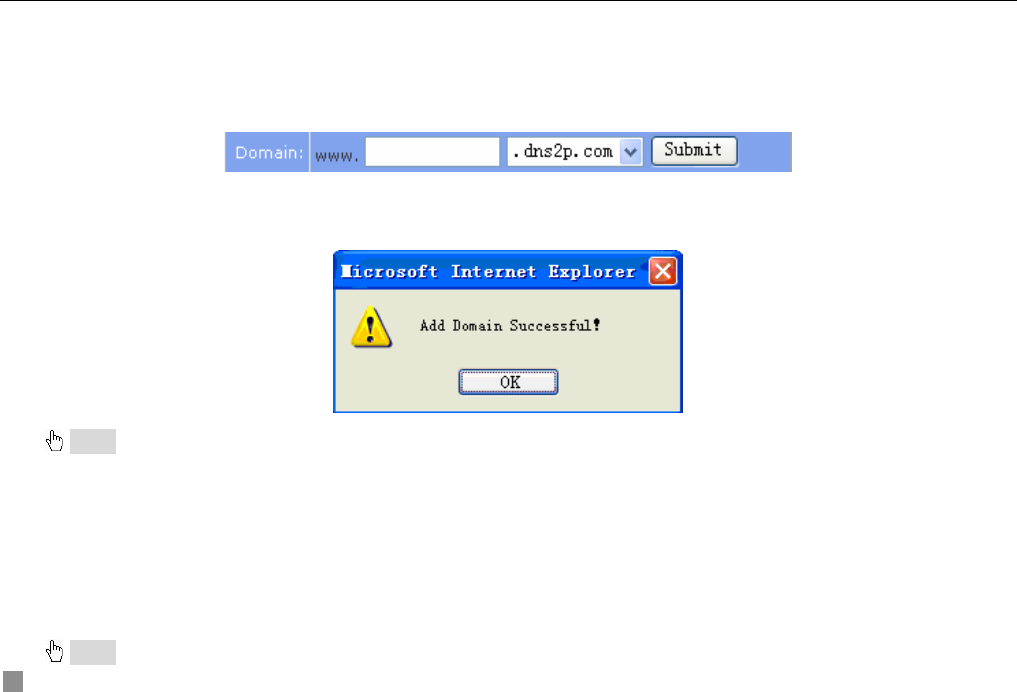
STEP1 Click "Domain Management" on the left to set the domain (referred Fig3.25 Domain Setup).
Fig3.25 Domain Setup
STEP2 Input the domain in the textbox. For example, you set ‘dvr’ as the domain.
STEP3 Click "Submit" button, the system will pop up a dialog box to show that the domain is added successfully
(referred Fig3.26 Dialog Box).
Fig3.26 Dialog Box
Notice: Time of probationary period is one month. If user wants to use it continuatively after one month, please click "Buy Now" in the right of
homepage to pay for it.
2. Setup in the DVR
(1) DOMAIN
Domain is set in ‘1 Apply the Domain Name’. According to the example above, the domain is ‘dvr.dns2p.com’.
(2) USER ID
Username of registered which is set in ‘(1) Register in the Web’. According to the example above, user ID is ‘abc’.
(3) PASSWORD
Password is set in ‘(1) Register in the Web’. According to the example above, password is ‘123456’.
Notice: If the connection fails, press the "INFO" button, the system will display: ‘DDNS NONE’. Then you need to check network and


