


14
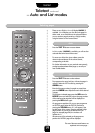
USING YOUR TV
Picture adjustments continued
P
P
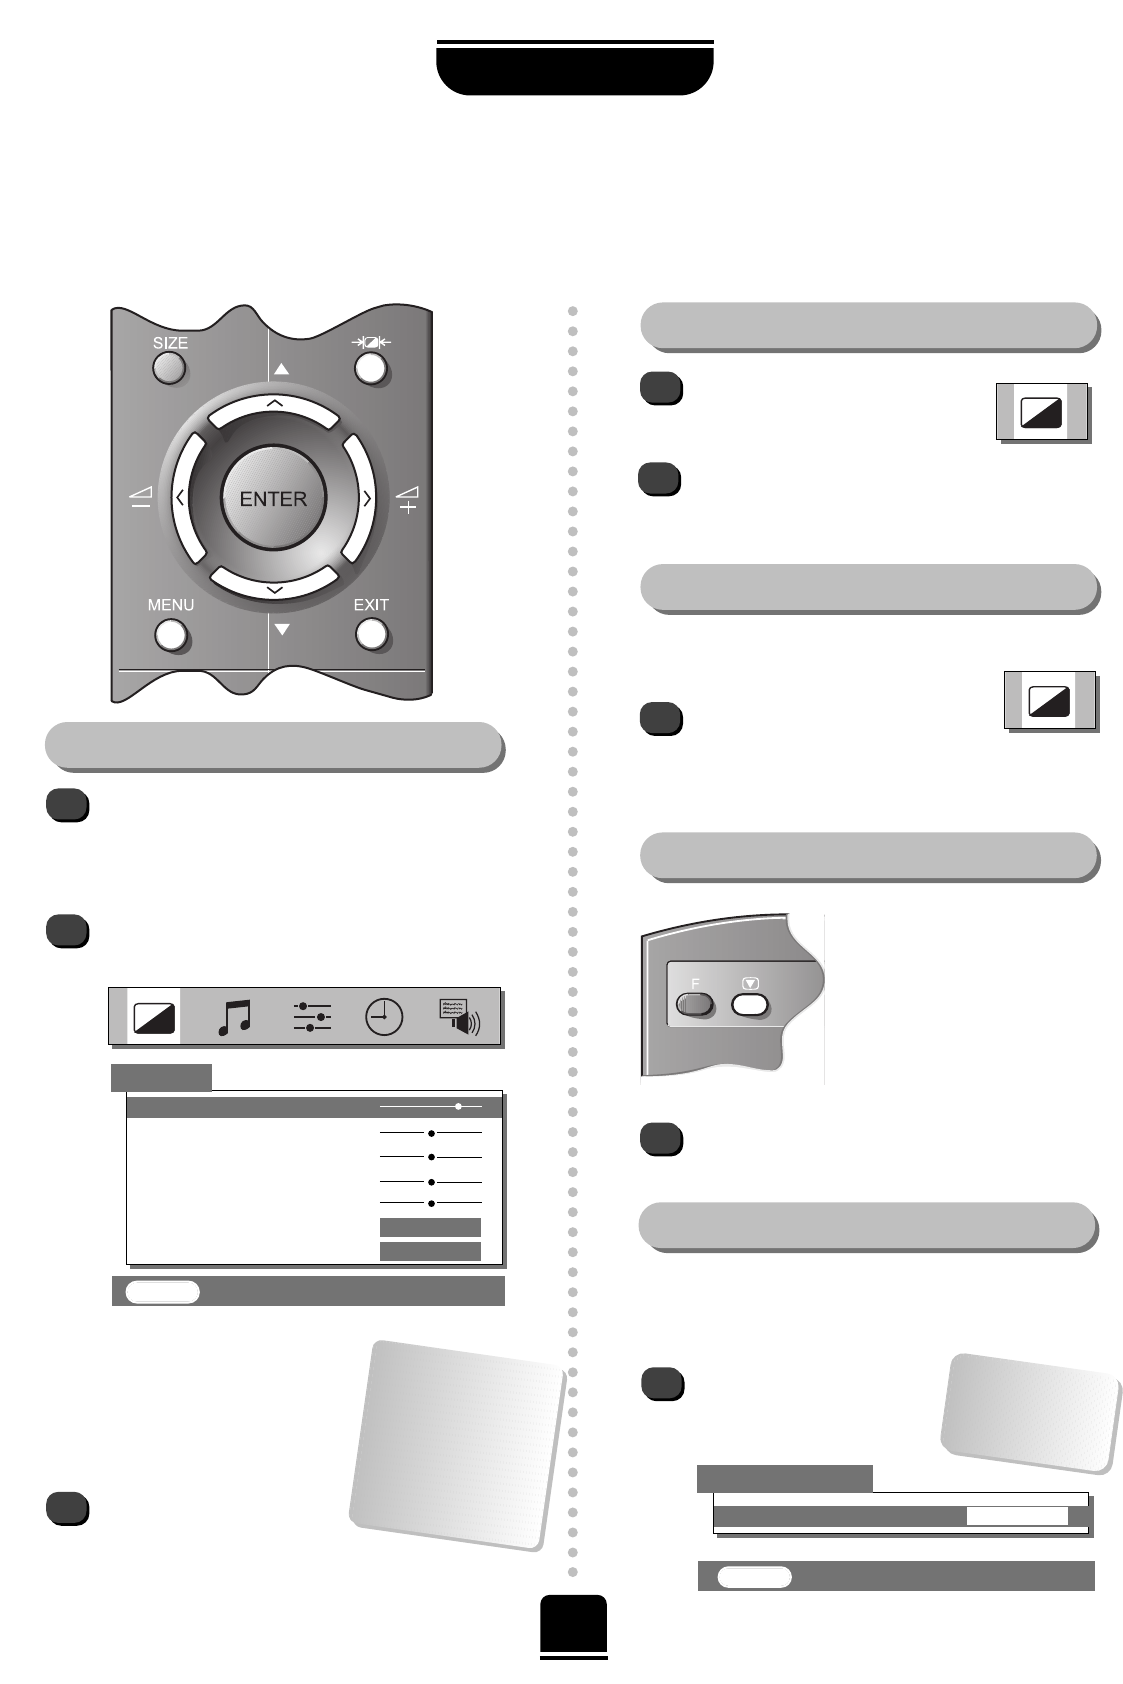
1
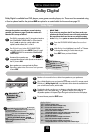
Blue Screen…
In the second section of the
FEATURE MENU select
Blue screen ON or OFF.
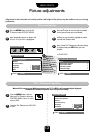
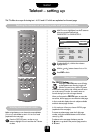
This television offers you the choice of personalising the picture style to suit your own preferences.
DNR – Digital Noise Reduction
1
1
2
3
Select DNR from the PICTURE
menu. Select between AUTO
and OFF to obtain the best picture.
The differences may not always be noticeable.
Using the latest technology this
television’s 100Hz double
scanning plus digital picture
processing produces a flicker-
reduced picture. In addition, a
still – similar to freeze frame on a
VTR – can be held on the screen.
By pressing the
m
button you can view the
different picture styles available:
Picture mode-1 to 3 for preset options and,
Picture mode-M is for your own settings:
So, to set your own, choose PICTURE from the
top menu bar.
1
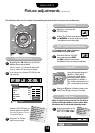
Picture preferences
Within this PICTUREmenu you
have the options to adjust the
Contrast, Brightness, Colour,
Tint and Sharpness.
Using the
S
or
R
button
alter to suit your taste.
The Tint can only be
adjusted on a signal
from an NTSC video
recorder or DVD
player when the
television is in AUTO
colour mode.
Picture Still
Scan Mode
1
2
Select Scan mode from the
PICTURE menu.
With the
S
or
R
button select between 100Hz
and NATURAL, to choose the picture you prefer
– the difference may only be slight.
Pressing the u button will hold an image on the
screen. Press
u
again to return to TV mode.
EXIT : To exit
FEATURE MENU
▼
▼
▼
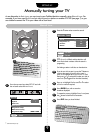
Blue screen
ON
Use the P and
Q
buttons to move up
and down this
two-part menu.
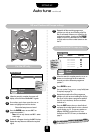
PICTURE
▼ ▼▼▼ ▼
EXIT : To exit
Contrast 75
Brightness 50
Colour 50
Tint 00
Sharpness 00
Scan mode
100Hz
DNR AUTO
▼ ▼
▼
When no signal is being received, the TV will turn
off the sound and switch the screen to blue. After
20 minutes the TV will switch to Standby mode.
DNR enables you to ‘soften’ the screen
representation of a weak signal.
▼▼▼▼▼
▼