Editing the disc
67
Editing a playlist
NOTE:
It is no problem to omit the proce-
dures for confirming the scene or
adjusting start and end points.
6
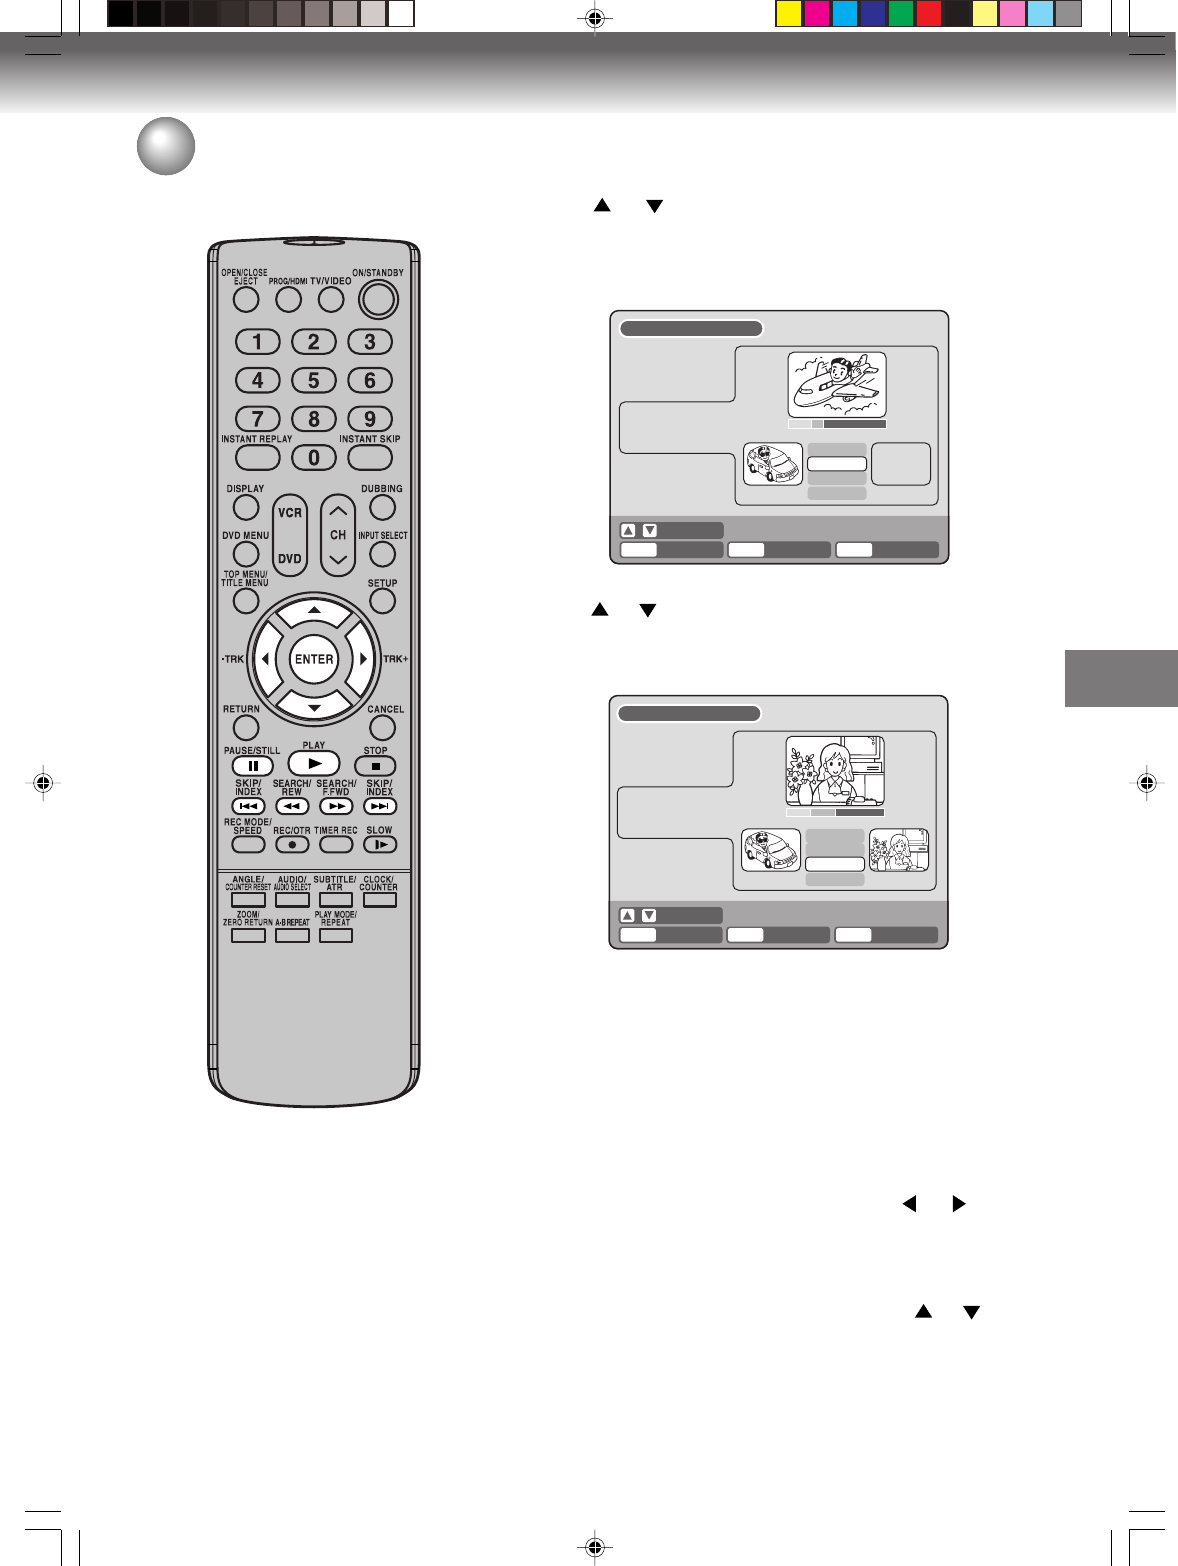
Press or to select “SET END” at the end point of the scene
you want to erase and press ENTER.
The still image at the end point appears at the right small screen.
SELECT
ENTER
RETURNENTER BACK END
TITLE
MENU
EDIT TITLE
00:11:42
00:10:20 00:11:42
Preview
Adjust start
SET END
Finish
NAME Family
CHAPTER
2/3
LENGTH
00:11:42/00:30:17
7
Check the erased scenes.
• Select “Preview” and press ENTER. Then the video where the
scenes between the start and end points are erased is played
back.
• Each operation button (F.FWD, REW, SKIP
77
77
7, SKIP
66
66
6, PLAY,
PAUSE/STILL) for playback also can be used.
8
Adjust the start and end points.
• To adjust the start point, select “Adjust start” and press ENTER.
You can change the start point by pressing
or .
• To adjust the end point, select “Adjust end” and press ENTER.
You can change the end point in the same way as the start point.
If you determine the scene to be erased, press
or to select
“Finish” and press ENTER.
• A chapter mark is automatically added at the location of the
erased scene.
SELECT
ENTER
RETURNENTER BACK END
TITLE
MENU
EDIT TITLE
NAME Family
CHAPTER
2/3
LENGTH
00:15:58/00:30:17
00:15:58
00:10:20 00:15:58
Preview
Adjust start
Adjust end
Finish
5
Press or to select “SET START” at the start point of the
scene that you want to erase and press ENTER. (To set the start
point easily, search the start point while “SET START” is selected)
The still image at the start point appears at the left small screen.
9
2J40101A P63-71 3/4/06, 10:45 AM67


