43
Chapter 5: TV Guide On Screen
®
setup
Copyright © 2005 TOSHIBA CORPORATION. All rights reserved.
(E) 52/62HMX95
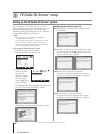
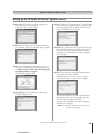
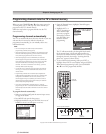
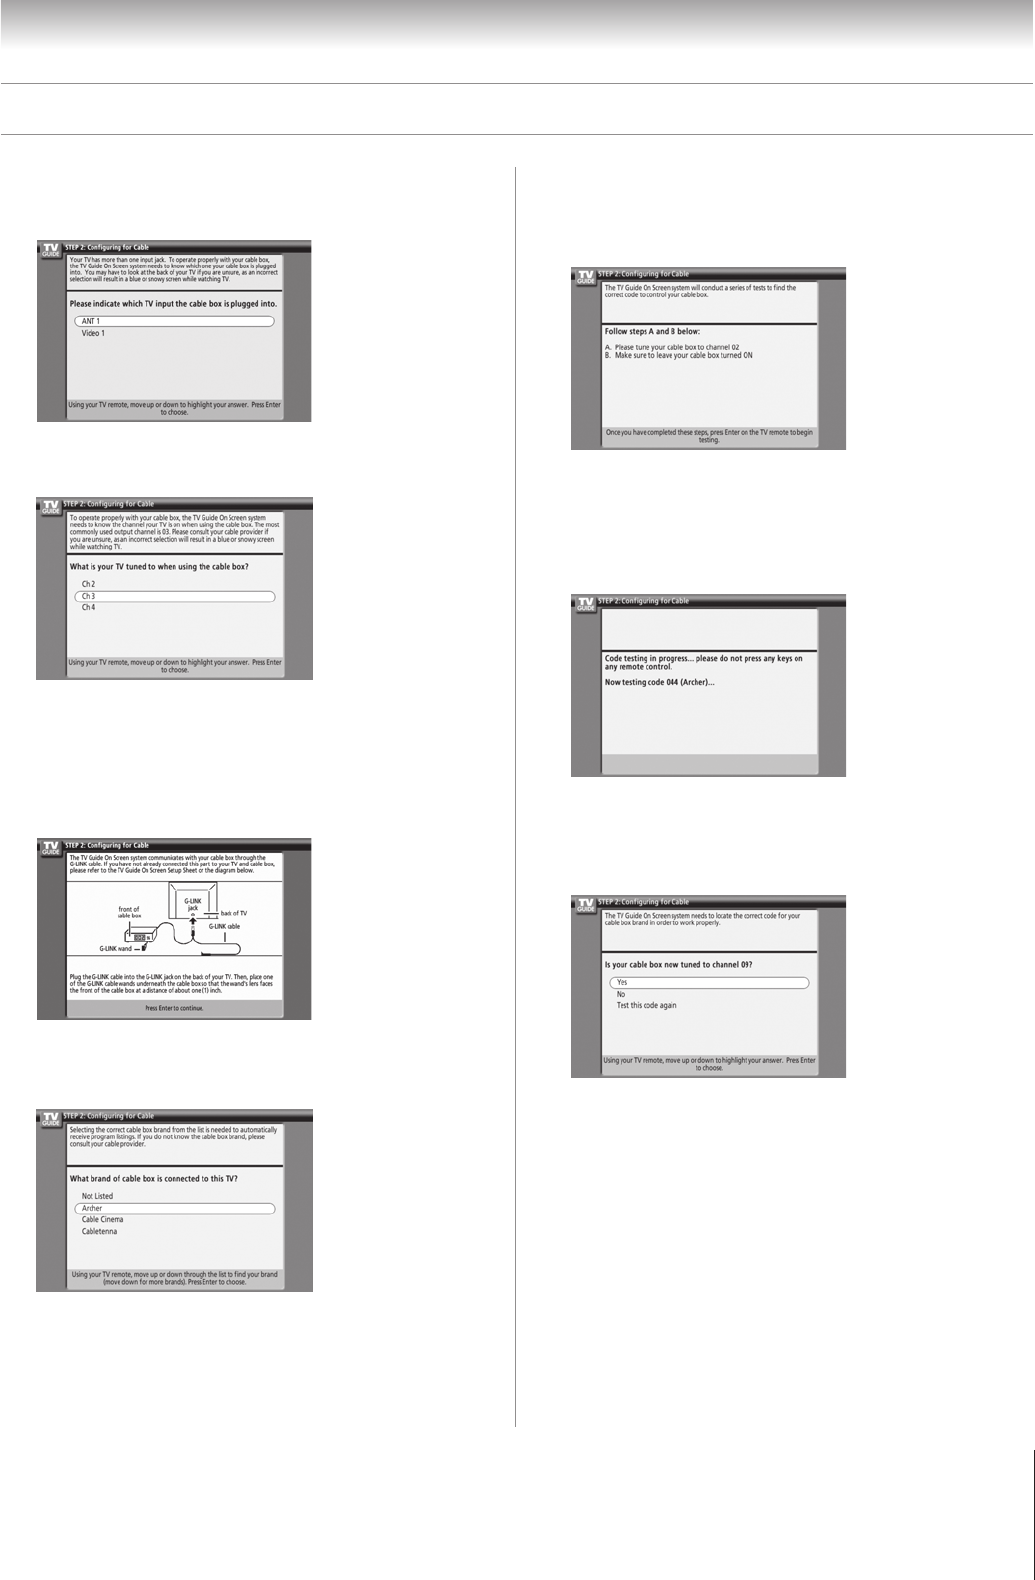
Screen 5: Which TV input is your cable box plugged into?
If you select ANT 1, screen 6 appears.
If you select Video 1, screen 7 appears.
Screen 6: Select the channel your TV is tuned to when using
your cable box, and then press ENTER. Screen 7 appears.
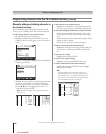
Screen 7: The on-screen diagram shows the correct way to
connect your Cable box to the G-LINK
®
terminal on the
TV. Make sure the G-LINK
®
cable is installed properly.
For additional details, see page 28.
Press ENTER to display screen 8.
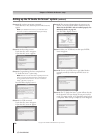
Screen 8: Highlight your Cable box brand, and then press
ENTER to display screen 9.
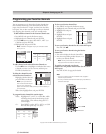
Screen 9: To allow the TV Guide On Screen
®
system to find the
correct code for your brand of Cable box, tune your Cable
box to channel 02, leave the Cable box and TV ON, and
then press ENTER. Screen 10 appears.
Screen 10: The TV Guide On Screen
®
system will test the code
for the brand of Cable box you selected. Do not press any
keys on the TV, remote control, or Cable box until the
testing process is completed. When testing is completed,
screen 11 appears.
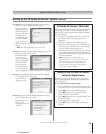
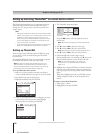
Screen 11: If your Cable box tuned itself to channel 09 after
testing, select Yes and press ENTER.
If you selected ANT 1 in screen 5, screen 13 appears.
If you selected Video 1 in screen 5, screen 12 appears.
If your Cable box did not tune itself to channel 09 after
testing and you want to test the same code again, select
“Test this code again” and press ENTER.
If you want to test a different code, select No and press
ENTER. Screen 10 appears.
Note: Many cable boxes require testing more than one code.
(Continued on next page)
Setting up the TV Guide On Screen
®
system (continued)


