


Vidikron Vision Model 10/Model 12 Owner’s Operating Manual 29
PRE
L
IMINAR
Y
4.1
Turning on the Power
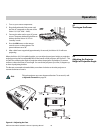
1. Turn on your source components.
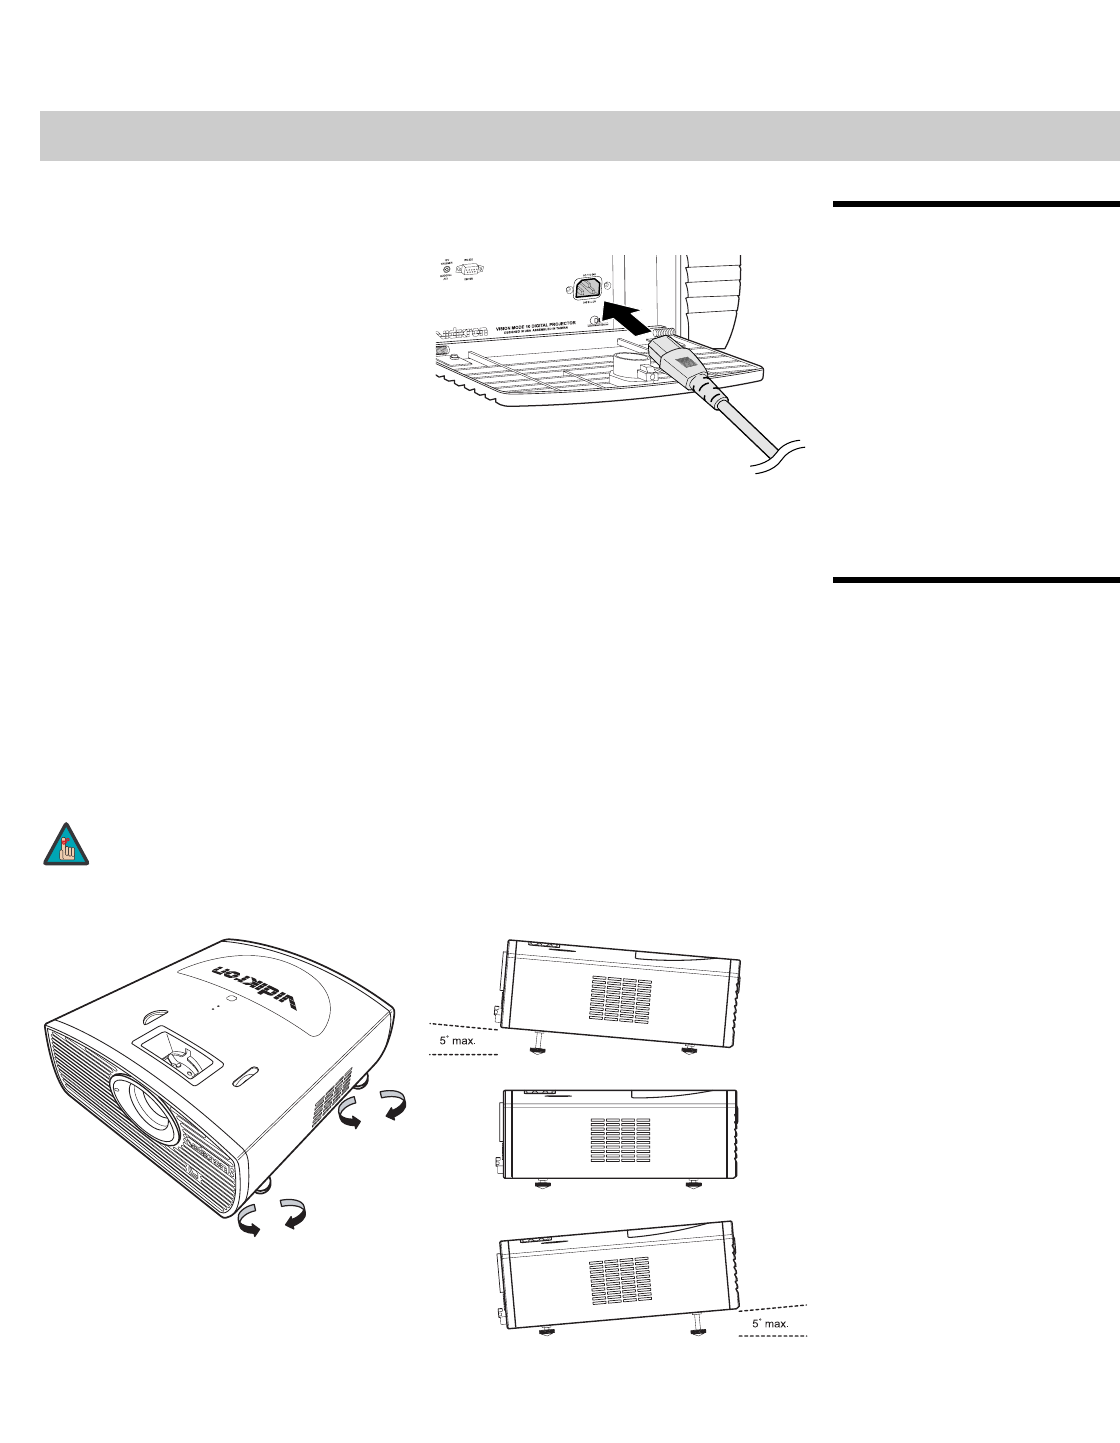
2. Plug the female end of the power cord
into the AC receptacle on the rear of the
Vision 10/12 (AC 100V ~ 240V).
3. Connect the other end to your AC power
source. The power indicator lights blue to
indicate that the Vision 10/12 is in
“standby” mode.
4. Press the ON button on the remote
control to turn on the projector. The
power indicator turns off.
5. After a brief warm-up period (approximately 10 seconds), the Vision 10/12 will start
projecting.
4.2
Adjusting the Projector
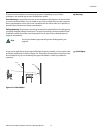
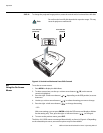
Height or Projection Angle
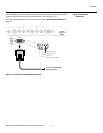
When the Vision 10/12 is installed upright, you can adjust the projector height or projection
angle by turning the four adjustable feet on the bottom of the projector; see
Figure 4-1. This
is useful for correcting the angle of projection when the projector is placed on an uneven
surface or when the screen is at an angle. You can tilt the projector up to five (5) degrees up
or down by adjusting the feet.
The feet are connected to threaded bolts; turn them clockwise to raise the projector or
counterclockwise to lower it.
Figure 4-1. Adjusting the Feet
4Operation
Tilting the projector may cause keystone distortion. To correct this, refer
to
Keystone Correction on page 45.
Note