


Installation
Vision Model 140/150 Installation/Operation Manual 57
PRE
L
IMINAR
Y
6. It may be advantageous to go back and check the black band. Adjust the blacklevel
slidebar if necessary.
7. Repeat Steps 4 through 6 with the other two remaining primary colors. When each
primary color shows one optimized black band and white (or colored) band, the input
levels for this source are correctly set. Upon exiting the White Balance menu, the
Clipping Detector checkbox will clear.
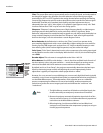
• Color Enable: Select which color or colors you want to see in the display. This is useful
when working with color temperature white levels or black levels.
When you have finished optimizing the picture quality, lock the channel that you unlocked
previously (refer to
Unlocking Channels on page 49), unlock the next channel and repeat the
calibration procedure. Do this for each of the remaining channels.
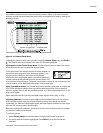
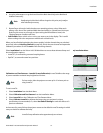
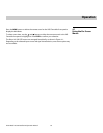
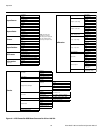
Installation MenuSelect Installation from the Vision 140/150 Main Menu to access these advanced lamp and
lens configuration options:
• LumaCal™, for maintaining constant lamp brightness
• OptiCal™, to save and restore lens positions
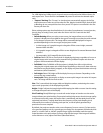
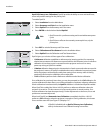
Calibration and Test Patterns – LumaCal (Lamp Calibration): LumaCal defines the range
of power needed to maintain lamp brightness over time.
To use LumaCal:
1. Select Installation from the Main Menu.
2. Select Calibration and Test Patterns from the Installation Menu.
3. Select LumaCal from the Calibration and Test Patterns Menu.
4. Select Calibrate LumaCal to calibrate the lamp using your projector's unique
specifications (recommended). Or, select Use Default Settings to undo the effects of a
previous calibration.
In the event of a power failure, the projector reverts to the default LumaCal settings in which
case you should re-calibrate the lamp.
Readjusting the black levels affects the gain at this point; only readjust
when absolutely necessary.
Note
1. Language English
2. Picture Orientation Front
3. Reserved
4. Auto Power Up
5. Set Date and Time
6. OSD Adjust
7. IR and Serial Adjust
8. Geometry and Color
9. Calibration and Test Patterns
0. Service Mode
Option 1 Card: Empty
Option 2 Card: Empty
Installation
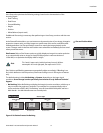
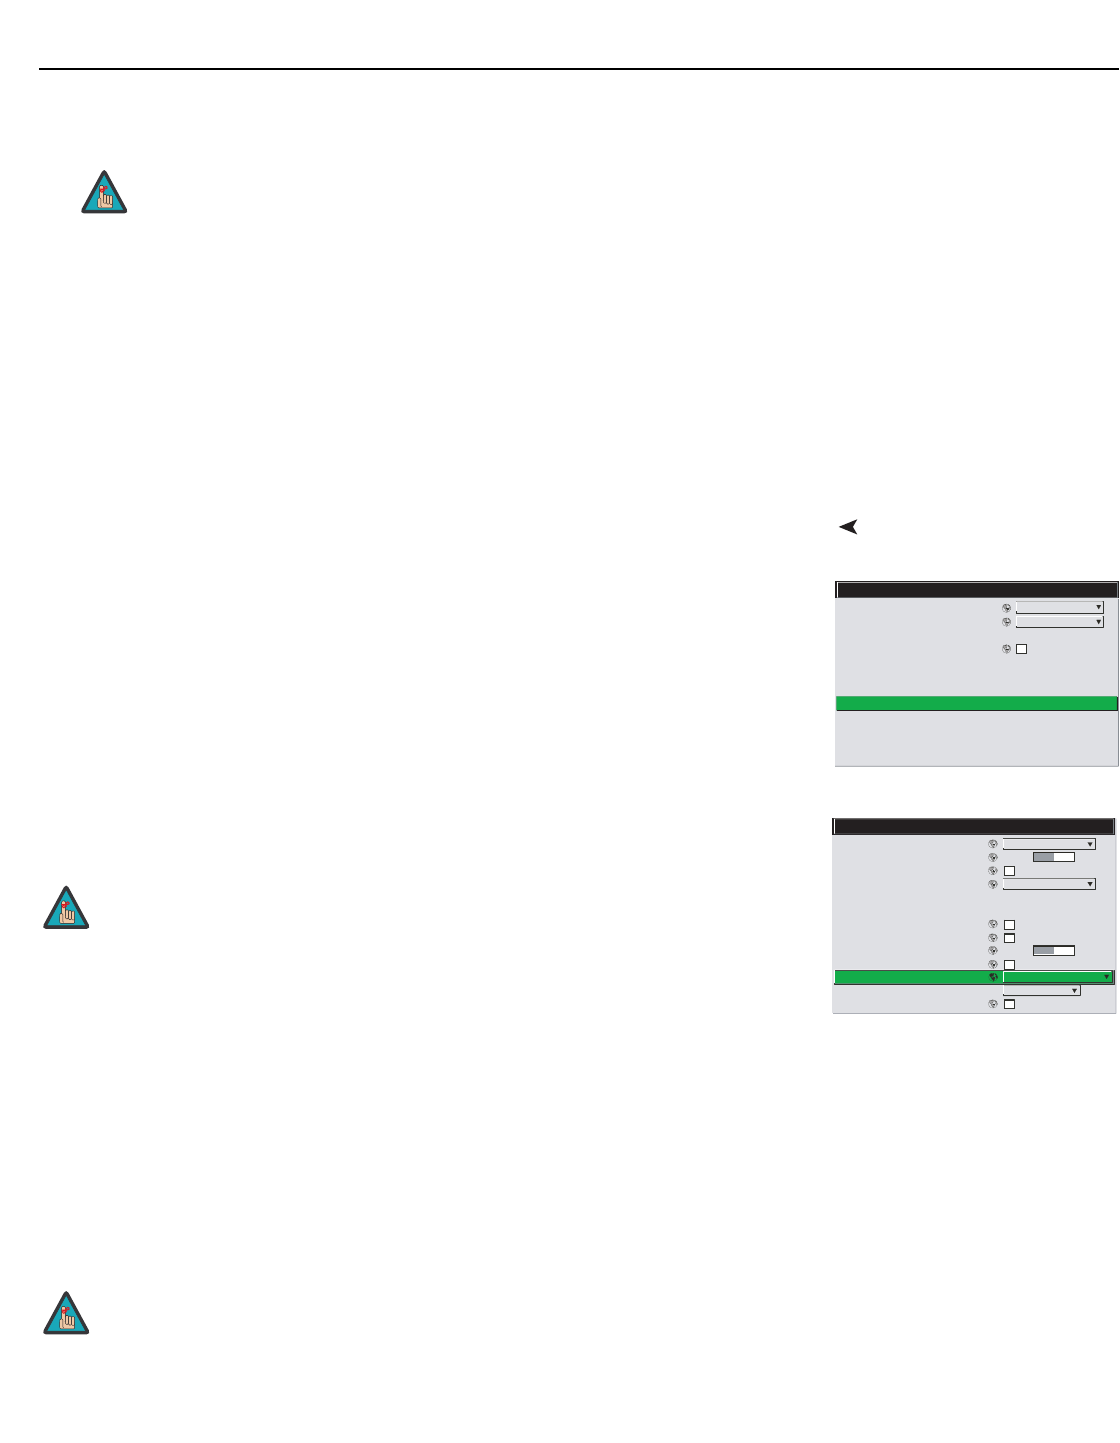
1. Test Patterns Grid
2. Test Pattern Level 512
3. Freeze Image
4. Color Enable White
5. Odd Pixel Adjustment
6. Reserved
7. Clipping Detector
8. Level Detector
9. Level Value 512
0. Aspect Ratio Overlay
LumaCal Calibrate LumaCal
OptiCal Full
Automatic Lens Calibration
Calibration and Test Patterns
For best results, allow the projector to warm up for 15 minutes prior to
using LumaCal.
LumaCal lamp calibration takes approximately two minutes.
Note
Note