8 Installation
MAN0715 (rev. 10/31/2008)
HOSE KIT INSTALLATION
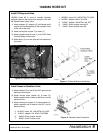
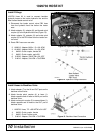
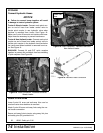
Attach Backhoe Mounts to Backhoe
NOTE: Leave all hardware loose until backhoe has
been mounted to the tractor.
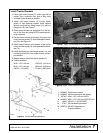
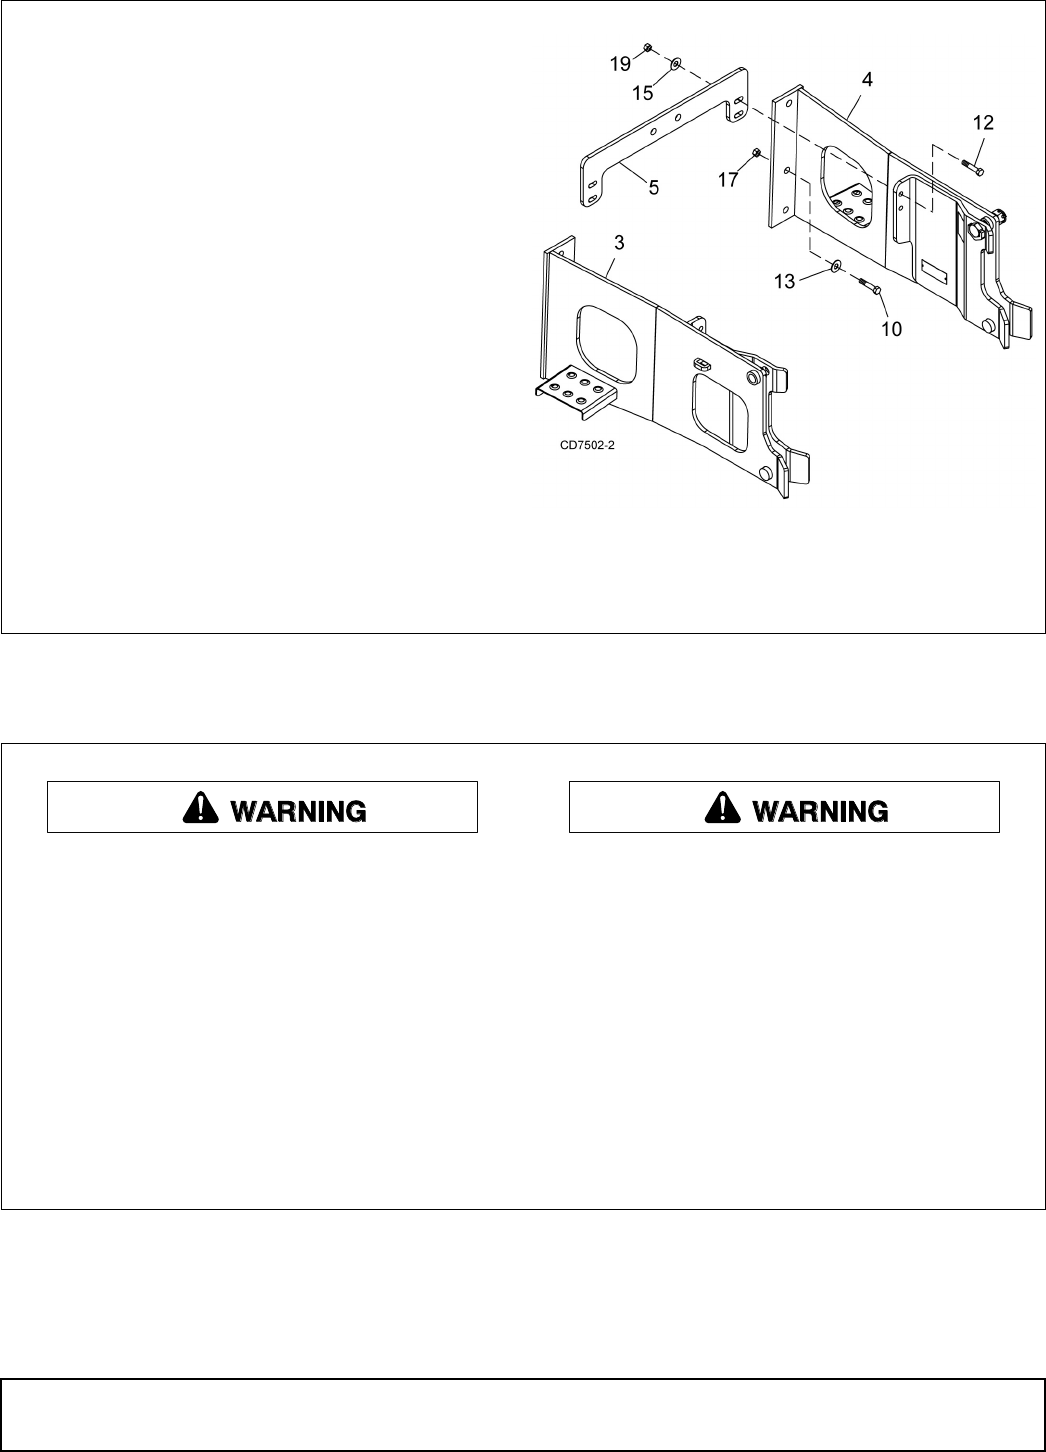
1. Attach right backhoe mount (3) and left backhoe
mount (4) to backhoe frame.
2. Secure into position using six (three per bracket)
cap screws (10), hardened flat washers (13), and
hex nuts (17).
3. Secure crossbrace (5) to backhoe brackets using
four cap screws (12), hardened flat washers (15),
and hex nuts (19).
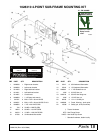
3. 1014450 Right backhoe mount
4. 1014451 Left backhoe mount
5. 1014467 Crossbrace
10. 735 3/4 NC x 2 HHCS GR5
12. 24576 1/2 NC x 1-3/4 HHCS GR5
13. 57798 3/4 Hardened flat washer
15. 57816 1/2 Hardened flat washer
17. 1450 3/4 NC Hex nut
19. 1093 1/2 NC Hex nut
Figure 9. Backhoe Bracket Installation
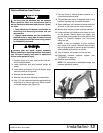
Keep hands and body away from pressurized
lines. Use paper or cardboard, not hands or other
body parts to check for leaks. Wear safety gog-
gles. Hydraulic fluid under pressure can easily
penetrate skin and will cause serious injury or
death.
Make sure that all operating and service per-
sonnel know that if hydraulic fluid penetrates
skin, it must be surgically removed as soon as
possible by a doctor familiar with this form of
injury or gangrene, serious injury, or death will
result. CONTACT A PHYSICIAN IMMEDIATELY IF
FLUID ENTERS SKIN OR EYES. DO NOT DELAY.
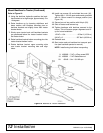
Make sure all hydraulic hoses, fittings, and
valves are in good condition and not leaking
before starting power unit or using equipment.
Check and route hoses carefully to prevent dam-
age. Hoses must not be twisted, bent sharply,
kinked, frayed, pinched, or come into contact with
any moving parts. Operate moveable components
through full operational range to check clear-
ances. Replace any damaged hoses immediately.


