Installing Wyse Simple Imager 2.0.2 9
Step 2: Verify DHCP is Running
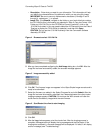
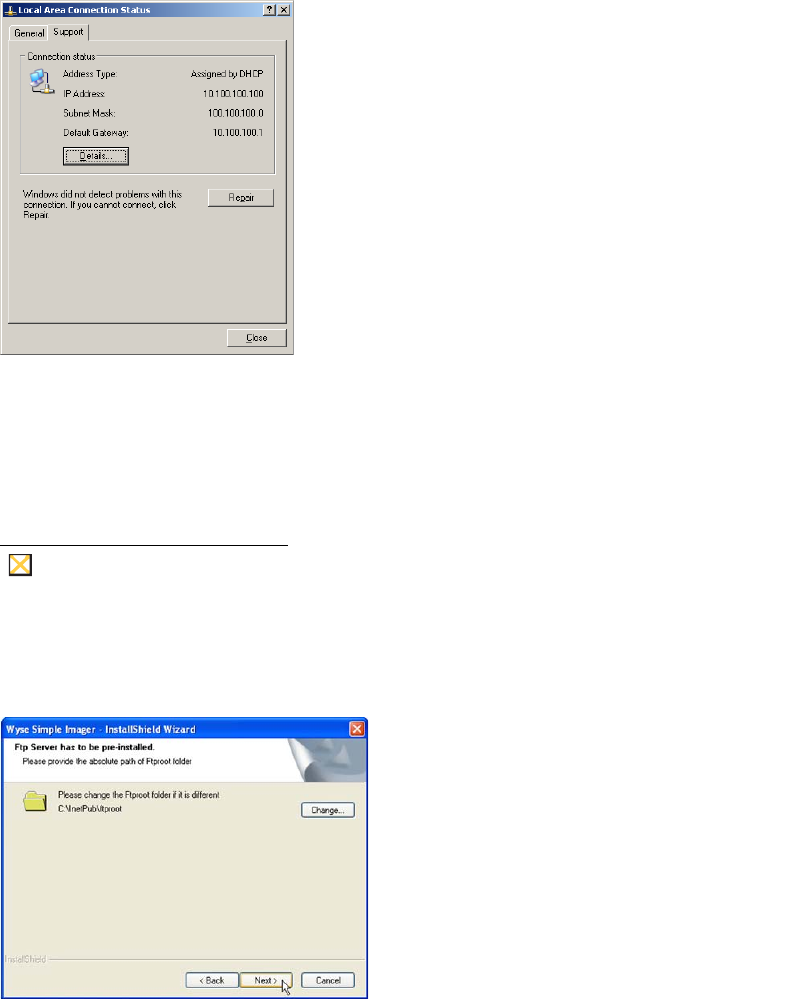
You can verify DHCP is running by going to Start > Control Panel > Network
Connections, double-click your LAN connection (for example, Local Area Connection) to
open the Local Area Connection Status dialog box, click the Support tab and then
ensure that your Address Type is Assigned by DHCP. If this is not the case, you must
correct the problem before continuing. If DHCP is not running do not install Wyse Simple
Imager until it is running.
Figure 10 Local Area Connection Status dialog box
Step 3: Install Wyse Simple Imager
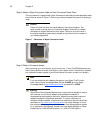
Navigate to the Wyse Simple Imager Release 2.0.2 folder on your hard drive (this is the
location you selected in "Pre-Installation Checklist"), double-click the WSISetup.exe file to
open the installation wizard, and then follow the prompts. It is recommended that you use
the default settings provided during installation.
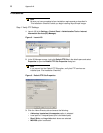
Caution
Be sure that the installation path is the same as the default path of the IIS
FTP root path (for example, C:\Inetpub\ftproot).
Figure 11 Default installation path
After Wyse Simple Imager installation is complete, a Wyse Simple Imager icon will be
created on the desktop from which the application can be run.


