7-5
Using the Scan Functions
Note
To specify a location where the scanned images are
saved:
Once scanning is complete, a folder is automatically displayed to
which the scanned images are saved. By default, a folder bearing
the scanning date is created inside the [My Pictures] folder in [My
Documents]. (On Windows Vista/Windows 7, the folder is created in
the [Pictures] folder.)
To change the scan settings:
You can re-specify the save location, file format, resolution, and
other settings from a computer.
e-Manual→Scanning→Scanning Paper Documents and Saving
Them to a Computer (USB & Network Connection)→Using the
MF Toolbox
Saving Scanned Documents to USB
Memory Device
You can save scanned documents to USB memory device
inserted in the USB port.
This section describes the basic procedure.
IMPORTANT
The USB memory device port on the machine
• The port supports USB 1.1.
• Do not insert anything other than USB memory device.
Supported file systems and memory capacity
Supported file systems and memory capacity include the following.
You can have your USB memory device formatted with one of the
following file systems on your computer.
• FAT16: up to 2 GB
• FAT32: up to 32GB
For details, see “Scanning” in the e-Manual.
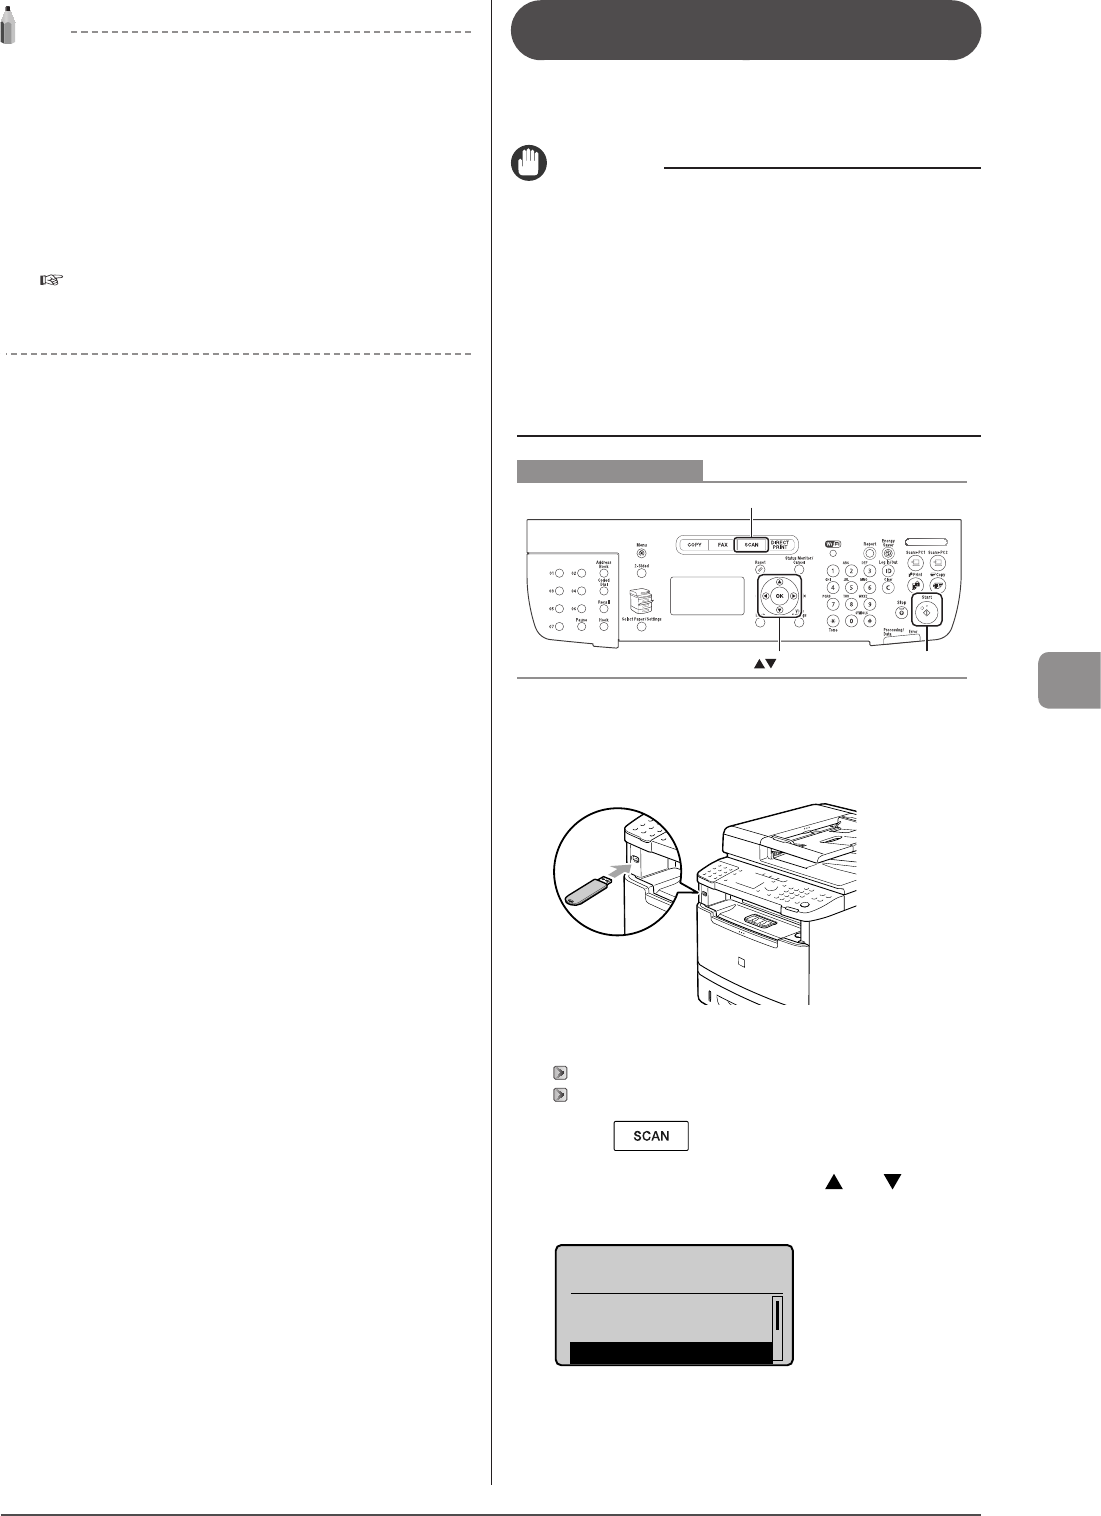
Keys to be used for this operation
OK Start
SCAN
1 Insert a USB memory device to the USB port.
The machine will begin to read the device when USB memory is
inserted. Do not touch or remove the device from the port.
2 Place your document.
“Loading Paper” (→P. 2-9)
“Supported Document Types” (→P. 2-2)
3 Press [ ].
4 Select <Memory Media> using [ ] or [ ] and
press [OK].
Select the scan type.
Computer
Remote Scanner
Memory Media
