


78-9000-0192-2 Rev C 41
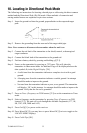
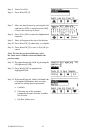
Step 8. When the bar graph fills toward the left (red-and-white-striped Fault Finding
Direction Indicator [8] (See illustration above.)) side of the display, the fault
has been passed and is now behind the operator. Move back, inserting the
3M
™
Earth Contact Frame every few inches, until the arrows alternate back to
green. Mark the point beneath the center of the Earth Contact Frame. Turn the
Earth Contact Frame 90 degrees and insert into the ground over the previously
marked point. Move the Earth Contact Frame to the left and right (following
the directions of the green and red indicator arrows). When the arrows reverse a
third time, turn the Earth Contact Frame 90 degrees again. Pinpoint the fault by
moving the Earth Contact Frame in the direction of the green and red indicator
arrows. The fault is located beneath the center of the Earth Contact Frame when
the arrows change from one side to the other this time.
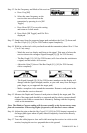
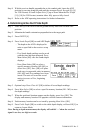
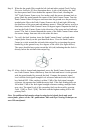
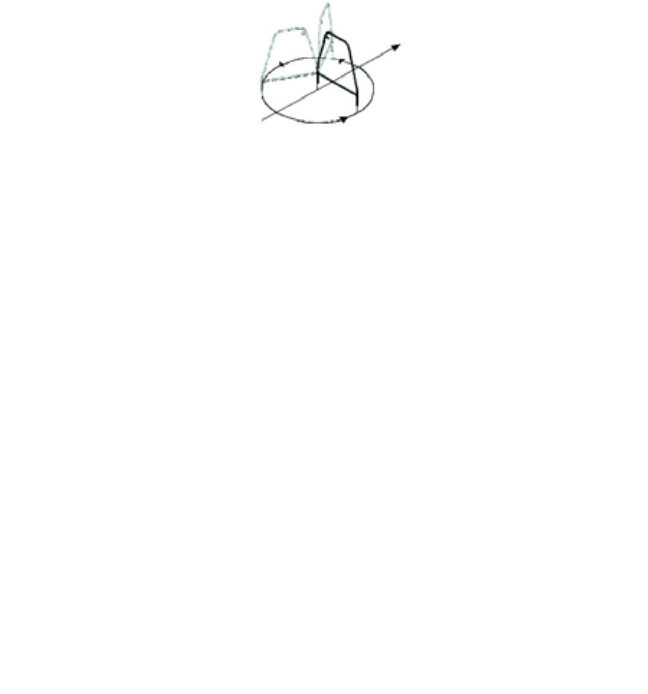
Step 9. To verify the fault location, insert the Earth Contact Frame’s red-and-white-
striped probe directly on the spot identified above. Pivot the Earth Contact
Frame in a circle around the red-and-white-striped leg re-inserting the green-
banded leg in the ground every few degrees of the circle (See figure below).
The arrow should always point toward the left (red) indicating that the fault is
directly below the red-and-white-striped leg.
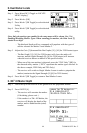
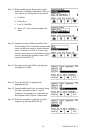
Step 10. After a fault is located and pinpointed, move the Earth Contact Frame about
one Earth Contact Frame width away from the fault and insert it in the ground
with the green-banded leg towards the fault. Compare the numeric signal
level with the fault signal strength level reference indicated in the lower left
box labeled REF. If the reading is within 12 dB of the fault signal strength
reference, the operator has found the major fault. If the fault reading does not
fall within 12 db of the fault signal strength reference reading, multiple faults
may exist. The signal level of this secondary fault can be saved by pressing
Fault 1 [SK] or Fault 2 [SK]. The fault with the highest reading will be the
primary fault.
Note: For additional information about locating buried sheath faults and earth
return faults, please see the 3M
™
publication Cable and Pipe Locating Techniques at
www.3M.com/dynatel.