


34
00:00- 00:00
00:00- 00:00
00:00- 00:00
00:00- 00:00
00:00- 00:00
00:00- 00:00
00:00- 00:00
REC SCHEDULE
OK
START END
00:00- 00:00
00:00- 00:00
00:00- 00:00
00:00- 00:00
00:00- 00:00
00:00- 00:00
00:00- 00:00
START END
CANCEL
TO MOVE
TO CHANGE
S
M
T
W
T
F
S
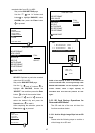
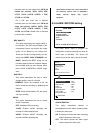
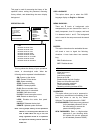
RECORD
ALARM / MOTION
CLOCK/ TIMER
COMMUNICATION
DISK
SYSTEM
MAIN MENU
GOTO COMM PAGE
CHANNEL 1 2 3 4
DWELL 03 03 03 03 03
SEQUENCER
CH1 [ FRONT DOOR ]
CH2 [ KITCHEN ]
CH3 [ BACKYARD ]
CH4 [ ROOM ]
TITLE
TO MOVE TO CHANGE
on the last Sunday of March. Time reverts to
standard time at 1:00 a.m. on the last Sunday
on October.
SET: Sets the beginning and ending for the
daylight saving time.
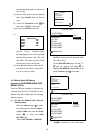
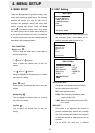
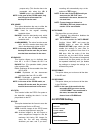
REC ENABLE:
This option enables/disables the programmed
scheduled recording.
ON: Enables the scheduled recording.
OFF: Disables the scheduled recording.
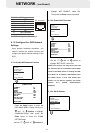
TIMER:
This entry allows users to program the time
each day when the DVR will start and stop
recording. There are
2 time periods each
day available for scheduling. The time is
displayed in a 24-hour clock format. If there
is a time overlapping showing between two
continual time period settings, the device
will automatically combine the two
time-period settings into one.
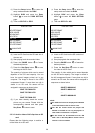
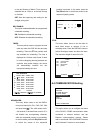
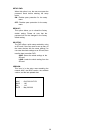
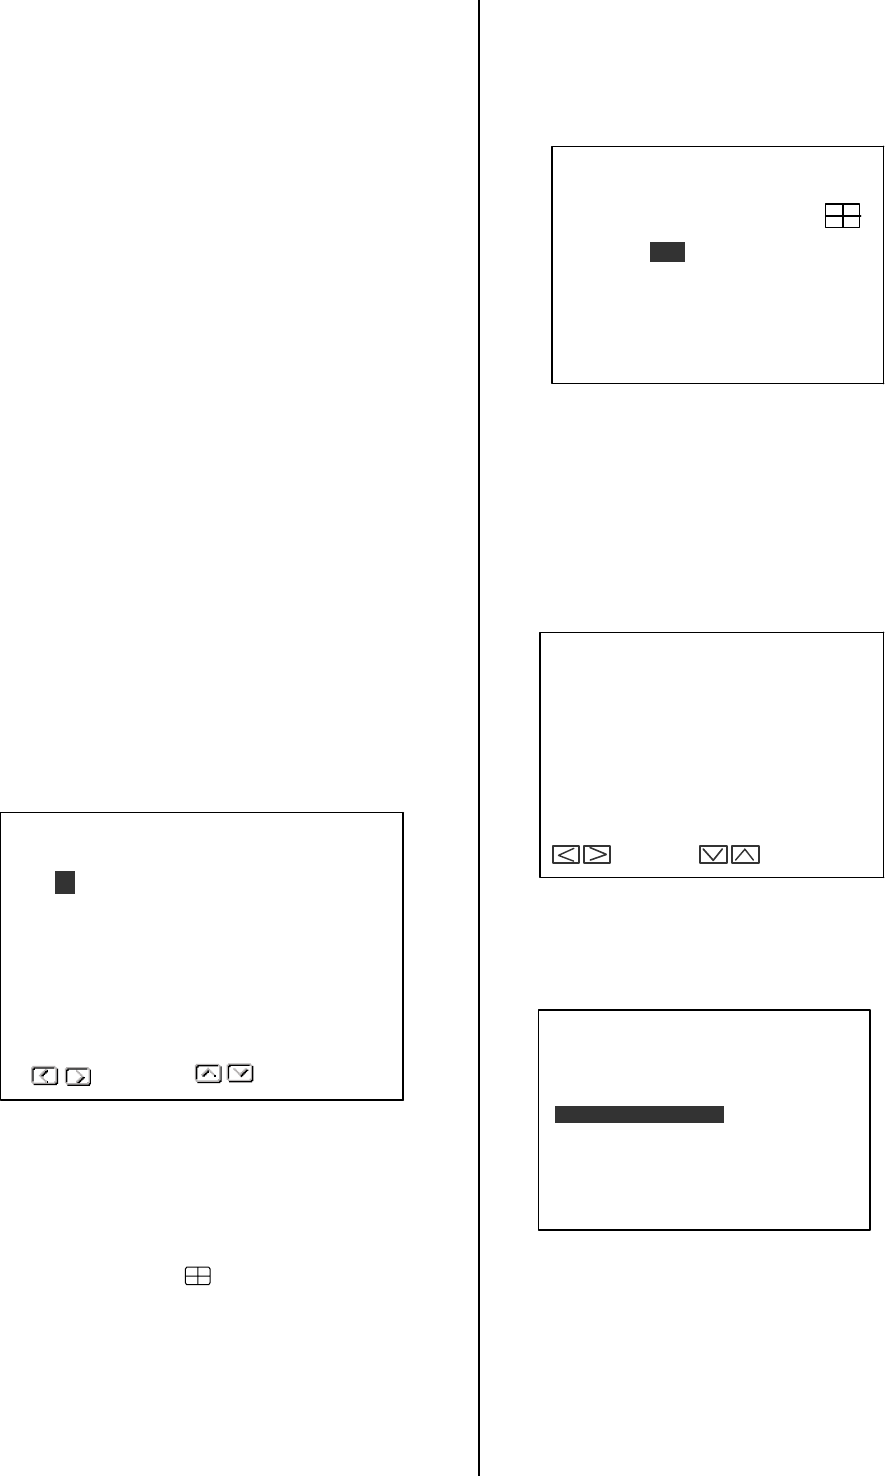
SEQUENCER:
This entry allows users to set the DWELL
time (time interval) for CH1, CH2, CH3, CH4,
and quad view(
). The valid values are 01
~ 99 seconds; if the dwell time is set to 00, it
will disable the corresponding channels,
while the sequential jumping is proceeding.
In the live mode, press the Seq./Save button
to switch the screen to the sequential
jumping is proceed. In live mode, press the
Seq./Save button to switch the screen to the
sequential jumping mode.
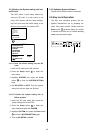
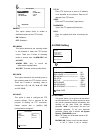
TITLE:
This entry allows users to set the titles for
each video source or camera, in live or
recording mode. Press the DISPLAY button to
switch the display status and show the titles.
The maximum length for each title is 24.
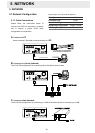
4.4 COMMUNICATION Setting
This option allows you to configure the status
of the RS-232 / RS485 communication when
connected to external devices, and the
Ethernet communications settings. Please
refer to sections 6.1 RS-232/RS485 Protocols
and 5. Network Functions for more details.