26
ENGLISH
Advanced connections
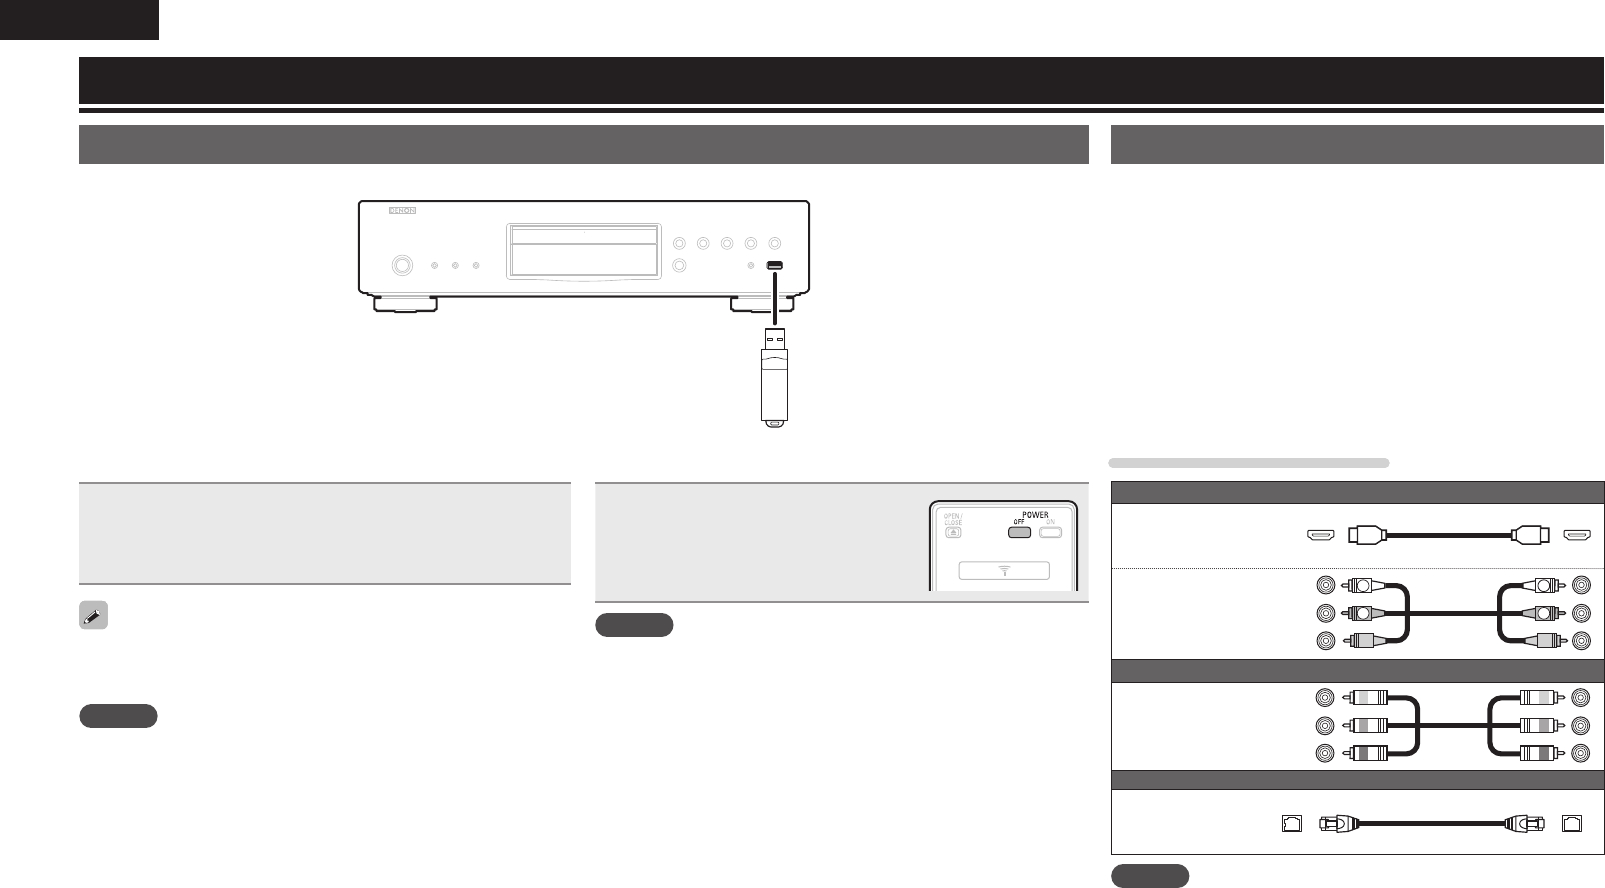
n Connecting a USB memory device
Insert a USB memory device into the USB port rmly.
• After the USB memory device is inserted and the power of the
unit is turned on, check that the “USB“ indicator on the display of
the unit lights.
• For files that can be played on the unit, see page 46.
• If the “USB“ indicator does not light, turn the power off, reinsert the
USB memory device, and turn the unit on again.
NOTE
• Insert a USB memory device straight into the USB port. If the USB
memory device is forcibly inserted, the unit or the device may be
damaged.
• Some USB memory devices may protrude from the USB port. Do
not use excessive force to insert it into the USB port, or push the
protruded part forcibly.
• Do not insert an object other than a USB memory device into the
USB port. It may damage the unit.
• Do not leave a USB memory device near small children. A child may
swallow it.
• For connecting a USB memory device, do not use an extension
cable.
• The USB port of the unit and a computer cannot be connected with
a USB cable.
• Do not use for charging portable audio players or mobile phones.
Connecting to a USB memory device
MP3 or JPEG, etc. files stored on a USB memory device can be played.
Connecting to a network
When the unit is connected to the Internet, you can enjoy following
functions.
• Playback of a Blu-ray disc supporting BD-LIVE™ (vpage15).
• Playback of music, photos, video files stored on a device on the
network (vpage28).
• Playback of YouTube contents (vpage31).
• Playback of Netflix contents (vpage31).
• Downloading for updating the latest firmware via the network
(vpage34).
After connection, make settings for the Internet connection and check
it before using Media Server, YouTube or Netflix.
Cables used for connections
Audio and video cables
HDMI cable
(sold
separately)
Audio and
video cable
(supplied)
R
L
R
L
(White)
(Red)
(Yellow)
Video cable
Component
video cable
(sold
separately)
(Green)
(Blue)
(Red)
Ethernet Cable
Ethernet cable
(sold
separately)
NOTE
• Do not plug in the power cord until all connections have been
completed.
• When making connections, also refer to the operating instructions of
the other components being connected.
• Be sure to connect the left and right channels properly (left with left,
right with right).
• Do not bundle power cords together with connection cables. Doing
so can result in noise.
n Removing a USB memory device
Press POWER OFF to turn the power
off then remove the USB memory
device from the USB port.
NOTE
• Be sure to turn the power off when inserting or removing a USB
memory device. Data stored in the USB memory device or the
memory of the unit may be damaged.
• In any case where data stored in a USB memory device are damaged
or deleted, we will not compensate for the stored contents or any
associated damage or try to restore the contents stored in a USB
memory device.
• Compatibility of all USB memory devices is not guaranteed.
• For reformatting a USB memory device, format it with FAT16 or
FAT32.
1.DBP1611E3_ENG_11A.indd 26 2011/07/23 10:40:01


