


28
ENGLISH
3
4
5
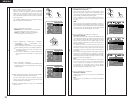
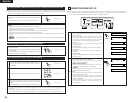
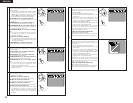
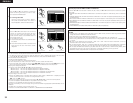
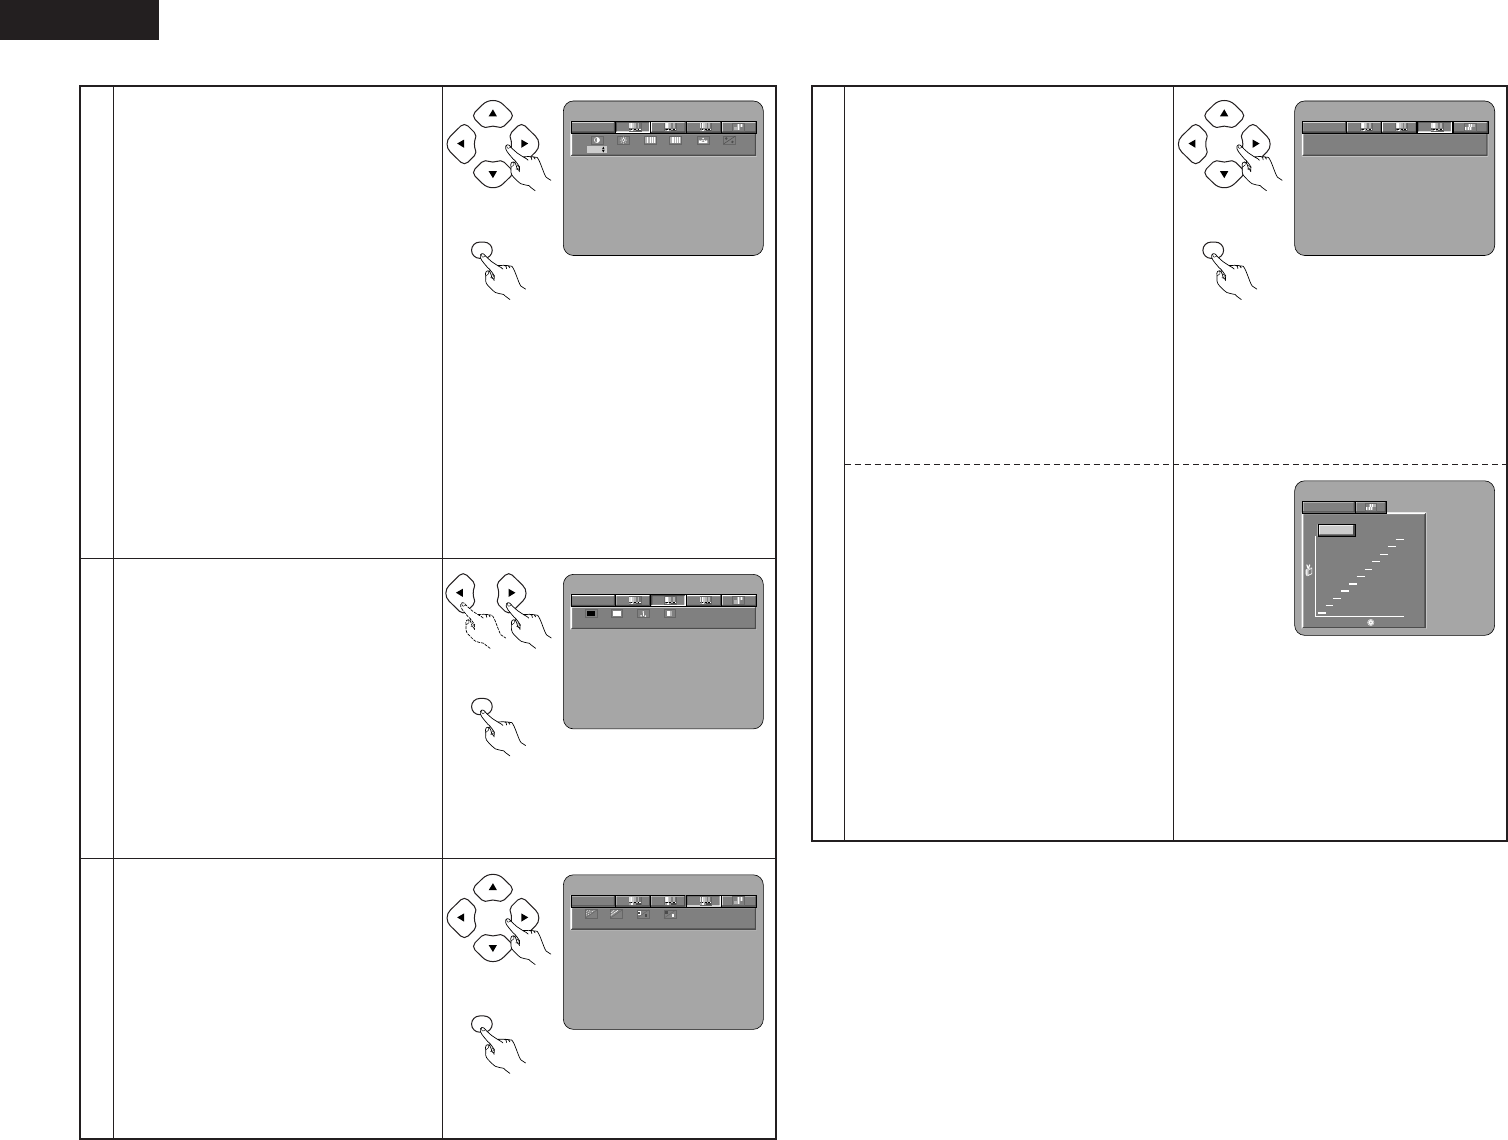
When Image Quality Adjustment 1 Is Selected
and Adjusted:
• Press cursor button (ª), then select the image
quality adjustment item with cursor buttons
(
0, 1), set the adjustment value with cursor
buttons (•, ª), and press the ENTER button.
• All of the adjusted contents will be stored.
CONTRAST (–6 to +6) (Factory default: 0)
• This adjusts the light/dark difference of the
image.
BRIGHTNESS (0 to +12) (Factory default: 0)
• This adjusts the brightness of the image.
SHARPNESS (MID) (–6 to +6) (Factory default: 0)
• This adjusts the sharpness of the image for
the intermediate frequencies.
SHARPNESS (HIGH) (–6 to +6) (Factory default:
0)
• This adjusts the sharpness of the image for
the high frequencies. (Only effective for
progressive images.)
HUE (–6 to +6) (Factory default: 0)
• This adjusts the balance between green and
red. (Not effective for progressive scan output
nor component output.)
ENHANCER (0 to +7) (Factory default: 0)
This emphasizes the contour of the image.
MEMORY 1
123
00000
MH
0
Remote control unit
ENTER
Remote control unit
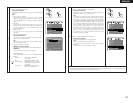
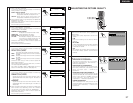
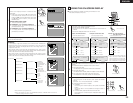
When Image Quality Adjustment 2 Is Selected
and Adjusted:
BLACK LEVEL (–5 to +5) (Factory default: 0)
• This adjusts the black level.
WHITE LEVEL (–5 to +5) (Factory default: 0)
• This adjusts the white level.
CHROMA LEVEL (–6 to +6) (Factory default: 0)
• This adjusts the density of the color.
CHROMA DELAY (–2 to +2) (Factory default:
0)
• This adjusts the shift of the brightness signal
and the color signal of the image. (Only
effective for progressive images.)
(Adjustment between –1 and +1 is possible for
interlaced video.)
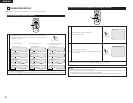
When Noise Reduction (Adjustment 3) Is
Selected and Adjusted:
3DNR (0 to +7) (Factory default: 0)
• This reduces the noise of the overall image.
BLNR (0 to +8) (Factory default: 0)
• This reduces the block noise of the image.
MQNR (0 to +8) (Factory default: 0)
• This reduces the mosquito noise of the image.
CCS (0 to +3) (Factory default: 0)
• This performs removal of the color signal
component for images in which the color
signal component is mixed with the brightness
signal. (Only effective with progressive
images.)
MEMORY 1
123
0-2-6-6
Remote control unit
ENTER
Remote control unit
MEMORY 1
123
-6 -6 -6 -6
Remote control unit
ENTER
Remote control unit
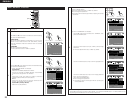
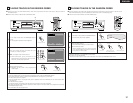
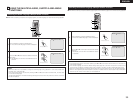
When Gamma Correction by Numerical Input
Has Been Selected and Adjusted: (Press the
cursor button (ª))
• All of the adjusted contents are stored.
• The brightness level can be adjusted in a range
of 16 to 235.
• Pressing the cursor button (•) raises the level
(and the image becomes brighter), and
pressing the cursor button (ª) lowers the level
(and the image becomes darker).
• A press of the CLEAR button returns all of the
setting points to the standard level.
The level of the selected point cannot exceed
the level of the points above and below that
point. (A dark portion cannot be set to exceed a
portion that is brighter than it.)
Ending the Image Quality Adjustment
Press the PIC.ADJ button again.
When Gamma Correction by Gamma Correction
Graph Input Has Been Selected and Adjusted.
MEMORY 1
123
24 32 48 80 96 128 160 19264
G0 G1 G2 G4 G5 G6 G7 G8
224
G9G3
Remote control unit
ENTER
Remote control unit
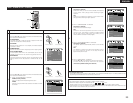
6
When Gamma Correction by Numerical Input
Has Been Selected and Adjusted: (Press the
enter button)
• All of the adjusted contents are stored.
• The brightness level can be adjusted in a range
of 16 to 235.
• Pressing the cursor button (•) raises the level
(and the image becomes brighter), and
pressing the cursor button (ª) lowers the level
(and the image becomes darker).
• A press of the CLEAR button returns all of the
setting points to the standard level.
The level of the selected point cannot exceed
the level of the points above and below that
point. (A dark portion cannot be set to exceed a
portion that is brighter than it.)
Ending the Image Quality Adjustment
Press the PIC.ADJ button again.
When Gamma Correction by Gamma Correction
Graph Input Has Been Selected and Adjusted.
MEMORY 1
0
0
100
235
GO : 0 24