


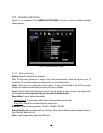

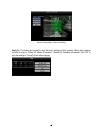
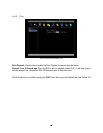

46
mode. When schedule recording is disabled, as the default the DVR will automatically begin recording
when it is first turned on.
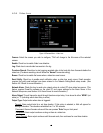
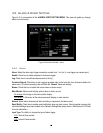
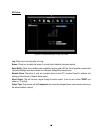
Time Stamp: Select if the time and date will display while recording. Choose the location for the time
display from Top, Bottom or Off.
Record Status Relay Output: Select from “NONE” and “1”. By monitoring the state of the selected alarm
relay, the user can easily see the recording status from the alarm output if this option is set as “1”.
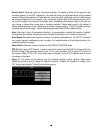
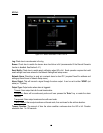
Auto Erase Video: The hard drive will automatically erase video after it has been on the hard drive for the
selected number of days. To use the maximum hard drive space, choose “OFF”. (See Record Overwrite
and notes above.) This feature is useful if local rules and regulations require recorded video to be
discarded after a specific number of days, or to limit the retention of older recorded video to clear space in
anticipation of event recording.
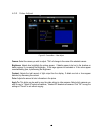
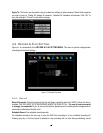
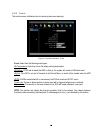
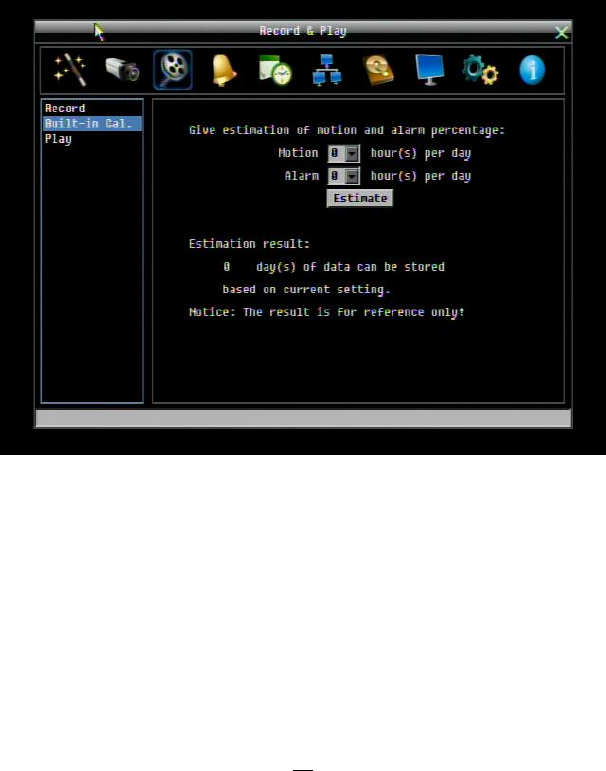
4.4.2 Built-in Calculator
The built-in record period calculator can give a rough estimation of the total recording time for the DVR with
the current settings. In order to compute as accurate an estimate as possible, please enter your
expectations for the hours per day you expect recording to take place due to motion events and due to
other alarm conditions.
Figure 4-8 Record & Play Menu-Built-in Cal.
Motion: Enter the expected number of hours per day due to motion recording.
Alarm: Enter the expected number of hours per day due to alarm recording.
If the total of Motion and Alarm hours is more than 24 hours, the calculator will assume that motion and
alarm recording take place for the entire 24 hour period.
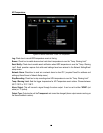
Click on the “
E
E
E
S
S
S
T
T
T
I
I
I
M
M
M
A
A
A
T
T
T
E
E
E
”
”
”
button to display the result at the bottom of the screen:
" xx days of data can be stored based on current setting"