2-17DVS 406 • Installation and Operation
The Enhanced mode will only be effective on composite and S-video input
signals.
2:2 Pulldown detection (PAL film mode detect)
For the currently selected input, set this feature “On” if the source is PAL video
that originated in film. For standard PAL video sources, such as cameras, set this
feature to “Off” (default).
This feature does not apply to NTSC video sources since film mode (3:2
pulldown) is automatically detected for those signals.
Use either the horizontal Adjust (
) or vertical Adjust ( ) knob to specify this
mode.
Reset
The scaler can be reset to the default values by depressing and holding the Take
button from this submenu. Release the button after receiving the “Press TAKE to
Confirm Reset” message (about 2 seconds), then press Take again to reset the
scaler. The message “Unit Reset to Factory Defaults” will then be displayed.
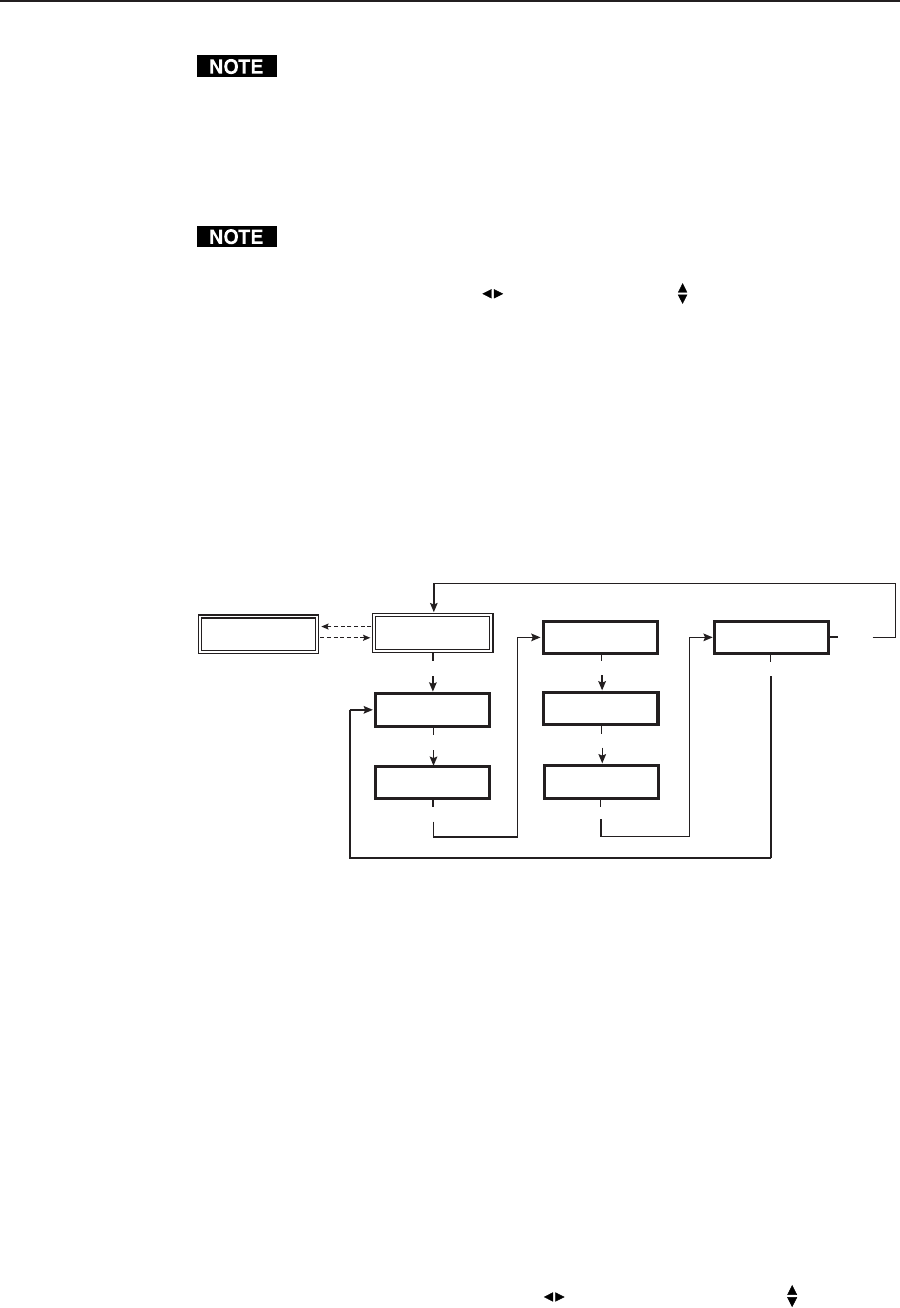
Exit Menu
From this submenu, press the Next button to return to the Default menu cycle, or
press the Menu button to return to the Input Configuration menu.
Extron
DVS 406
Output
Configuration
MENU
Input
Configuration
MENU
Audio
Configuration
MENU
Memory
Presets
MENU
Advanced
Configuration
MENU
Exit
Menu
MENU
MENU
NEXT
2 sec.
2 sec.
Input #1
RGB Pass Through
Image Adjustments
Image adjustments apply to scaled video output only; RGB signals are passed
through without adjustments. Sizing and centering image adjustments can be
stored in memory as a preset (see the “Memory Presets” section in this chapter)
and can be set separately for each input.
Color, tint, brightness, contrast, detail, sizing, centering
To adjust an image for color, tint, brightness, contrast, detail, sizing, or centering
follow the steps below. An example of making color adjustments, shown in the
following flowchart, demonstrates the process, which is the same for all the
image adjustments.
1. Press the input selection button of the input you wish to adjust.
2. Press the appropriate image adjustment button (Color/Tint, Brightness/
Contrast, Detail/Sharpness, Sizing, and Centering). The LCD display will
show the name of the adjustment and the number of the current setting.
3. Rotate the horizontal Adjust knob (
) or vertical Adjust knob ( ) to select a
level from the following adjustment ranges:
