Model D2424 Reference Manual (Names and Functions)
15
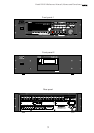
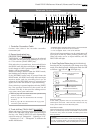
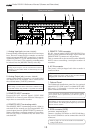
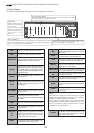
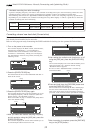
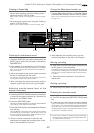
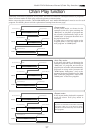
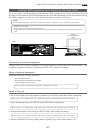
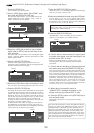
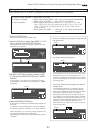
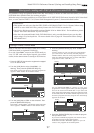
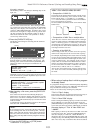
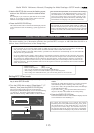
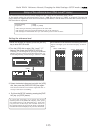
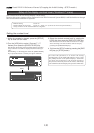
27. Stop button [STOP]
Pressing this button will stop the transport section
of the recorder. Pressing the PLAY, REWIND, or F
FWD button while holding down this button will
cause the recorder to perform the following
operation:
[STOP] button + [PLAY] button
Pressing the [STOP] button will abort the editing
operations and display the current position of the
recorder, if you wish to:
* quit the data edit mode,
* cancel the recall or store operation,
* quit the pitch data display,
* cancel the edit operation, such as pasting, or
* cancel the SETUP menu settings.
Pressing the foot switch while holding down this
button allows you to turn the punch in/out rehearsal
mode ON/OFF.
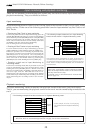
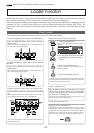
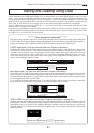
*1 Clipboard playback:
The recorder plays back the copy data or move data for
the Clipboard. During audio playback of the copy or move
data, the FL will display the time length and data type
(“Copy Clip Play!” or “Move Clip Play!”), and the copy or
move source track indicator will flash, enabling you to
quickly determine the track and data type.
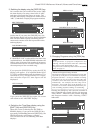
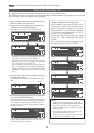
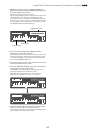
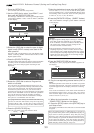
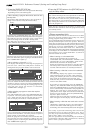
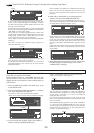
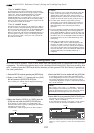
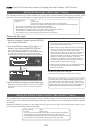
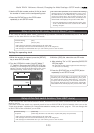
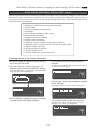
24. Undo/Redo key [UNDO/REDO/M. UNDO]
If you wish to restore the status prior to editing,
recording, or performing a punch in/out take, press
the [UNDO/REDO] key. Pressing the [UNDO/REDO]
key again will return you to where you were before
you pressed the [UNDO/REDO] key the first time.
If the current drive you are using has been formatted
with the multiple undo function switched ON, you
can execute multiple undo by pressing this key while
holding down the [SHIFT] key.
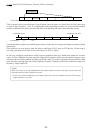
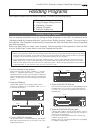
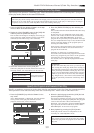
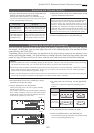
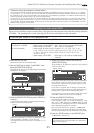
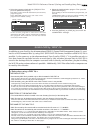
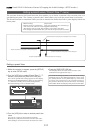
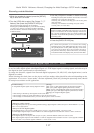
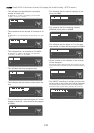
22. Locate key [LOCATE]
Use this key to start to start the LOCATE feature.
Pressing this key after a memory key (CLIPBOARD
IN/OUT, AUTO RTN START/END, AUTO PUNCH IN/
OUT) locates the memory data programmed in each
respective key (time mode or bar, beat, clock setting).
The data can be programmed by individually setting
it with one of the 99 (01-99) LOCATE numbers of
the [LOCATE] key.
Note that the data of memory number 00 is available
in addition to LOCATE numbers 01-99. The last
LOCATE time setting (bar, beat, clock setting)
constantly replaces the data stored in the [LOCATE]
key as data in memory number 00. Therefore, it is
possible to press this key alone to repeatedly LOCATE
the same point.
These data can be individually stored in programs
P1-P99. The data for each program is SAVED or
LOADED for each program when the song data is
designated for SAVE/LOAD in the SETUP mode. This
data is maintained even when the power is turned
OFF.
* Refer to page “
54
” for more information about the
Locate function.
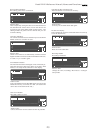
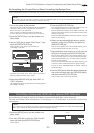
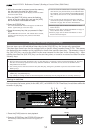
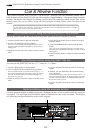
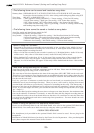
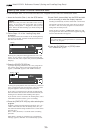
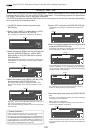
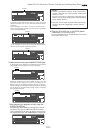
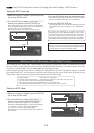
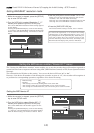
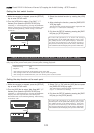
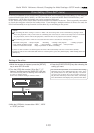
25. Play button [PLAY]
Pressing this button will cause the recorder to play
back. Pressing this button while holding down the
[RECORD] button will start recording.
Pressing this button while holding down the [STOP]
button will perform the Clipboard playback
operation. Refer to the section “STOP button” for
more information on the Clipboard playback.
Pressing the [PLAY] button during recording will stop
recording.
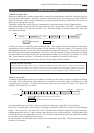
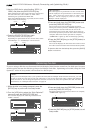
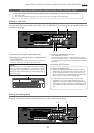
23. Rewind button [REWIND]
Pressing this button while the recorder section is
stopped will rewind data at 30 times speed.
Pressing this button in Play mode will cue data (you
can hear sound while rewinding) at five times speed.
Pressing this button while holding down the [STOP]
button will perform the “LOCATE ABS 0” operation,
and immediately locate the beginning of the Program
(ABS TIME: 00m: 00s: 00f). (Refer to the “STOP
button” section for more information about LOCATE
ABS 0.)
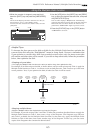
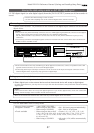
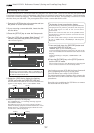
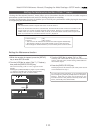
26. Setup key [SETUP/TC GEN]
Press this key to puts the recorder in the SETUP mode
to execute various operations. This key works when
the recorder is stopped. To exit from the SETUP
mode, either press the [EXIT/NO] key or the STOP
button. If the optional Model 8345 TC/SYNC card is
installed and external time code is being input, you
can enter the generator setup mode by pressing this
key while pressing on the [SHIFT] key.
* Refer to page “
105
” for more information on SETUP
mode.
* Refer to "
APPENDIX
" for more information about
generator setup mode.
<Note>
This key is enabled only when the recorder is stopped.
* Refer to pages “
41
”, “
43
”, “
68
” and “
71
” for more
information about the single Undo/Redo operation.
* Refer to page "
64
" for more information about
Multiple Undo function.
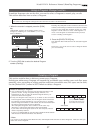
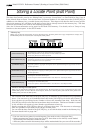
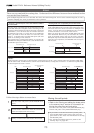
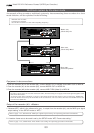
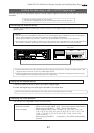
[STOP] button + [REWIND] button
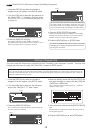
[STOP] button + [F FWD] button
Clipboard playback (The STOP LED will flash and
the PLAY LED will light up.) *1
Locate ABS 0 *2
Locate REC END *3