46
Configuring the DVD player
—Continued
TV Shape
With this setting you can select a picture format to match
the aspect ratio of your TV.
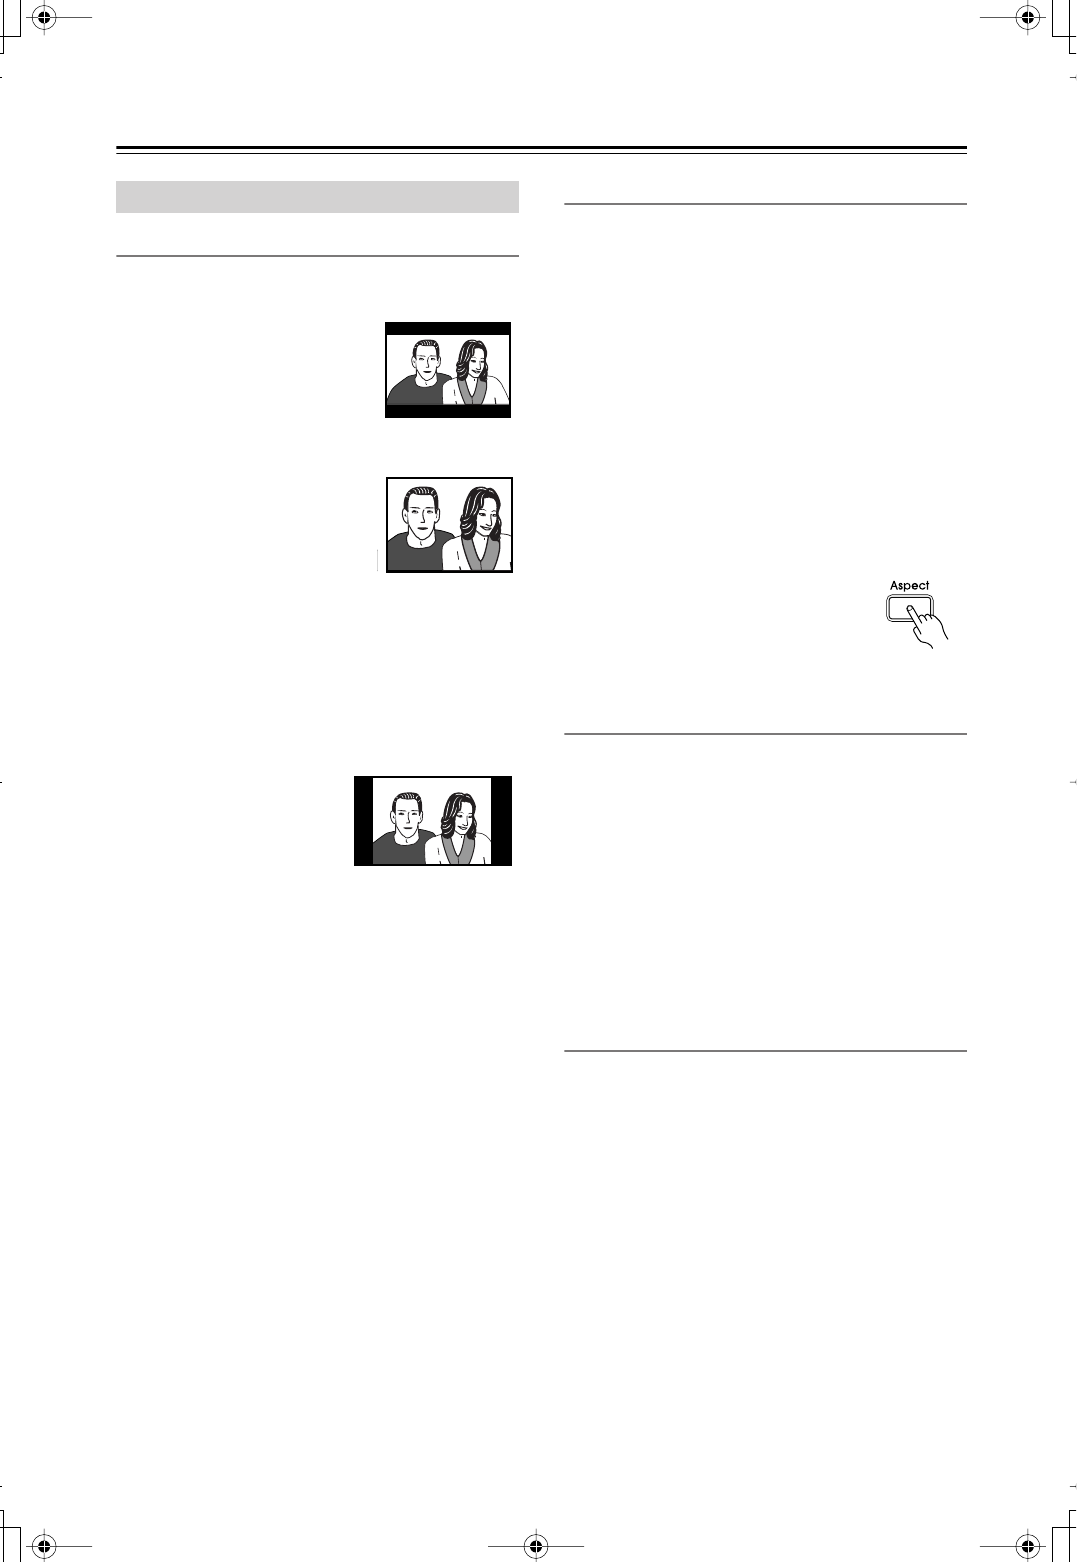
4:3 Letter box (default):
Choose
this option if you have a standard
TV (4:3 aspect ratio). When you
watch widescreen DVD-Video
movies, the entire picture will be
visible and there will be black
bars at the top and bottom of the screen, as shown.
4:3 Pan & Scan:
Choose this
option if you have a standard TV
(4:3 aspect ratio) and want to use
the full height of the screen when
watching widescreen
DVD-Video movies. In order to
use the full height of the screen, the picture will be
cropped on both sides, as shown. This option won’t
work with discs that don’t support pan and scan.
16:9 Widescreen:
Choose this option if you have a
widescreen TV (16:9 aspect ratio). Depends on TV,
the picture appears stretched when watching programs
in 4:3 format.
16:9 Compressed:
Choose
this option if you have a
widescreen TV (16:9 aspect
ratio) and the picture appears
stretched when watching
programs in 4:3 format. This
option will correct the issue.
Notes:
• This setting does not apply to DVD menus.
• When the HDMI OUT signal is at a resolution of 720p
or 1080i, programs in 4:3 format will appear stretched,
so we recommend that you select the 16:9 Com-
pressed option.
•With some DVD-Video discs this setting may have no
effect. See the disc’s sleeve notes to see which picture
format is used.
View Mode
With this setting you can adjust the aspect of the picture
so that it fits your TV screen. Due to your TV’s aspect
ratio setting and the DVD’s aspect ratio, black bars may
appear above and below the picture or at the sides and the
aspect of the picture may be unsuitable. In this case, use
this setting to adjust the aspect of the picture as you like.
Normal (default):
The picture is displayed in its
original aspect ratio.
View Mode 1:
The picture is stretched horizontally
to make it fit the height of the screen.
View Mode 2:
The picture is stretched vertically to
make it fit the width of the screen.
View Mode 3:
The picture is stretched horizontally
and vertically to make it fit the screen.
Tip:
The view mode can also be changed by
using the remote controller’s [Aspect]
button.
Note:
• This setting does not apply to DVD menus.
HDMI Output Setting
With this setting you can turn the HDMI video output on
or off. See page 43 for more information.
On (default):
Video is output by the HDMI OUT.
Off:
Video is not output by the HDMI OUT.
Tip:
This setting can also be changed by using the [HDMI]
button on the front panel (see page 43).
Note:
• When this setting is set to On, video is output by the
analog video outputs only when the HD Resolution is
set to 480p/576p.
Progressive Setting
With this setting you can set the component video output
to progressive or interlaced. While the HDMI Output
Setting is set to On, this setting is fixed at Progressive
and cannot be changed. See page 43 for more informa-
tion.
Interlaced:
Component video output is interlaced.
Progressive:
Component video output is progressive.
Tip:
When the HDMI Output Setting is set to Off, you can
also change this setting by using the [Resolution] button
on the front panel (see page 43).
Picture Menu


