


Masterpage:Right+
EN 43
Filename [SR-MV45_55U_09Navigation.fm]
Page 43 January 10, 2007 1:18 pm
NAVIGATION (DVD DECK ONLY)
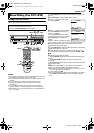
6 Find the point where you want the moved scene to begin, then
press ENTER with the arrow on “IN”. The edit-in time is fixed and
the elapsed playing time starts counting again.
7 Find the point where you want the moved scene to end, then
press ENTER with the arrow on “OUT”. The edit-out time is fixed.
8 Press 4 to start playback.
9 Find the point where you want the moved scene to be moved,
then press ENTER with the arrow on “MOVE TO”.
● Press 3, 4, 5, 2, 6 or 9 to find the edit-in, edit-out and
move-to points.
10 Press we to select “PREVIEW”, then press ENTER to
preview the part approximately 5 seconds before and after the
point to which the scene has been moved.
11 Press we to select “EXECUTE”, then press ENTER. The
selected scene is moved.
To modify the points
A Press we to select “CLEAR”, then press ENTER.
B Repeat steps 5 – 11 as necessary.
12 Press NAVIGATION to return to the normal screen.
NOTE:
There may be a discrepancy of several seconds between the scene you
intend to edit, and the scene which is actually edited.
Delete Unwanted Part From Play List
1 Perform steps 1 to 3 of “Create Play List” (੬ pg. 42) before
continuing.
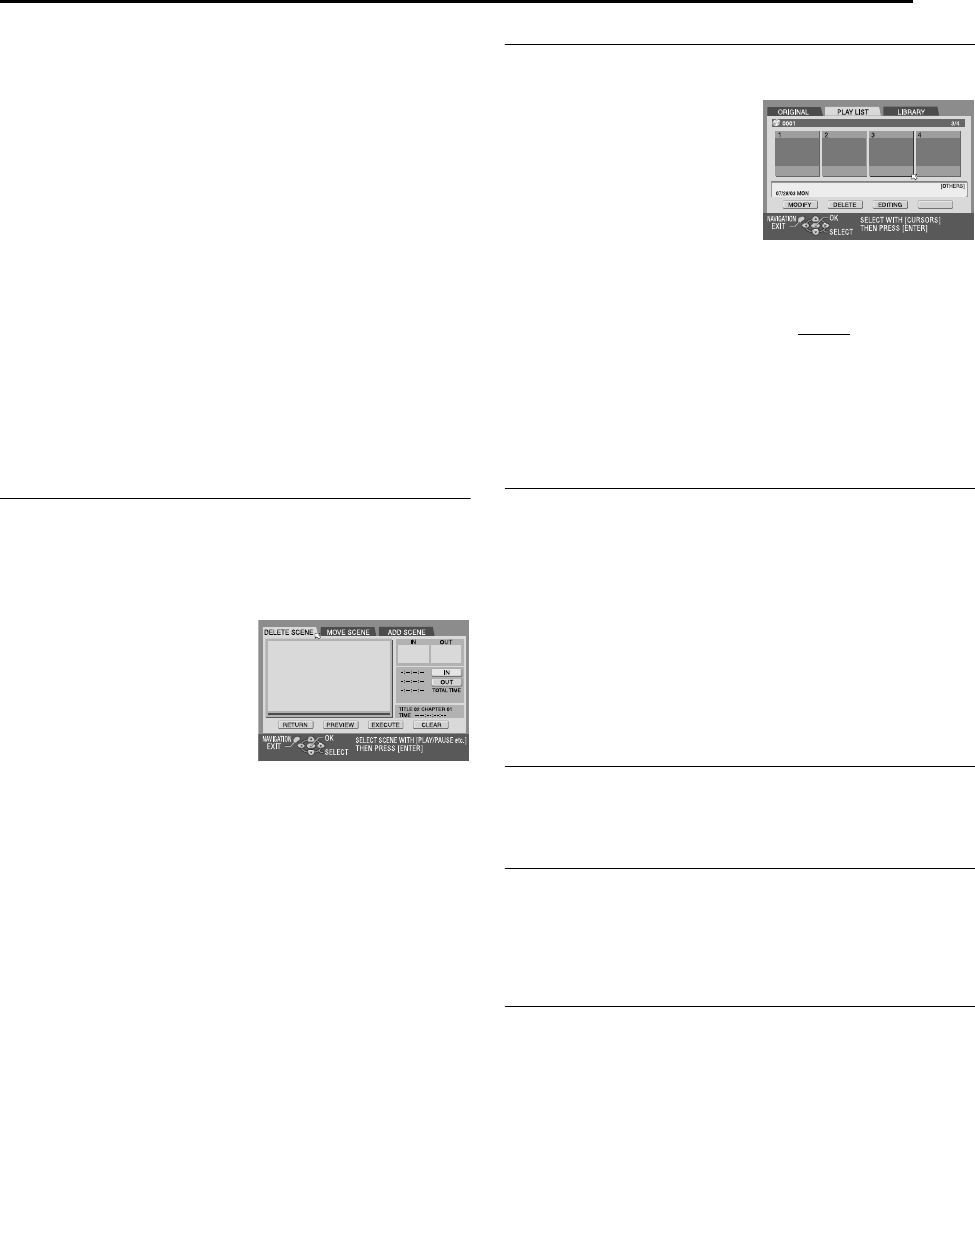
2 Press we to select a play list from which you wish to delete
unwanted parts, then press t.
3 Press we to select “EDITING”, then press ENTER.
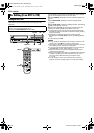
4 Press we to select “DELETE
SCENE”, then press ENTER.
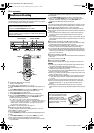
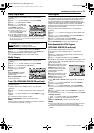
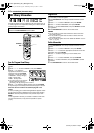
5 Press 4 to start playback. The
playback pictures appear in the
window on the screen. The
elapsed playing time starts
counting with the arrow on “IN”.
● To locate the beginning of other
titles, press 2/6.
6 Find the point where you want the deletion to begin, then press
ENTER with the arrow on “IN”. The edit-in time is fixed and the
elapsed playing time starts counting again.
7 Find the point where you want the deletion to end, then press
ENTER with the arrow on “OUT”. The edit-out time is fixed.
● Press 3, 4, 5, 2, 6 or 9 to find the edit-in and edit-out
points.
8 Press we to select “PREVIEW”, then press ENTER to preview
the scene approximately 5 seconds before and after the deleted
part.
9 Press we to select “EXECUTE”, then press ENTER. The
selected scene is deleted.
To modify the points
A Press we to select “CLEAR”, then press ENTER.
B Repeat steps 5 – 9.
10 Press we to select “YES”, then press ENTER. The selected
scene is deleted.
● To cancel the deletion, press we to select “NO”, then press ENTER.
To modify the points
A Press we to select “CLEAR”, then press ENTER.
B Press r to select “IN”, then repeat steps 4 – 10.
11 Press NAVIGATION to return to the normal screen.
NOTE:
There may be a discrepancy of several seconds between the scene you
intend to edit, and the scene which is actually edited.
Play Back Play List
1 Perform steps 1 to 3 of “Create Play List” (੬ pg. 42) before
continuing.
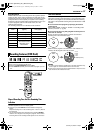
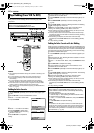
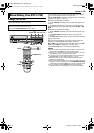
2 Press we to select the index
(small still pictures) of the desired
play list.
● When you want the plural play lists
to be played back continuously,
press MEMO after selecting the
desired play lists. The numbers of
the playback order appear on the
index. You can select up to 30 play
lists.
● When you want to correct the order, move the arrow on the desired
index and press MEMO. The number disappears and the unit re-
numbers the other play lists automatically.
● When you want to cancel the order, press CLEAR (8).
3 Press ENTER or SELECT (4) to start playback. The playback
starts.
4 Press 9 to pause playback.
● To resume normal playback, press 4.
5 Press 8 to stop playback.
Delete Play List
1 Perform steps 1 to 3 of “Create Play List” (੬ pg. 42) before
continuing.
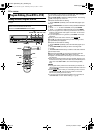
2 Press we to select one play list you want to delete, then press
t.
3 Press we to select “DELETE”, then press ENTER.
4 Press we to select “YES”, then press ENTER.
● When you cancel the deletion, select “NO”, then press ENTER.
5 Press NAVIGATION to return to the normal screen.
NOTE:
Even if a play list is deleted, the programs recorded on a DVD disc and
the library information are not affected at all.
Modify Index
A Perform steps 1 to 3 of “Create Play List” (੬ pg. 42) before
continuing.
B Perform steps 3 to 8 of “Modify Index” (੬ pg. 40).
Modify Program Title
A Perform steps 1 to 3 of “Create Play List” (੬ pg. 42) before
continuing.
B Press rt w e to select one program you want to modify, then
press t.
C Perform steps 2 to 7 of “Modify Program Name” (੬ pg. 41).
Modify Category
A Perform steps 1 to 3 of “Create Play List” (੬ pg. 42) before
continuing.
B Press rt w e to select one program you want to modify, then
press t.
C Perform steps 2 to 6 of “Modify Category” (੬ pg. 41).
CREATE
SR-MV45_55US.book Page 43 Wednesday, January 10, 2007 1:18 PM