


64
10.1.3 View the VR-601 video from a remote PC
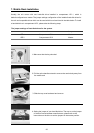
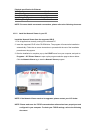
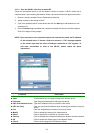
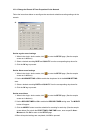
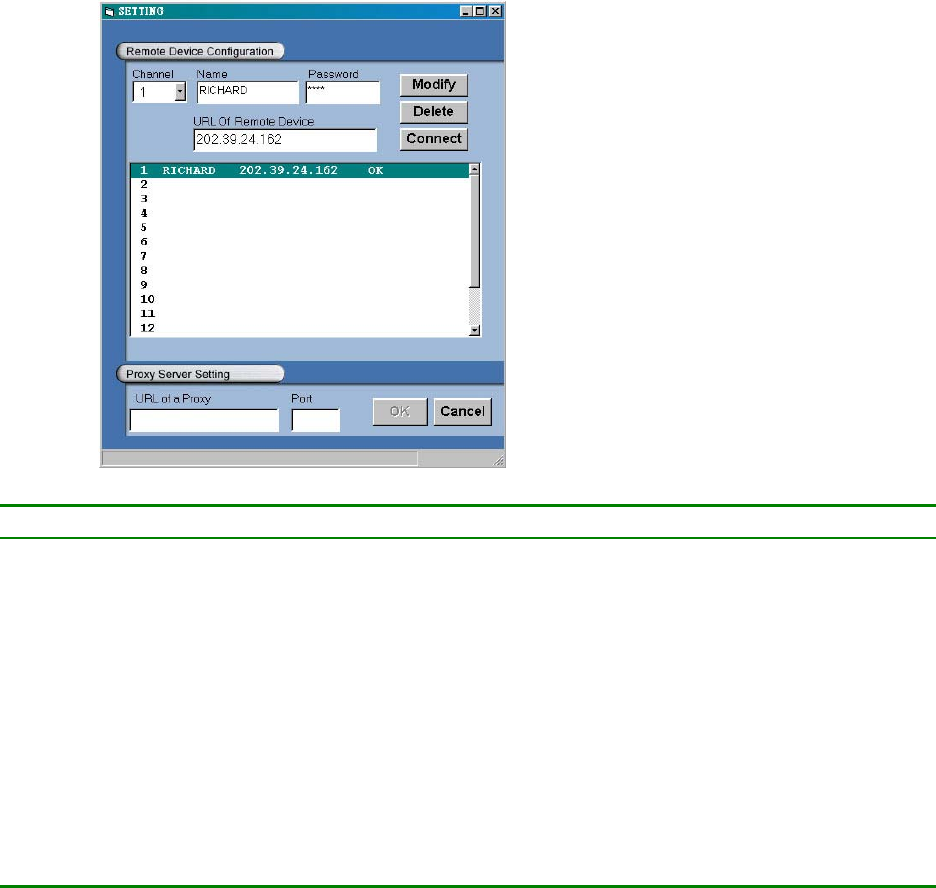
Follow the instructions below to use the Network Viewer to browse a VR-601 video from a
remote location. Upon entering the Network Viewer; the connection box will appear as follows.
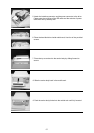
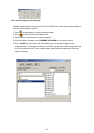
1. Choose a channel number from the Channel drop-down list.
2. Assign a name for the chosen VR-601.
3. Type in the password and IP of the device and click the Add tag to add the device to the
connection list.
4. Click the Connect tag to establish the connection between the devices and the computer.
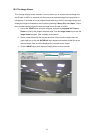
Click OK to begin viewing images.
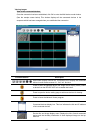
NOTE: Upon connection, the connection status box indicates the name and IP address
of the selected device. If there’s a failure to connect, a “Fail” message appears
on the screen right after the device IP address; otherwise an “OK” appears. To
add more connections or units to the VR-601, please repeat the above
instructions.
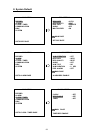
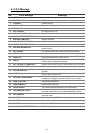
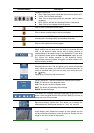
Functions
Description
Channel
Assign a display location when you have multiple devices connected.
Name
This box allows you to assign a name to the chosen device.
Password
Type the preset password for making a connection.
URL of the Remote Device
Type the IP address which you preset for the device
URL of a Proxy
Type your proxy server address when accessing the Internet via a proxy
server.
Port
Enter the designated port setting of your proxy server.
Modify
Click to change the settings of a chosen device.
Delete
Click to remove the connection of a chosen device
Connect
Click to establish the connection between the devices and the computer.
OK
Click to access the display page of the Network Viewer
Cancel
Click to exit the program of the Network Viewer.