


114 EN114 EN
TROUBLESHOOTING
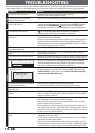
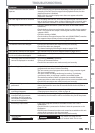
Before requesting service for this unit, check the table below for a possible cause of the problem you are experiencing.
Some simple checks or a minor adjustment on your part may eliminate the problem and restore proper operation.
Symptom Remedy
POWER
The power does not turn on. • Check that the AC power cord is connected securely.
• Batteries of the remote control are weak.
The unit turns on automatically
without any operation.
• The unit turns on automatically 2 seconds before the timer recording.
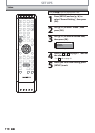
”Language” menu appears every time
the power turns on.
• The unit may not have been turned off correctly. Finish up the language setting
procedure by selecting a language in
”
Language
”
menu. Press
[OK]
to activate the
setting, then press
[STANDBY-ON ]
to turn the unit to the standby mode.
Do not disconnect the AC power cord before placing the unit in the standby mode.
GENERAL
The unit does not function. • “ ” or error message appears if the operation is prohibited.
• Batteries of the remote control are weak or exhausted.
No picture, sound or menu appears on
the screen.
• Check if the connections are made securely and correctly.
• Check if the cables are damaged.
•
Check if a correct external input channel is selected on your TV. (Refer to page 22.)
• Check if you have completed the channel setting. (Refer to pages 29-31.)
• While the setup menu or timer programming display is shown, or while the
screen saver is active, the audio is muted.
Clock setting and channel setting
cannot be performed.
• If a recording is in progress, these operations cannot be performed.
Time jumps/Auto Clock set’s incorrect
time.
• Set the “Auto Clock Setting” to “OFF” on page 102 and try “Manual
Clock Setting” on page 34.
The unit does not operate properly. •
Moisture has condensed inside the unit. Remove the disc and leave the unit
turned on for about 2 hours until the moisture evaporates. (Refer to page 3.)
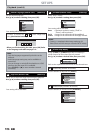
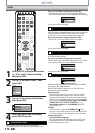
“Repairing” appears on the TV screen.
Repairing
• If there is a power failure or unplugging during recording, finalizing,
formatting or editing (even after “Repairing” disappears), a repairing
process will begin automatically just after turning the unit on again.
It may take several minutes up to about several hours.
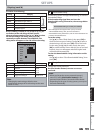
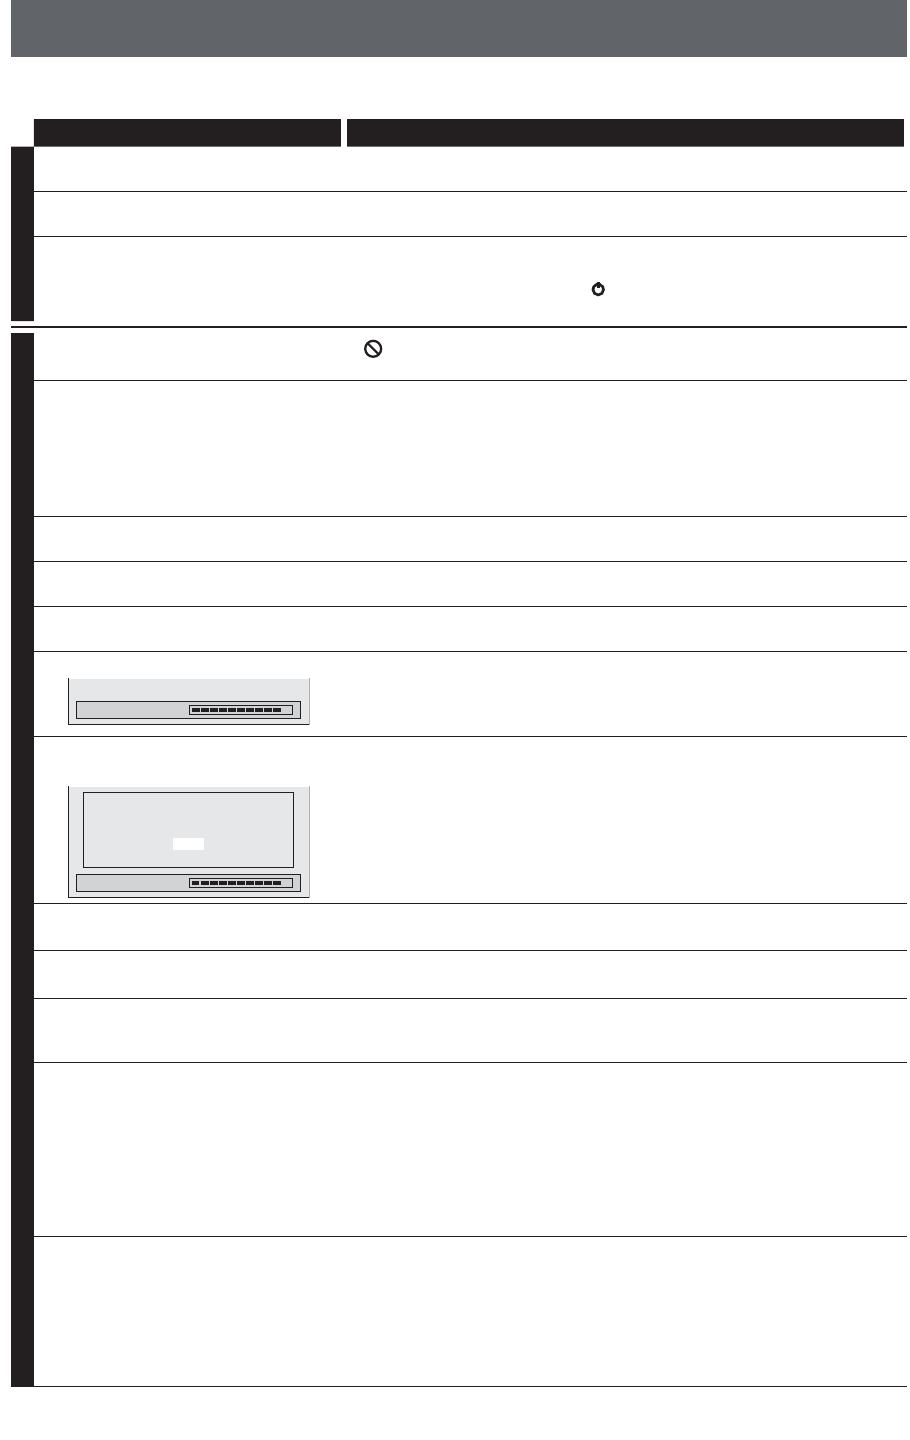
In case you intend to cancel the
repairing process.
Repairing
Do you want to cancel a repairing
process? When selecting “Yes”,
the disc may not be usable.
Yes
No
• If you intend to cancel the repairing process, press [A OPEN/CLOSE]
on the front panel, then select “Yes” and press [OK]. After that, press
[OPEN/CLOSE A] to take out the disc. The disc canceled during the
repairing process MAY NOT work.
The clock display does not appear in
the front panel display.
• Check that the AC power cord is connected securely.
• (In case of power failure) Check the breaker and clock setting.
When you forget the password for
parental lock.
• Please cancel the password and the set level. (Refer to page 104.)
No analog TV closed captions are
output.
• If you are using HDMI connection to watch the TV programs through
this unit, analog TV closed caption cannot be output. Try using another
output connection to the TV.
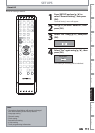
DV signal cannot be input. • Before connection, turn on the power supplies for both this unit and the
DVC, and make sure that these units have stopped.
• Only a “DVC-SD” signal can be input from the DVC to this unit. Other
types of signals are not supported.
• Do not connect any device other than the DVC. Even if a recorder or PC
with another DV terminal is connected, the DV function will not operate.
• If the DVC is not recognized after connection, turn off the power supply
for the unit and re-connect the DVC.
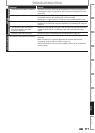
The DVC cannot be operated with this
unit.
• Signal input or DVC operation from this unit may be disabled
depending on the type of DVC.
• If a DVC signal cannot be input, use an external input (L1/L2) for analog
connection via audio/video cables.
• DVC control may be disabled depending on the type of DVC, even in a
mode other than camera mode. In this case, switch to HDD/DVD control
and execute the normal recording procedure while operating the DVC.