


1
1
6
EN
EN
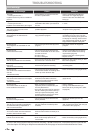
TROUBLESHOOTING
Before requesting service for this unit, check the table below for a possible cause of the problem you are experiencing.
Some simple checks or a minor adjustment on your part may eliminate the problem and restore proper operation.
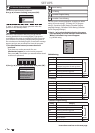
Symptom Remedy
POWER
T
he power does not turn on
.
• Check that the AC power cord is connected securel
y.
• Remote Control batteries may be weak, replace them with new ones.
•
Leave the unit unplugged for 20-30 min, plug the unit back in. If the unit
does not power on please contact our customer service center for service
on the model
.
T
he unit turns on automatically
without an
y
operation
.
• The unit turns on automatically 2 seconds before the timer recording.
”
Language” menu appears every time
the power turns on
.
• The unit may not have been turned off correctly. Finish up the language setting
procedure by selecting a language in
”
L
anguage
”
menu. Press
[OK]
to activate the
setting, t
h
en press
[STANDBY/ON
yy
]
to turn t
h
e unit to t
h
e stan
db
y mo
d
e.
Do not disconnect the AC power cord before placing the unit in the standby mode
.
GENERAL
The unit does not response
.
• “ ” or error message appears if the operation is prohibited
.
• Remote Contro
l
b
atteries may
b
e wea
k
, rep
l
ace t
h
em wit
h
new ones.
•
Leave the unit unplugged
f
or 20-30 min, plug the unit back in. I
f
the unit
does not power on please contact our customer service center
f
or service
on the model
.
No picture, sound or menu appears on
t
h
e
sc
r
ee
n
.
• Depending on the Source/Connection, confirm the following
:
-For Antenna/Basic Ca
bl
e, re
d
o an Auto Scan on t
h
e mo
d
e
l
.
-For Sate
ll
ite Receiver/Ca
bl
e Box, c
h
ec
k
t
h
e connections to ma
k
e sure
th
ey are secure
l
y connecte
d.
-For RF Coaxial Cable, redo an Auto Scan on the model
.
-For RCA Audio/Video, check the connections to make sure the
y
are
s
ecurel
y
connected
.
• Check if the connections are made securely and correctly.
• Check if the cables are dama
g
ed.
•
Check i
f
a correct external input channel is selected on
y
our TV. (Re
f
er to page 22.
)
• Check i
f
you have completed the channel setting. (Re
f
er to pages 29-31.
)
• While the setup menu or timer programming display is shown, or while the
screen saver is active
,
the audio is muted.
Clock setting and channel setting
cannot be
p
erformed
.
• If a recording is in progress, these operations cannot be performed
.
Time jumps/Auto Clock set’s incorrect
time
.
• Set the “Auto Clock Setting” to “OFF” on page 104 and try “Manual Cloc
k
Setting” on page 34
.
T
h
e unit
d
oes not operate proper
l
y
.
•
Moisture
h
as con
d
ense
d
insi
d
e t
h
e unit. Remove t
h
e
d
isc an
d
l
eave t
h
e unit
turned on
f
or about 2 hours until the moisture evaporates. (Re
f
er to page 3.)
“Repairin
g
” appears on the TV screen
.
Repairing
• I
f
there is a power
f
ailure or unplugging during recording,
f
inalizing,
f
ormatting or editing (even a
f
ter “Repairing” disappears), a repairing
process will begin automatically just a
f
ter turning the unit on again.
It may take several minutes up to several hours
.
In case you intend to cancel the
repa
i
r
i
ng process
.
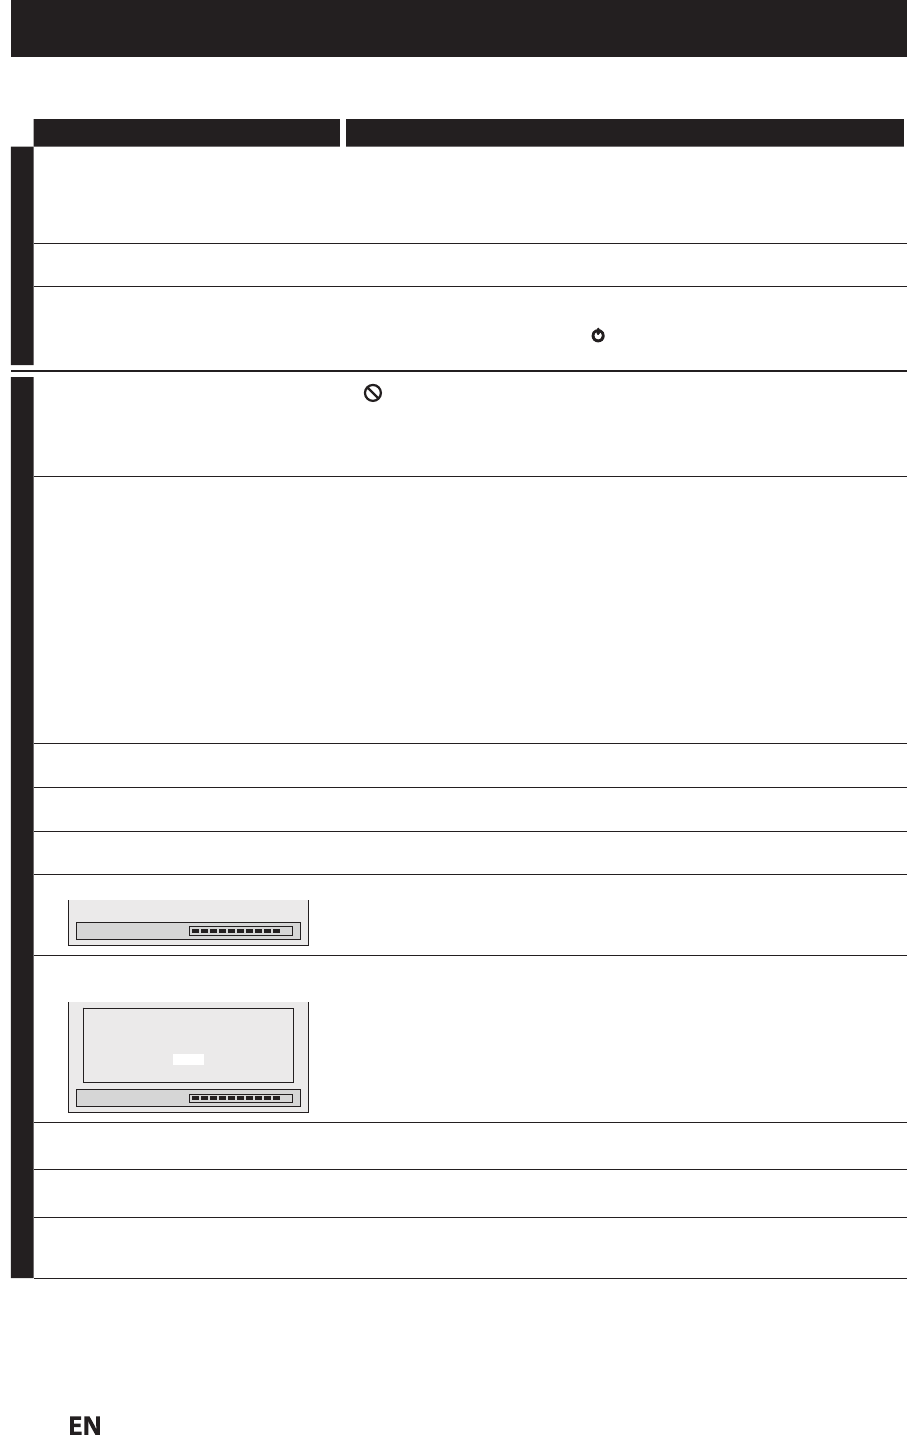
Repairing
Do you want to cancel a repairing
process? When selecting “Yes”,
the disc may not be usable.
Yes
No
• I
f
you intend to cancel the repairing process, press
[
A
OPEN/CLOSE
]
on the
f
ront panel, then select “Yes” and press [OK]. A
f
ter that, press
[
OPEN/CLOSE
A
]
to take out the
d
isc. The disc cancelled during the
repairing process MAY NOT work
.
T
h
e c
l
oc
k
d
isp
l
ay
d
oes not appear in
the front panel display
.
• C
h
ec
k
t
h
at t
h
e AC power cor
d
is connecte
d
secure
l
y
.
• (In case of power failure) Check the breaker and clock settin
g.
W
hen you forget the password for
p
arental lock.
• Please cancel the password and the set level. (Refer to pa
g
e 106.
)
No analo
g
TV closed captions are
out
p
ut
.
• If you are using HDMI connection to watch the TV programs through
this unit, analog TV closed caption cannot be output. Try using another
out
p
ut connection to the TV
.
Instructions continue on the next pa
g
e.