User Guide 14MicroTrack II
Firmware Update
From time to time, M-Audio may release updates to the operating system for MicroTrack II. Directions for using
this feature to update the firmware will be included with the update files you download from the M-Audio website
(www.m-audio.com).
Factory Defaults
Entering this menu option will allow you to reset all of the internal settings of MicroTrack II to their original
factory defaults. (This also resets the internal counter for file names, so the next file you record will attempt to be
“File0001.wav”.) Press in on the [NAV] wheel to restore the defaults. If you want to cancel this operation, press
[MENU] to exit.
Version
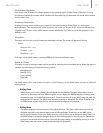
This option will show the current firmware and bootloader versions. The screen will appear as follows:
Version
Resource File – z.z.z
Firmware – x.x.x
Bootloader – y.y.y
Pressing in on the [NAV] wheel or pressing [MENU] will return to the System menu.
Date & Time
This option is used for setting the date and time as well as choosing the time and date format. When this option is
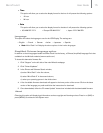
selected, the LCD display will show the following options:
• HHMMam/pm
• MMDDYYYY
• Time[12hour]
• Date[US]
The [NAV] wheel will be used to select the option to edit. Pressing in on the [NAV] wheel will open an additional
setting screen:
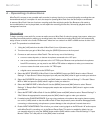
<Editing Time
When clicking on the time, a flashing box will appear around the hour. The [NAV] wheel will be used to
increment or decrement the hour. When using the 12-hour display, the AM/PM display will change when
incrementing past 12 (or decrementing below 1). Once set, pressing in on the [NAV] wheel will move the
flashing box to the minute. The [NAV] wheel will then increment or decrement the minute. Pressing in on
the [NAV] wheel will save the new time settings and the flashing box will disappear.
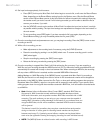
<Editing Date
The date is displayed in three sections for Day, Month and Year. The order in which these sections are
displayed depends on the selected date format (US/Europe/Japan). Pressing in on the [NAV] wheel
selects the first section. Pushing the [NAV] wheel up or down allows you to change the value. Push in on
the [NAV] wheel to accept the changed value and move the flashing box to the next section. Repeat this
process for the second and third section. Once the third value change is accepted by pushing in on the
[NAV] wheel, date edit mode is exited and the flashing box disappears.


