13
CONNECTIONS
NOTES:
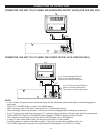
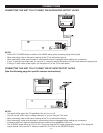
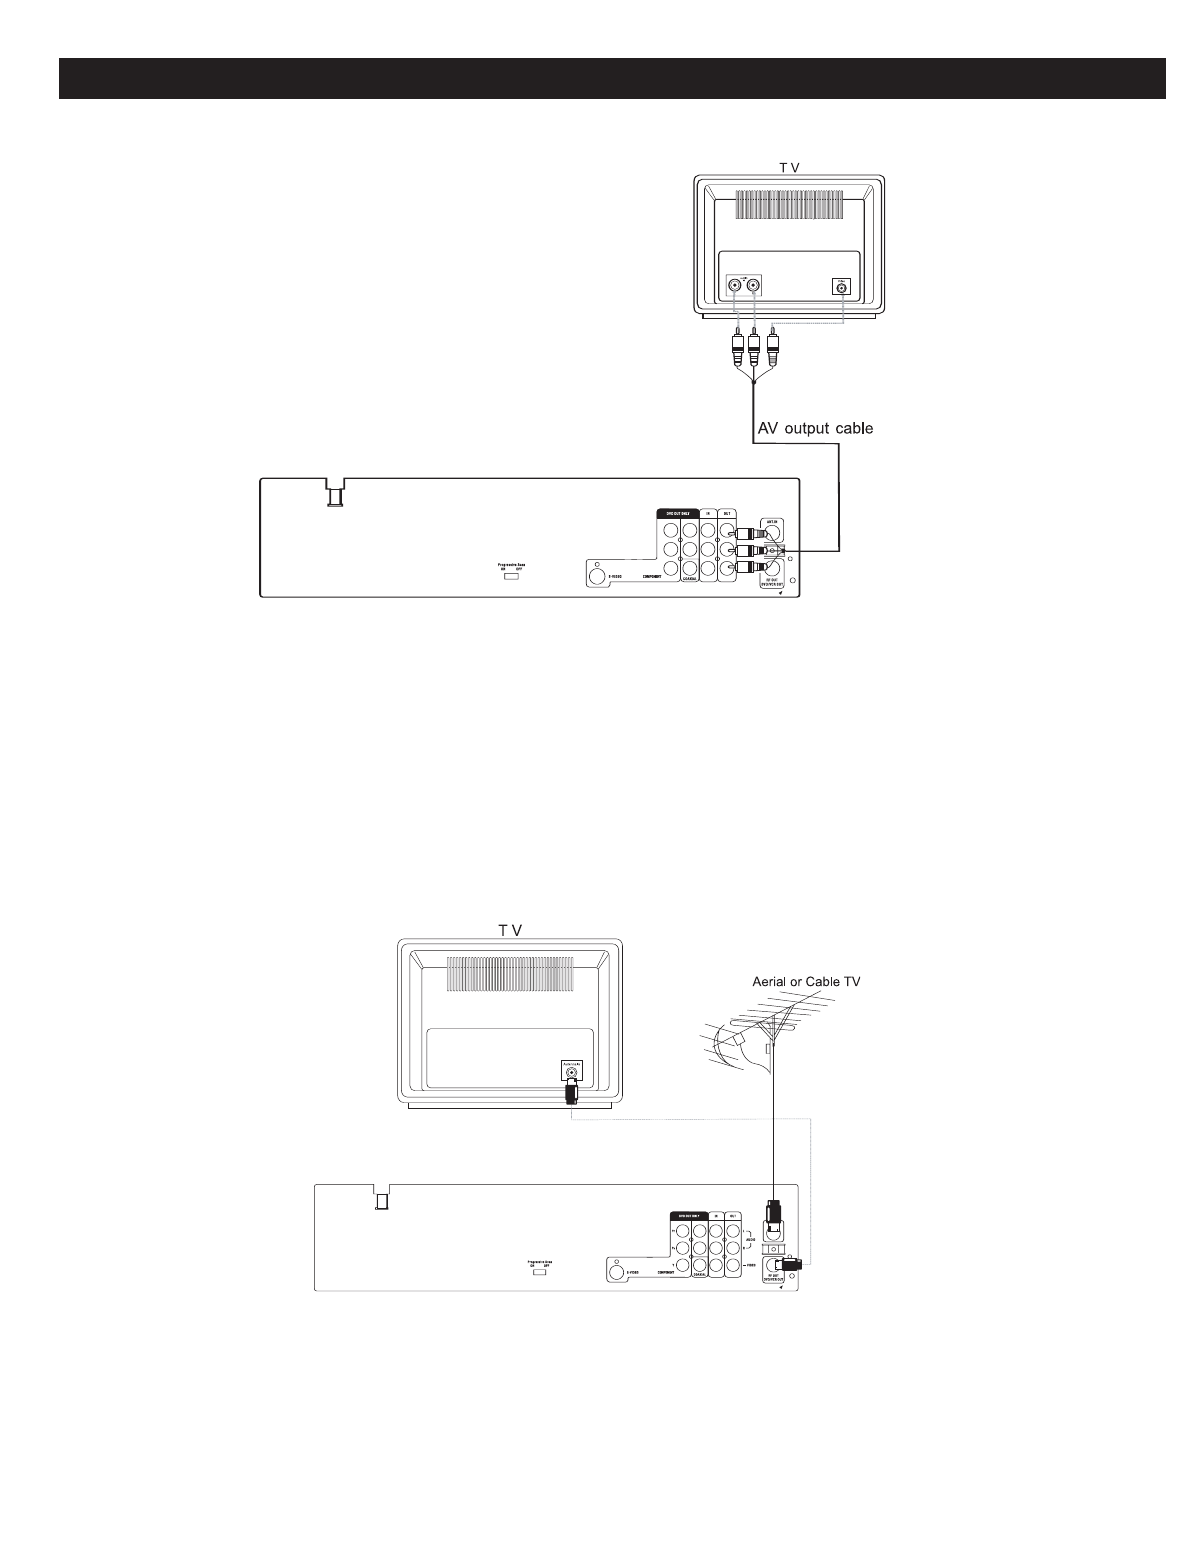
• Set the TV’s TV/VIDEO button or switch to the VIDEO setting when connecting using the A/V jacks.
• When connecting, refer to the owner’s manual of the TV, as well as this manual.
• When connecting, make sure the power is off and both units are unplugged before making any connections.
• If your TV only has one audio input, the use of a “Y” connector may be necessary. Visit your local electronics supply store.
• If using a TV with a blue screen option, turn the option off, on the TV for best results.
NOTES:
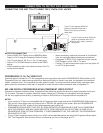
• The signal will be sent to the TV regardless if the unit is on or off.
• You can use the VCR's tuner to change channels, or you can use your TV’s tuner.
• When connecting, refer to the owner’s manual of the TV, as well as this manual.
• When connecting, make sure the power is of
f and both units are unplugged before making any connections.
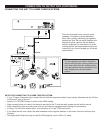
• Connect a cable, etc. signal as described above to use the tuner capabilities of this unit.
• The VCR/DVD output will be on CH 3 or CH 4 if you are using the RF Output, please refer to page 32 for setting the
output channel; then, use the
TV selector to select CH 3 or CH 4 for the VCR/DVD Output.
CONNECTING THE UNIT TO A TV USING THE AUDIO/VIDEO OUTPUT JACKS
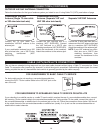
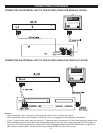
CONNECTING THE UNIT TO A TV USING THE RF INPUT/OUTPUT JACKS
(See the following page for specific antenna connections)


