


GB 14
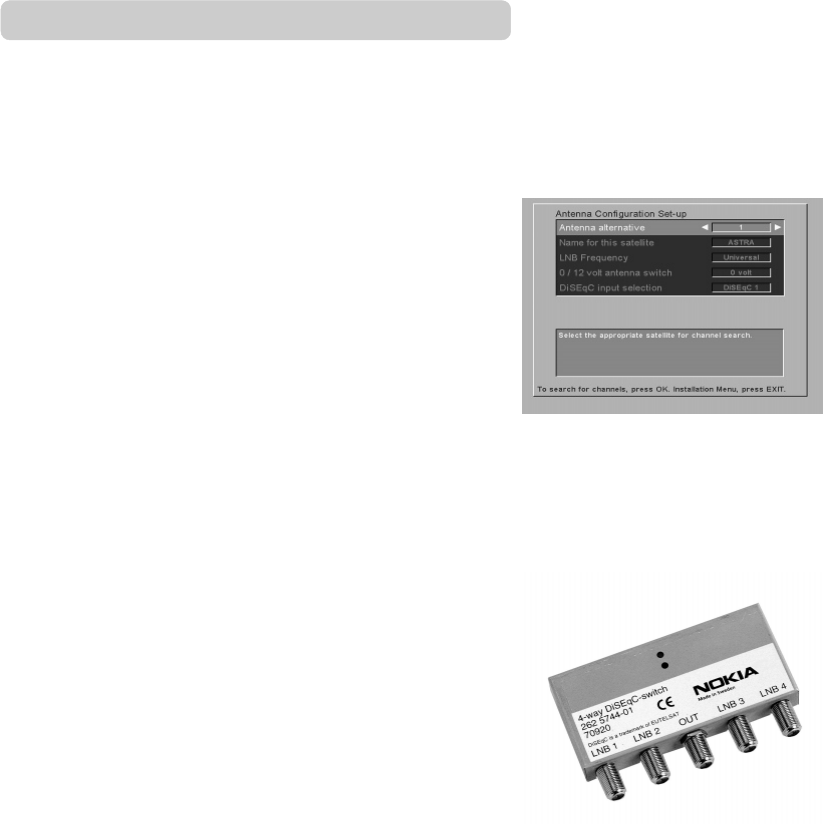
Antenna alternative: Select an Antenna alternative from
1 to 8. Please note, that the parameters in the menu are prepro-
grammed, but you can change any of them to suit your combi-
nation.
Name for the satellite: From here you can select a name for the
configuration.
LNB frequency: Selection is possible for different kinds of LNBs.
Select the frequency for the LNB which is valid for your combi-
nation. You may also enter a value with the number buttons on
the remote control.
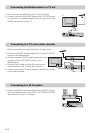
0/12 V antenna switch: Control of an external LNB switch,
i. e. switching between two different satellite dishes.
Instead of connecting a DiSEqC switch, you can use a 0/12 V
switch. Note, that with this solution you will have 2 cables all the
way down from the LNB:s to the switch due to the fact that it has
to be mounted indoors.
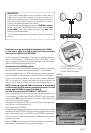
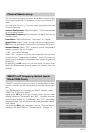
DiSEqC input selection: There are in principle two kinds of ex-
ternal DiSEqC switches on the market at present. One for con-
nection of two LNBs. The other one for connection of up to
4 LNBs.
If you connect a two input switch, also known as a “Tone Burst”
type, select
Mini A
for the LNB connected to input A on the
switch; select
Mini B
for the LNB connected to input B.
If you have the other switch, defined as “DiSEqC, Level 1 or 2”
on the market, select DiSEqC 1, 2, (3 or 4), for each LNB con-
nected to respective inputs on this switch.
When you have finished the settings in this menu, press the
“OK” button to continue with the “Channel Search Set-Up” de-
scribed on the next page.
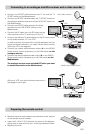
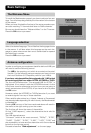
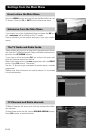
If you have another antenna (dish) combination you can configure
it with this menu, which appears when you make a selection from
the “Antenna Configuration” menu, line “Multiantenna /
LNB:s for multiple Satellite positions”.
(You can also recall this menu at a later occasion. From the Main
Menu; select “Installation” and then “Antenna Configuration”).
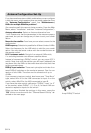
Antenna Configuration Set-Up
4 way DiSEqC™ switch