ADVANCED OPERATIONS
39
NOTE
• This unit supports “USB Mass Storage Class Bulk-Only Transport” devices only. Most
USB thumbs drives, portable hard disk drives and card readers conform to this device
class. Other USB devices such as MP3 players, digital cameras, and mobile phones
may not be compatible.
• Supported USB drives must be formatted with the FAT (File Allocation Table) or FAT32
file system. Drives formatted with NTFS file system are not supported.
• If the USB drive is incompatible, or the player encounters errors while reading the USB
drive or flash memory card, the screen displays “Device Error”. In this case please verify
that the USB drive is compatible, and try to unplug the device and re-insert again.
• In some cases, an incompatible USB device may cause the player to stop responding. If
this occurs simply turn off the power, remove the USB device, and turn the player back
on.
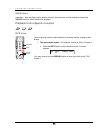
Audio-Only Mode
DVD-A
SACD
AUDIO ONLY
You can enjoy higher quality audio by turning off the video processing and
output. The Audio-Only mode reduces interference between the video and
audio signals.
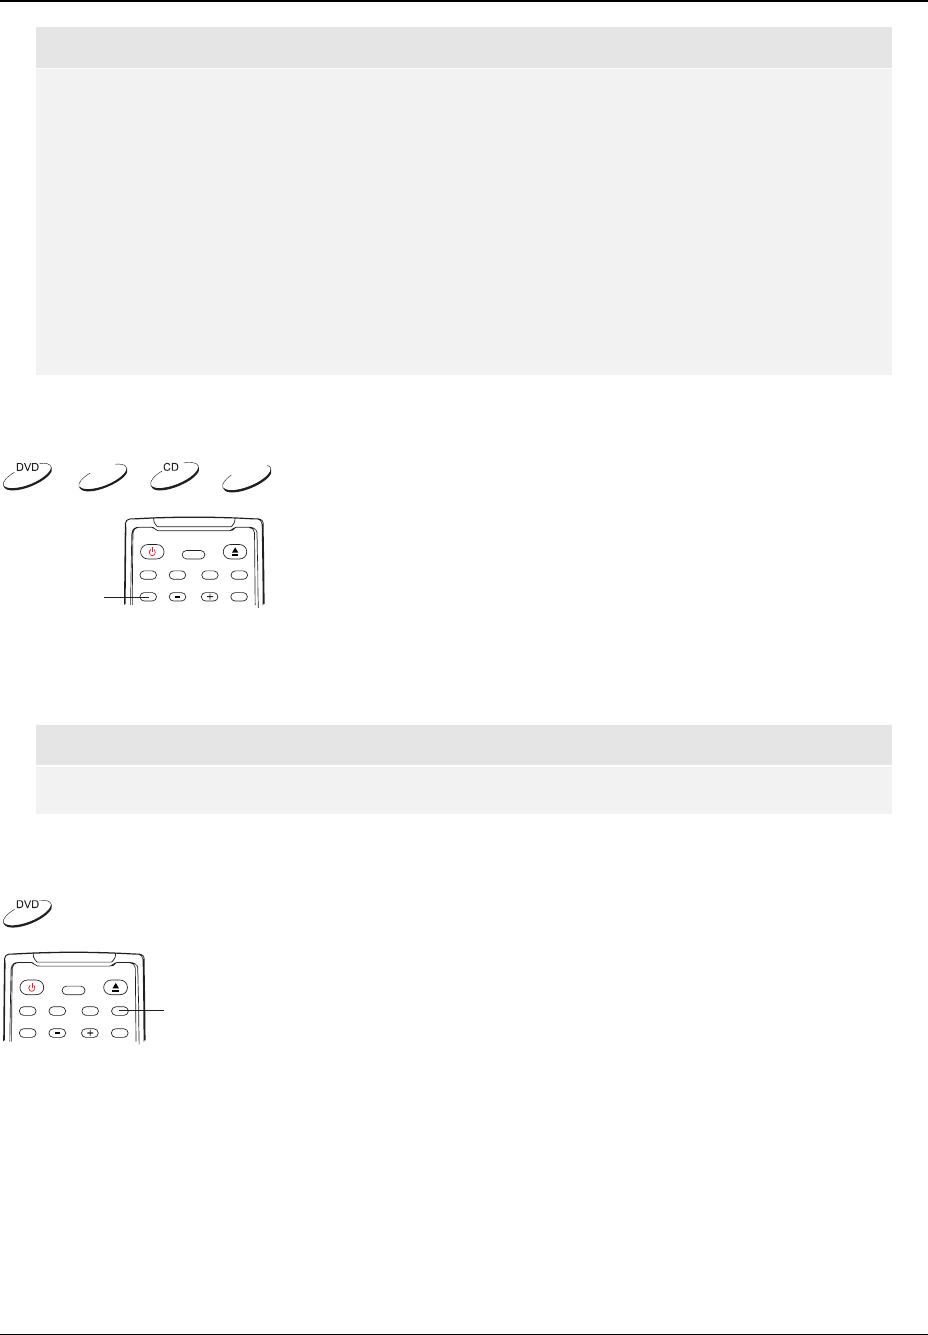
1. Press the AUDIO ONLY button on the remote control to turn off video and enter Audio-Only
mode. The “A. ONLY” icon will be illuminated on the front panel of the DVD player.
2. Press the AUDIO ONLY button again to resume video and cancel Audio-Only mode.
NOTE
Audio-Only mode is cancelled if the unit is switched to STANDBY.
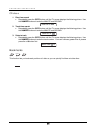
Customized Background Screen
CAPTURE
The OPPO DVD player supports customization of the background screen.
While playing a movie, you can press the CAPTURE button on the remote
control to capture a scene as the customized background screen of your DVD
player. Once a new background is successfully captured, the DVD player will
show the customized background screen instead of the OPPO background
screen when playback is stopped.
To restore the original OPPO background screen, please set the “Background” item in the “General
Setup Page” of the DVD player’s setup menu to “Default”. Refer to page
40 for details about this setup
menu item.


