


63
RQT8906
§
Depending on the connected equipment, some items may be shaded in grey on the display and cannot be selected, or you may not be able to
change the settings.
(continued on the next page)
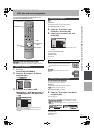
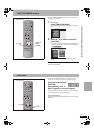
Tabs Menus Options (Underlined items are the factory presets.)
Display
On-Screen Messages
Choose whether to show status messages automatically.
≥Automatic
≥Off
Grey Background
Select “Off” if you do not want to have the unit show the grey
background when tuner reception is weak.
≥On
≥Off
FL Display
Changes the brightness of the unit’s display.
This setting is fixed with “Automatic” if you set “Power Save”
(➡ 64) to “On”.
≥Bright
≥Dim
≥Automatic: The display turns dark during play and disappears
when the unit is turned off. It reappears
momentarily if a button is pressed. While using this
mode, the standby power consumption can be
reduced.
Connection
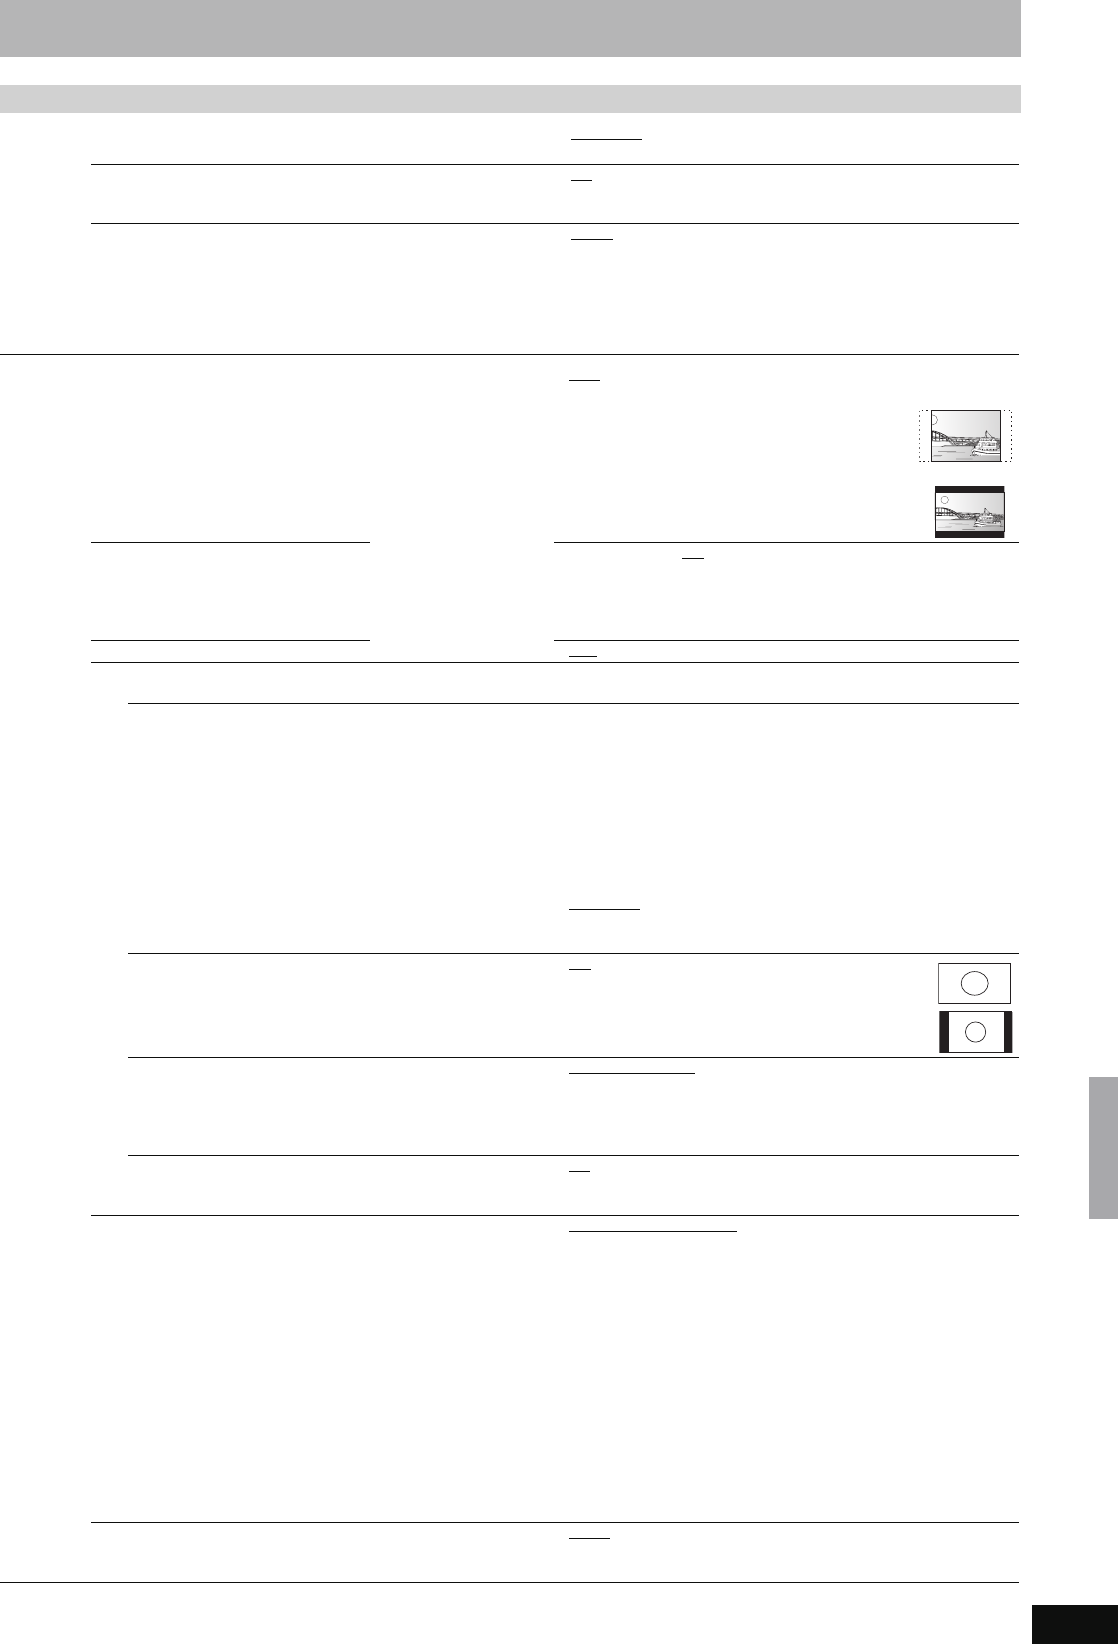
TV Aspect (➡ 19) Set to match the type of
television connected.
≥16:9: When connected to a 16:9 widescreen television.
≥Pan & Scan:
When connected to a 4:3 aspect television, side
picture is trimmed for 16:9 picture (➡ 77).
≥Letterbox:
When connected to a 4:3 aspect television.
16:9 picture is shown in the letterbox style (➡ 77).
Progressive (➡ 20)
This setting is fixed with “Off” if you set
“AV1 Output” to “RGB 1 (without
component)” or “RGB 2 (without
component)”.
≥On ≥Off
TV System (➡ 66) ≥PAL ≥NTSC
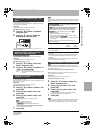
HDMI Settings
§
≥Press [OK] to show the following settings.
HDMI Video Format
You can only select items compatible with the connected
equipment. This setting normally does not need to be
changed. However if you are concerned about output
picture quality, it may be improved by changing the setting.
Still pictures play at a resolution equivalent to 480p
regardless of the settings.
≥576i/480i
≥576p/480p
≥720p
≥1080i
≥1080p: When setting video output to “1080p”, we
recommend using a Panasonic HDMI cable 5
meters or less in length to prevent video distortion.
To enjoy High Quality Video up-converted to 1080p,
you need to connect the unit to 1080p compatible
HDTV.
≥Automatic
: Automatically selects the output resolution best
suited to the connected television (1080p, 1080i,
720p, 576p/480p or 576i/480i).
Aspect for 4:3 Video
To play a 4:3 title when connected with an HDMI cable, set
how to show pictures on a 16:9 widescreen television.
≥4:3
: Picture output expands left or right.
≥16:9: Picture is output as original aspect with
side panels.
Digital Audio Output ≥HDMI and Optical
≥Optical Only: Select when this unit is connected to an amplifier
with an optical digital audio cable and connected
to a TV with an HDMI cable and you want to enjoy
the highest quality of audio from discs (➡ 16).
VIERA Link
Set to use “HDAVI Control” function when connected with
an HDMI cable to a device that supports “HDAVI Control”.
≥On
≥Off: Select when you do not want to use “HDAVI Control”.
AV1 Output
Selects the output from the AV1 terminal.
Select “Video (with component)” or “S Video (with component)”
for component output (progressive output).
Set according to the terminal of the connected TV.
≥If this unit is connected with an HDMI cable, you cannot select
“RGB 1 (without component)” or “RGB 2 (without component)”.
≥Video (with component)
:
Select when a TV is connected that can receive a composite
signal.
≥S Video (with component):
Select when a TV is connected that can receive an S Video
signal.
≥RGB 1 (without component):
Select when a TV is connected that can receive an RGB signal.
If you always would like to view the picture from the unit in RGB
signal, select this mode. The TV screen will automatically
switch to display the picture from the unit when the unit is
turned on.
≥RGB 2 (without component):
Select when a TV is connected that can receive an RGB signal.
If you would like to switch to display the picture from the unit
only when playback or viewing menus, select this mode.
AV2 Input
This setting is according to the output signal of the connected
equipment.
≥Video
≥S Video
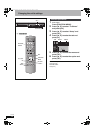
Changing the unit’s settings
EH57_67GN.book Page 63 Thursday, March 15, 2007 5:36 PM