34
RQT9135
Advanced timer recording
[HDD] [RAM]
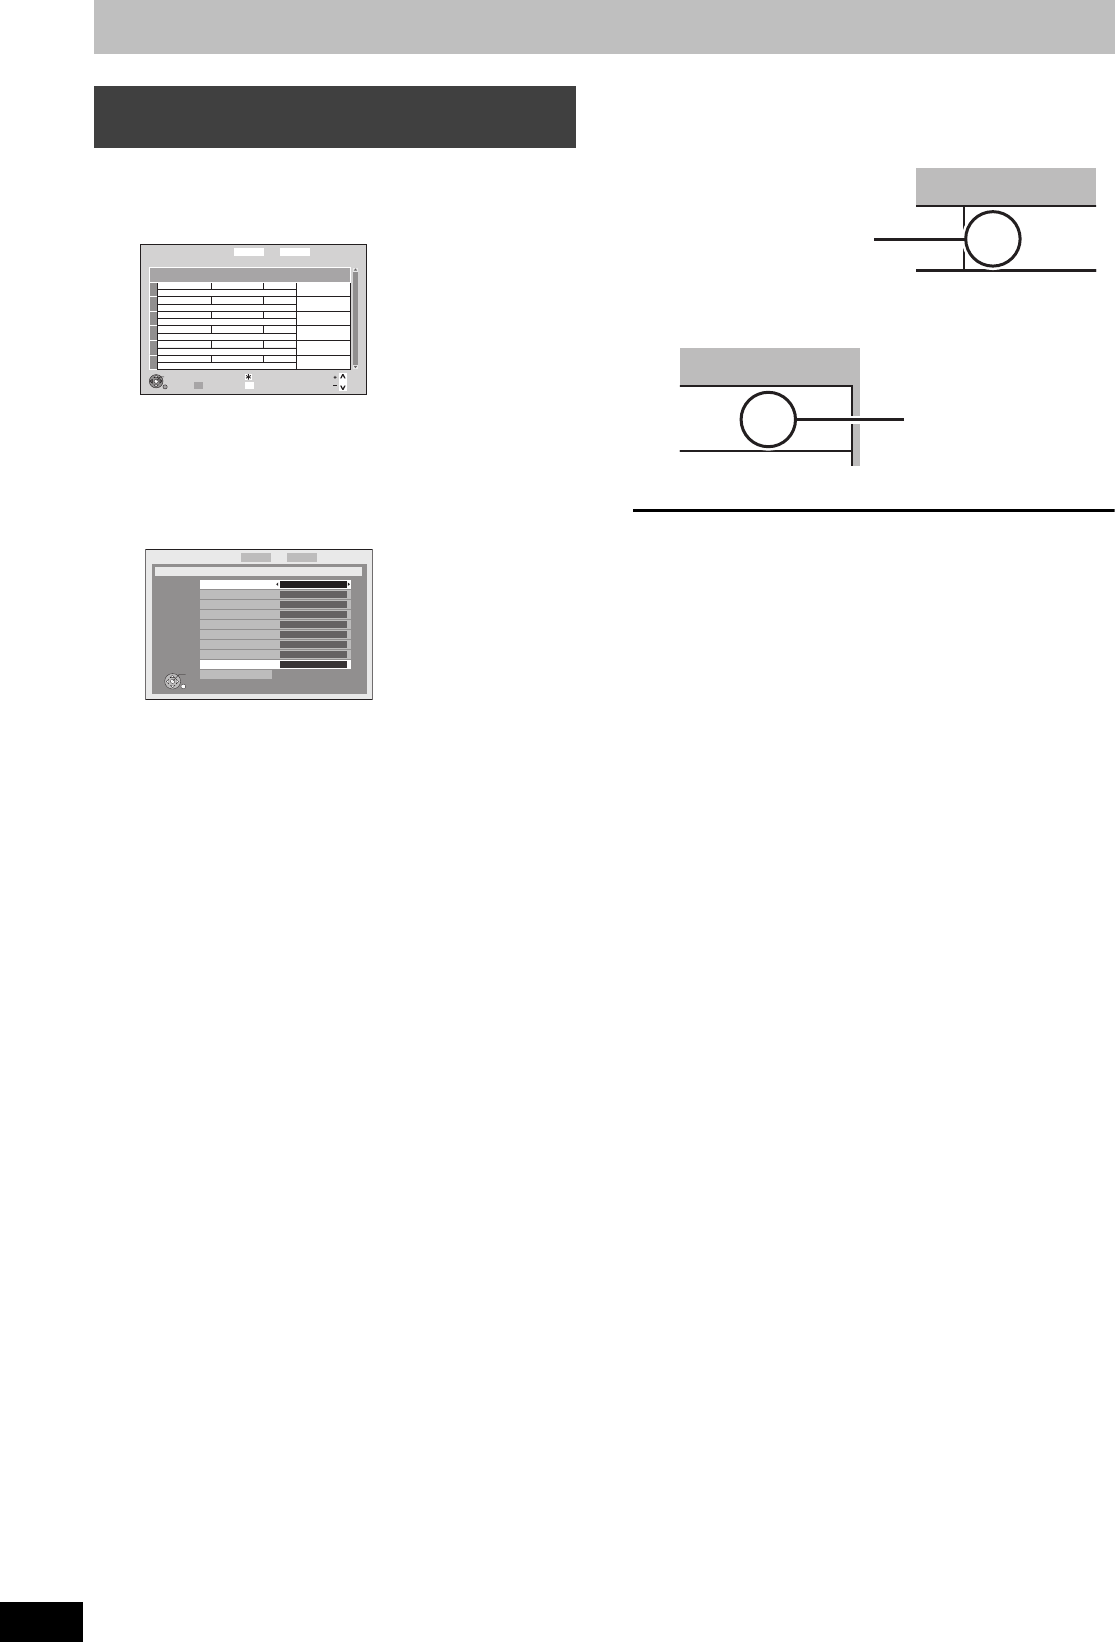
1 Press [PROG/CHECK].
2 Press [3, 4] to select “New Timer
Programme” and press [OK].
3 Press [3, 4] to select the items and
change the items with [2, 1].
≥Date
Current date up to one month later minus one day
≥Weekly
Titles recorded using the same daily or weekly timer are
bundled and displayed as a “group” in the Direct Navigator
screen (➡ 40) except when using Auto Renewal Recording.
≥Favourites
Select the favourites list
Select “AV input” when recording from the external input.
≥Service Name
Select the channel to record.
“AV1”, “AV2”, “AV3”, or “AV4” can be selected when “AV
input” is selected in “Favourites”.
≥Start/Stop
Press and hold [2, 1] to alter the Start (Start time) and
Stop (Finish time) in 15-minute increments.
≥Drive
Only 1 programme can be set to timer record on the disc.
When the recording drive is “DVD” and there is not enough
remaining space, recording automatically switches to the
“HDD” (➡ 35, Relief Recording).
≥Mode
Recording modes (➡ 30)
≥Renew (Auto Renewal Recording) (➡ 35)
≥Programme Name
Press [OK]. (➡ 71, Entering text)
4 Press [OK].
The timer programme is stored and the timer icon is
displayed.
“F” lights on the unit’s display to indicate timer recording
standby has been activated.
Press [Í DVD] to turn the unit off.
To return to the previous screen
Press [RETURN].
To exit the screen
Press [EXIT].
Manually programming timer
recordings
Date
Service Name
Drive/Mode Space
New Timer Programme
OK
RETURN
Page
Page
CH
Timer Off
Total 0/32 DELETE
History List
Timer Recording
1:58 SP
DVD
30:24 SP
HDDRemain
SUN 01/01/08 13:12
Timer Recording
1:58 SP
SUN 01/01/08 13:12
DVD
30:24 SP
HDDRemain
Date SUN 1/1
Weekly OFF
Favourites All DVB Services
Service Name 22 ABC TV
Start 01:10
Stop --
Drive HDD
Mode XP
Renew OFF
Programme Name
[Prog.Name]
RETURN
OK
ode
P
Space
OK
Check for available space
on HDD, etc., when the “!”
is displayed.
DMRXW300GN-RQT9135-L_eng.book 34 ページ 2008年4月30日 水曜日 午後6時11分
