


40
VIERA Link “ Control
TM
”
∗
∗
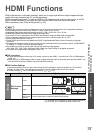
Enjoy additional HDMI Inter-Operability with Panasonic products which have “HDAVI Control” function.
This TV supports “HDAVI Control 3” function.
Connections to the equipment (DIGA Recorder, HD Video Camera, Player theatre, Amplifi er, etc.) with
HDMI cable allow you to interface them automatically.
These features are limited to models incorporating “HDAVI Control” and “VIERA Link”.
•
Some functions are not available depending on the equipment’s version of HDAVI Control. Please confi rm the
connected equipment’s version of HDAVI Control.
•
VIERA Link “HDAVI Control”, based on the control functions provided by HDMI which is an industry standard
known as HDMI CEC (Consumer Electronics Control), is a unique function that we have developed and added.
As such, its operation with other manufacturers’ equipment that supports HDMI CEC cannot be guaranteed.
Please refer to individual manuals for other manufacturers’ equipment supporting VIERA Link function.
About applicable Panasonic equipment, consult your local Panasonic dealer.
■ Summary of VIERA Link functions
•
Easy playback
•
Power on link
•
Power off link
•
Speaker control
•
Control the menu of the connected equipment by VIERA remote control
(Available with the equipment which has “HDAVI Control 2” or “HDAVI Control 3” function.)
•
Pause Live TV programme
•
Direct TV Recording
(Available with the equipment which has “HDAVI Control 3” function.)
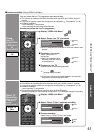
Easy
playback
Automatic Input switching - When the connected equipment is operated, input mode
is switched automatically. When it is stopped operating, input mode is not returned.
Power on
link
Set Power on Link “Set” in Setup Menu to use this function
“Power on Link” (p. 24 - 25, 27)
When the connected equipment starts playback or direct navigator / function menu
for the equipment are activated, the TV is automatically turned on. (Only when TV is
in Standby mode.)
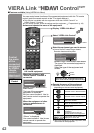
Power off
link
Set Power off Link “Set” in Setup Menu to use this function
“Power off Link” (p. 24 - 25, 27)
When TV is set to Standby mode, the connected equipment is also automatically
set to Standby.
•
This function will work even if the TV enters standby mode automatically by Off Timer
function or auto power standby function.
■ Preparations
•
Connect the equipment supporting VIERA Link.
•
Set up the connected equipment. Read the manual of the equipment.
•
For optimal recording, the settings of the recorder might be required. For details, read the manual of the
recorder.
•
Set VIERA Link On in Setup Menu “VIERA Link” (p. 24 - 25, 27)
•
Set up the TV After connection, turn the equipment on and then switch the TV on. Select the input
mode to HDMI1, HDMI2, HDMI3 or HDMI4 (p. 22), and make sure that an image is displayed correctly.
This setup should be done each time when the following conditions occur:
• for the first time / • when adding or reconnecting equipment / • when changing setup
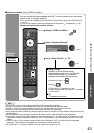
■ Features available
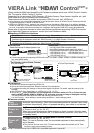
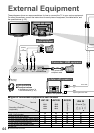
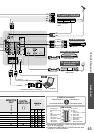
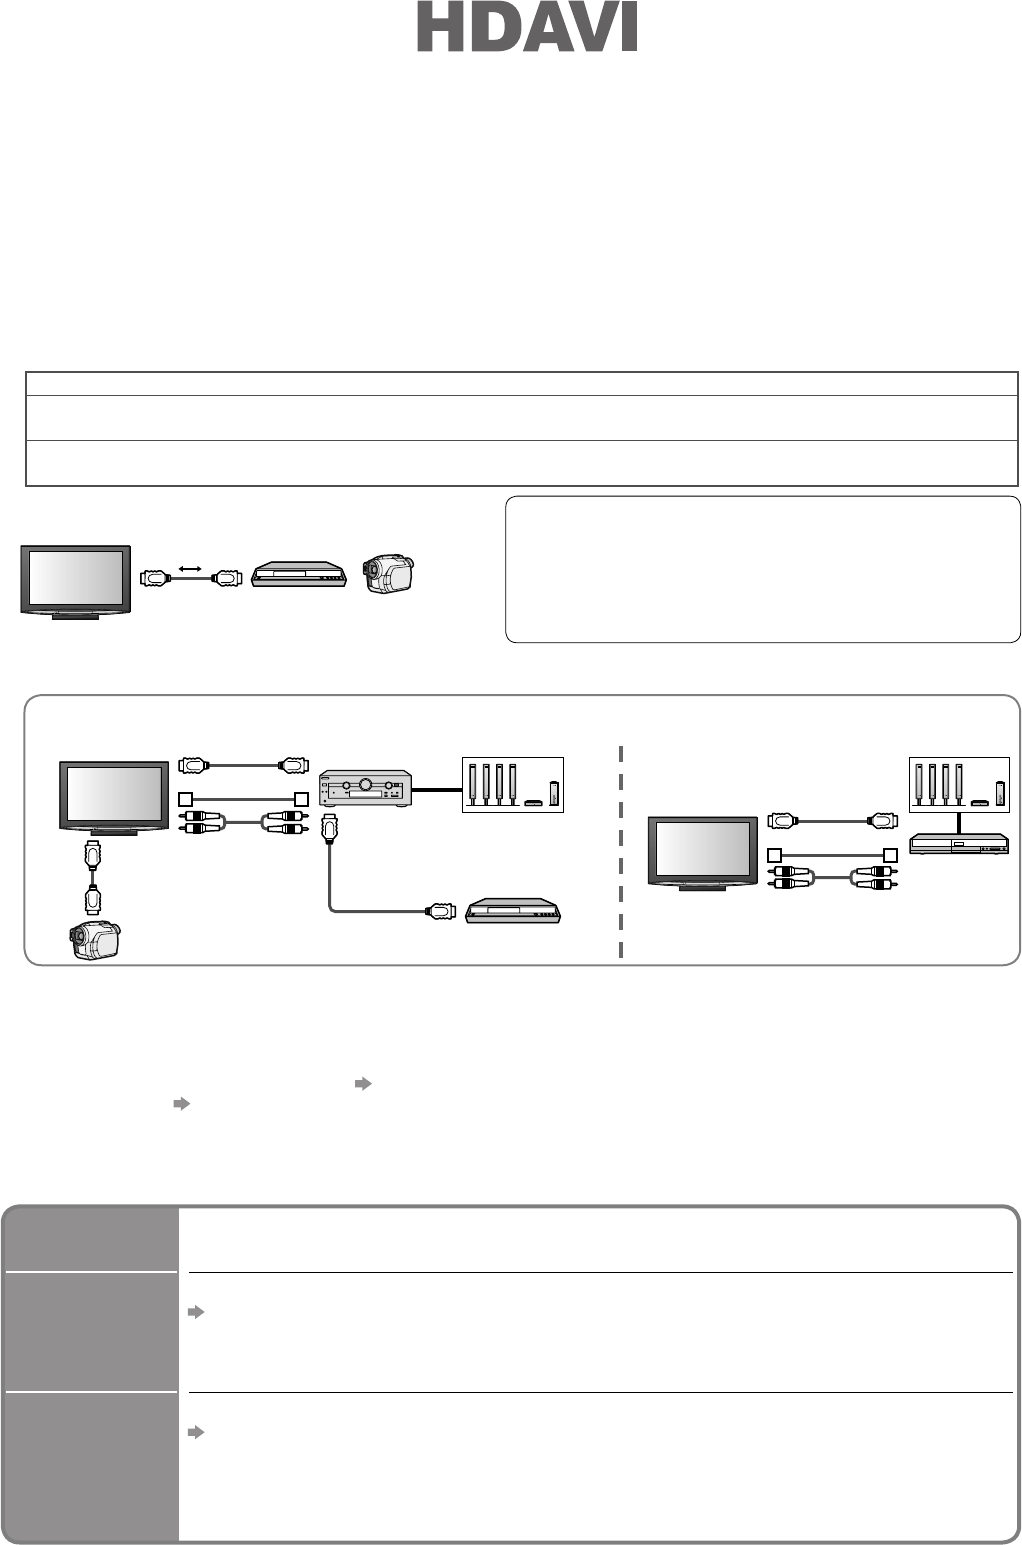
■ Connections
Read the manual of the equipment, too.
HDMI cable
DIGA Recorder / HD Video Camera
with VIERA Link function
•
Connect the equipment supporting VIERA Link to the TV’s HDMI1, HDMI2, HDMI3 or HDMI4 terminals via
fully wired HDMI cables.
•
HDMI cable
Use fully wired HDMI compliant cable.
Non-HDMI-compliant cables cannot be utilized.
Recommended Panasonic’s HDMI cable part number:
• RP-CDHG10 (1.0 m) • RP-CDHG30 (3.0 m)
• RP-CDHG15 (1.5 m) • RP-CDHG50 (5.0 m)
• RP-CDHG20 (2.0 m)
For Speaker control (Home Cinema)
•
To use Amplifi er
•
To use Player theatre
HDMI cable
Optical digital
audio cable
or
RCA cable
HDMI cable
Optical digital
audio cable
or
RCA cable
HDMI
cable
HDMI cable
Amplifi er with
VIERA Link
function
DIGA Recorder with
VIERA Link function
HD Video Camera with
VIERA Link function
Player theatre
with
VIERA Link
function
Speaker system Speaker system
•
The TV remains on even if the “VIERA Link” compatible equipment is turned off.