


Pelco Manual C680M-G (7/01) 13
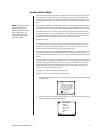
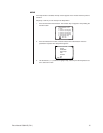
3. Use the Search (<</>>) buttons to move around within the menu. Highlight Time and
press the Play/Pause button to select. The Time menu appears.
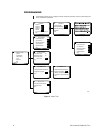
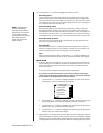
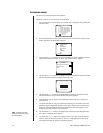
FUNCTION KEY LIST
0 : Setup
1 : Camera 1 recording/stop
2 : Camera 2 recording/stop
3 : Camera 3 recording/stop
4 : Camera 4 recording/stop
5 : All the cameras recording
6 : All the cameras stop
: Alarm On
: Alarm Off
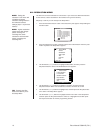
SETUP MENU
Camera
All Resolution
Alarm Output
Time
Password
Exit
Help: ON
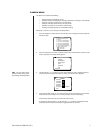
TIME
Year
/
Month
/
Date
/
Hour
/
Minute
Quit
Daylight Saving Time: On
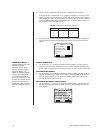
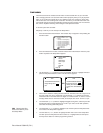
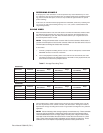
TIME
Year
/
Month
/
Date
/
Hour
/
Minute
Quit
Daylight Saving Time: On
-Starting Time: /Date/Hour
Month
-Ending Time: Month/Date/Hour
OR
s
s
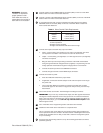
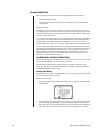
2. Press and release the 0 button, and then release the Function button. Enter the pass-
word if requested. The Setup Menu appears.
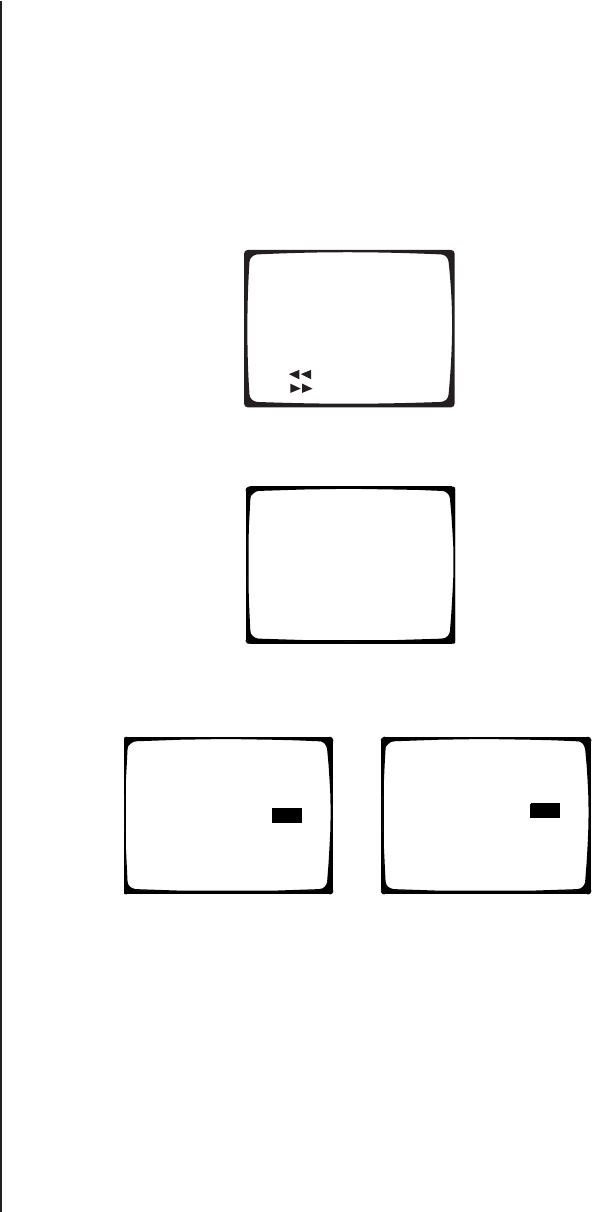
4. There are five fields for entering the date and time. The fields, from left to right, are for
the year, month, day, hour, and minute. Use the Search (<</>>) buttons to move be-
tween the fields. In each field enter two digits. For numbers below 10, enter a 0 as the
first digit. Enter the hour in 24-hour format; for example, 08 is 8 a.m. and 15 is 3 p.m.
5. Use the Search (<</>>) buttons to highlight Daylight Saving Time, and then press the
Play/Pause button to toggle between On or Off. If your unit is set for PAL operation,
also enter the starting and ending times.
6. Use the Search (<</>>) buttons to highlight Quit, and then press the Play/Pause but-
ton to select. The Setup Menu appears.
7. Use the Search (<</>>) buttons to highlight another menu item in the Setup Menu
and then press the Play/Pause button to select it, or highlight Exit and then press
the Play/Pause button to end the programming session.
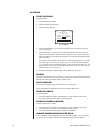
TIME MENU
The DVR uses the time and date to index video on the hard disk drive so you can find it
later. Changing the time can cause the DVR to work improperly when you try to play back
video. If you set the hour ahead, this is not a problem. But if you set the hour back, there
will be more than one recording at the same time. Therefore, you should refrain from mak-
ing frequent changes as this will complicate searching by time and date. For more informa-
tion, refer to
Playback Following Time Changes
in the
Operation
section.
To set the system time and date:
Skip steps 1 and 2 if you are already in the Setup Menu.
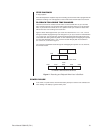
1. Press and hold the Function button. The Function Key List appears. Keep holding the
Function button.
TIP:
Pressing the Stop
button also returns you to
the Setup Menu.