


15
7
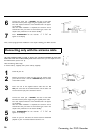
Press STANDBY/ON m on the recorder. 'IS TV ON?' will
appear on the display.
Then, read the paragraph 'Initial installation' in the chapter 'Installing your DVD recorder'.
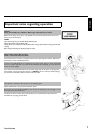
Connecting with Video (CVBS) cable
This cable, usually featuring yellow cinch plugs, is used for transmitting the Composite Video
signal (FBAS, CVBS). In this method of transmission the color signal and the brightness signal are
transmitted on the same cable. Under certain circumstances, this may lead to problems with the
picture, such as 'Moiré' patterns.
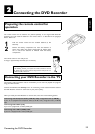
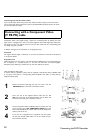
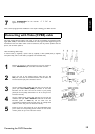
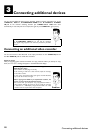
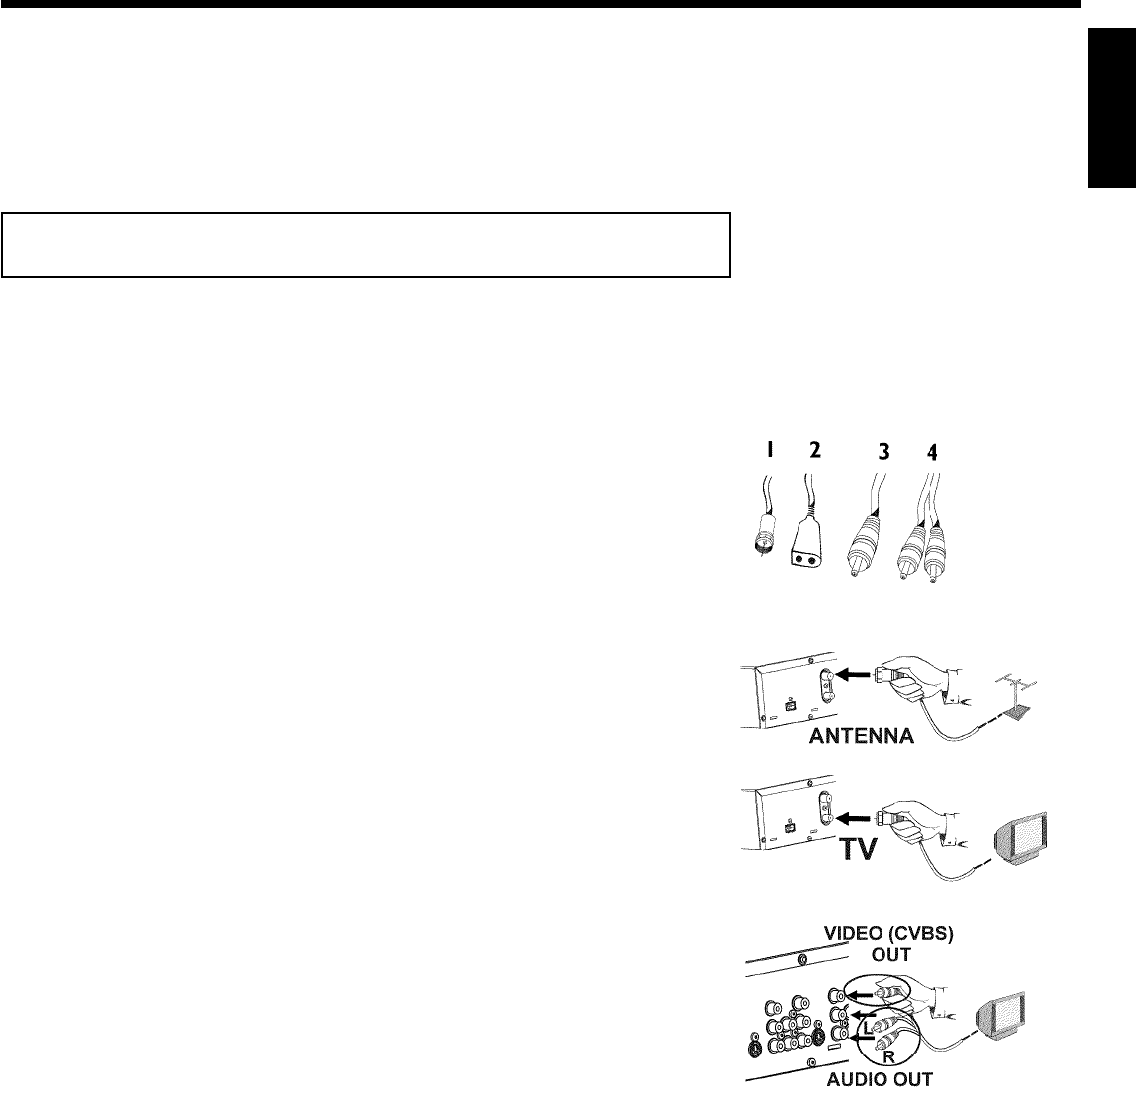
Have the following cables ready:
an antenna cable (1, supplied), a power cable (2, supplied), a video (CVBS) cable (3, supplied,
with yellow ends), and an audio cable (4, supplied, with red/white ends).
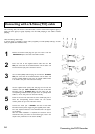
1
Remove the antenna or cable TV signal from your TV. Connect it
to the ANTENNA IN jack at the back of the DVD recorder.
2
Insert one end of the supplied antenna cable into the TV
OUT jack at the back of the DVD Recorder and the other end
into the antenna input jack at the back of the TV.
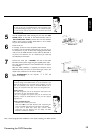
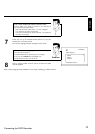
3
Use the supplied video (CVBS) cable and plug one end into the
yellow jack OUT VIDEO (CVBS) at the back of the DVD
Recorder and the other end into the Video In jack (usually
yellow) of the TV (usually called Video in or AV in. See your TV's
instruction manual).
4
Use the supplied audio (cinch) cable and plug one end into the
red/white cinch jack OUT L AUDIO R at the back of the DVD
Recorder (under to Video in ) and the other into the
corresponding red/white audio input jack of the TV (usually called
Audio in', 'AV in'. See your TV's instruction manual).
5
Switch on the TV. Then switch the TV to the Video/Audio input
jack or select the corresponding channel number. For the channel
number, please see your TV's instruction manual.
ENGLISH
Connecting the DVD Recorder