EN
9
Verifying a recording session
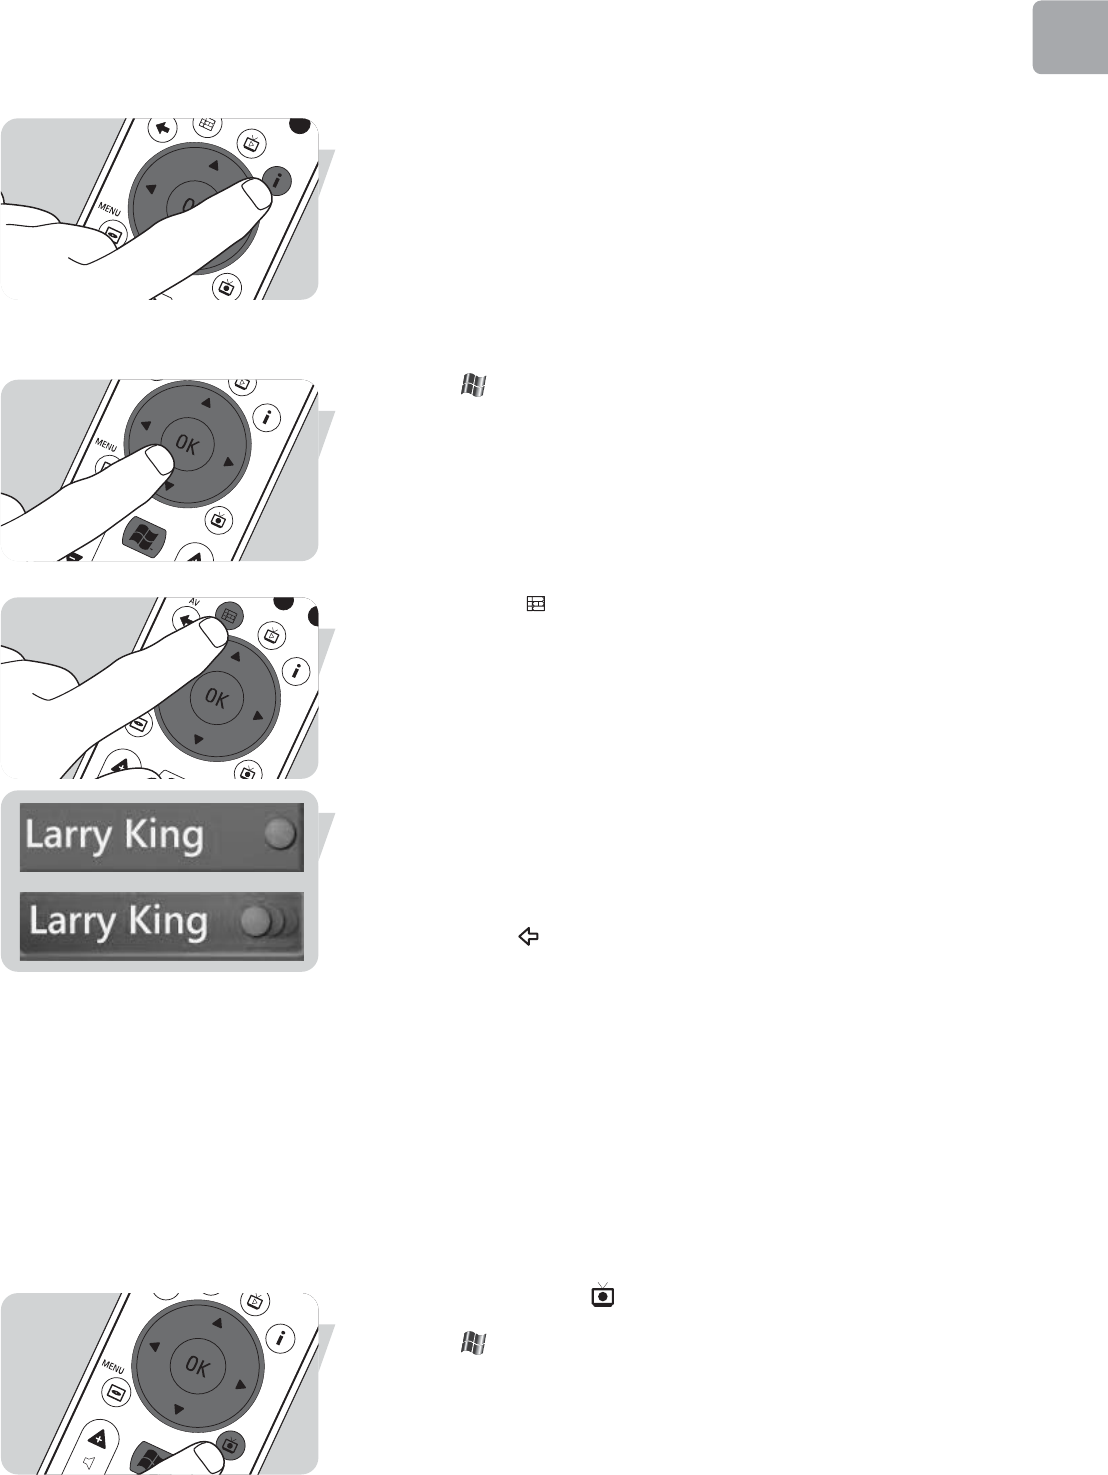
1 Press the i (info) key (20) on the remote control.
2 Select Program info in the window that appears and press the OK key (19).
Scheduling a TV program recording
Manually:
1 Press the key (8) on the remote control, select My TV, Recorded TV and
press the OK key (19).
2 Select Add Recording and press the OK key (19).
3 Select channel number, recording frequency, date, start and stop time, the period
for which you want to keep the recording and the recording quality.
4 Select Record and press the OK key (19).
Using the Guide:
1 Press the Guide ( ) key (4) on the remote control or keyboard.
2 Use the remote control navigation keys (
1 2 3 4
- 6) to scroll through the
programs that are scheduled.
3 Select the TV program you want to record.
4 Press the Record (
0
) key (11) on the remote control or keyboard.
• Press once to record a single episode. The Record icon appears next to the
program title.
• Press twice to record a series of episodes. The Record Series icon appears next
to the program title.
• Press again to cancel the recording.
5 Press the Back ( ) key (5) on the remote control to return to the previous
window.
Notes:
– Scheduled TV program recording (timer recording) from standby is only possible if the
Media Center has been placed in standby mode using the remote control.
– Scheduled TV program recording (timer recording) from a set-top box is only possible if
the set-top box is switched on (not in standby!).
– If there is a recording conflict, Windows
®
Media Center displays a warning and allows
you to change your recording schedule.
Watching recorded TV programs
Recorded TV programs are saved on your hard disk drive. Each recording is
displayed as a thumbnail in the Recorded TV window.
1 Press the Recorded TV ( ) key (18) on the remote control.
OR:
1 Press the key (8) on the remote control, select My TV, Recorded TV and
press the OK key (19).
Use_cases_English.qxd 01-08-2006 9:12 Pagina 9


